Gaming
Sekiro Boss Order Complete List Of All Bosses
You’re in a dark place. You don’t know where to turn. Your only choice is to continue living like this for long periods of time. A bright light can come at any time. That is where Sekiro Boss Order will help you. In this comprehensive list, we will provide you with all the information you need to continue living in the way you want to live. We have made it our mission to provide the best possible service, no matter what the moment. We will provide you with an alphabetized list of all bosses, so you can start living in the way you want to live.
Introduction
Sekiro Boss Order is a service that will help you live the way you want to live. We are here to help you in all aspects of your life. We have an alphabetized list of all bosses, so you can start living in the way you want to live. We will provide you with an overview of the services we offer, so you can start living in the way you want to live. We believe that living well-lit, comfortable lives is the best possible life, and we provide all the information you need to start living that way.
The Top 12 Khammums In the World
As many expert SoulsBorne players will tell you, these monsters put you to the ultimate test as a Shinobi, as opposed to the usual “dodge to the side, slash the butt” strategy. It’s important to remember that each monster is unique and requires aggressiveness and precision. Sekiro’s bosses are all listed below.
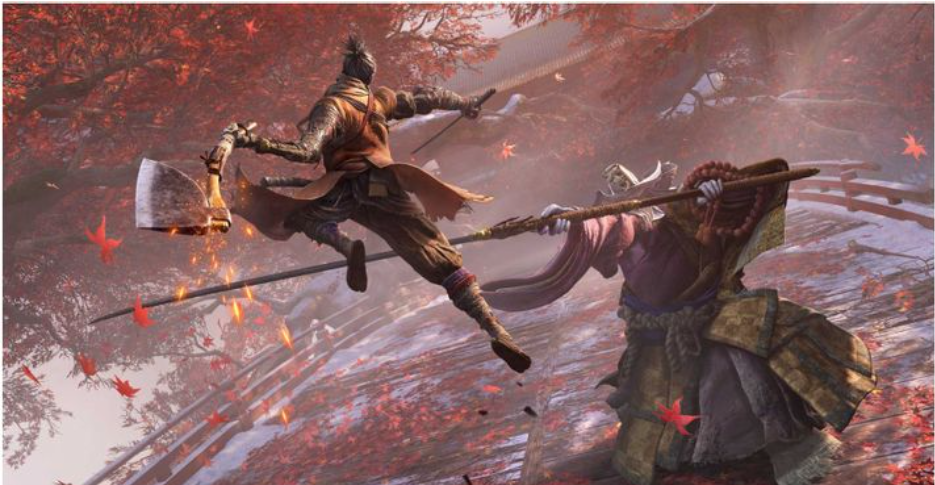
12 – Gyoubu Masataka Owina
You must fight Owina Gyoubu Masataka in order to enter Ashina Castle, the first actual boss in the game. With his over-the-top language, he understands how to create an impression.
The battle mechanism is finally put into perspective for many people at this point. Even Gyoubu’s enormous spear may be deflected by your Kusabimaru sword. Maintaining a steady pace and using your Shinobi Firecrackers to startle his horse will enable you to land a couple critical blows. Don’t be scared off by the challenge. He’s a soft touch.
11 – Lady Butterfly
Despite her little stature, Lady Butterfly packs quite a punch when it comes to combat. You won’t be able to keep up with her. She will bombard you with kunai at every opportunity. After she begins to fly, you should be on the lookout for her unblockable drop strikes.
You should already have the Loaded Shuriken Prosthetic at this stage in the game. This battle is won by using Shurikens, which you may hurl at her just before she’s going to move from the air. She will be knocked out, allowing you to rush in and take advantage of her vulnerability. Due to her two health bars, you should use your shurikens sparingly.
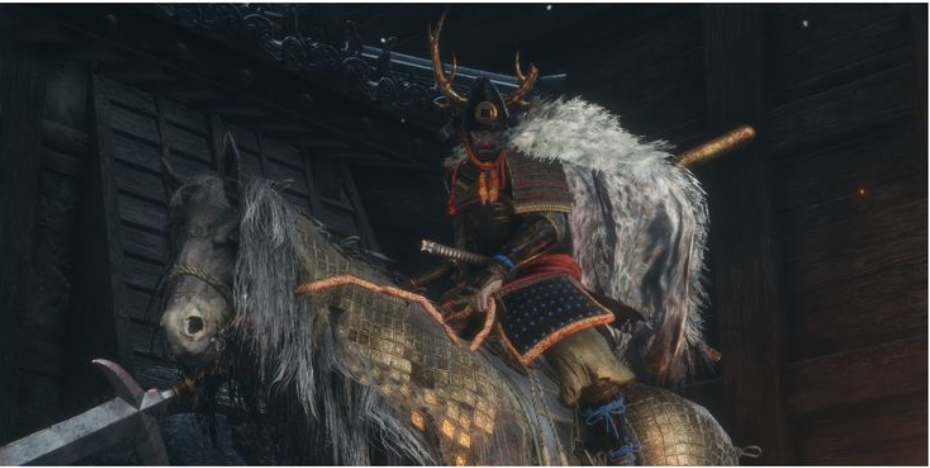
10 -Genichiro Ashina
Upon arrival, you’ll be greeted by Genichiro Ashina, who will not be pleased to see you. As a veteran of SoulsBorne, Genichiro effectively challenges the player to adjust to Sekiro’s new battle system.
This is when you’ll finally understand the importance of stance in fighting. In the first two health bars, his attacks are simple and easy to predict, but he’ll sometimes use thrusts and grabs to surprise you. As terrible as his last phase may be, it’s really rather manageable; you simply have to keep going.
9 – Folding Screen Monkeys
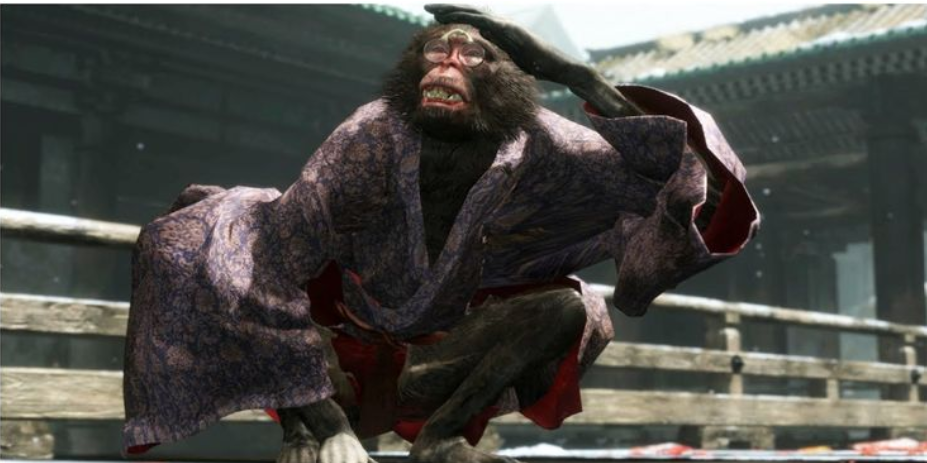
Almost every From Software game has a puzzle boss battle, and The Folding Screen Monkeys demonstrates that the developers have finally mastered the pattern.
Each of the four monkeys is killed by two blows to the head. The difficulty is in actually locating them. It’s essentially a massive game of cat and mouse, or “Wolf and Monkey,” if you like to call it that. One attempt should enough, as it makes use of Sekiro’s superb traversal mechanics to achieve success.
8 – Guardian Ape/Headless Ape
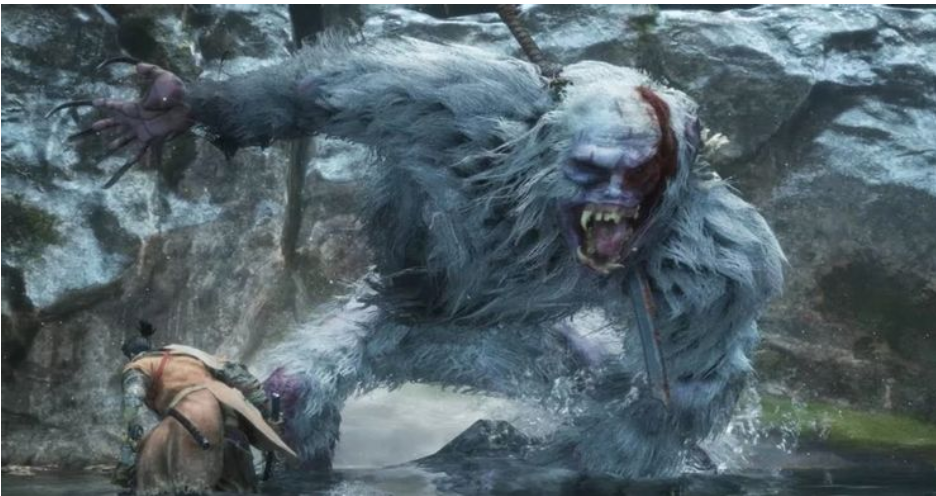
The Guardian Ape seems to be more of a conventional From Software huge monster than anything else. Because the ape is a Beast adversary, be sure to carry some firecrackers with you. You may evade his most popular technique, the faeces toss, by running towards him and allowing yourself a little window of opportunity to attack him.
Despite the gruesome and gratifying decapitation, you shouldn’t get too thrilled once you bring down his first health bar on the screen. He climbs to his feet seconds later, and the battle has now become a two-phase affair. Have a good time
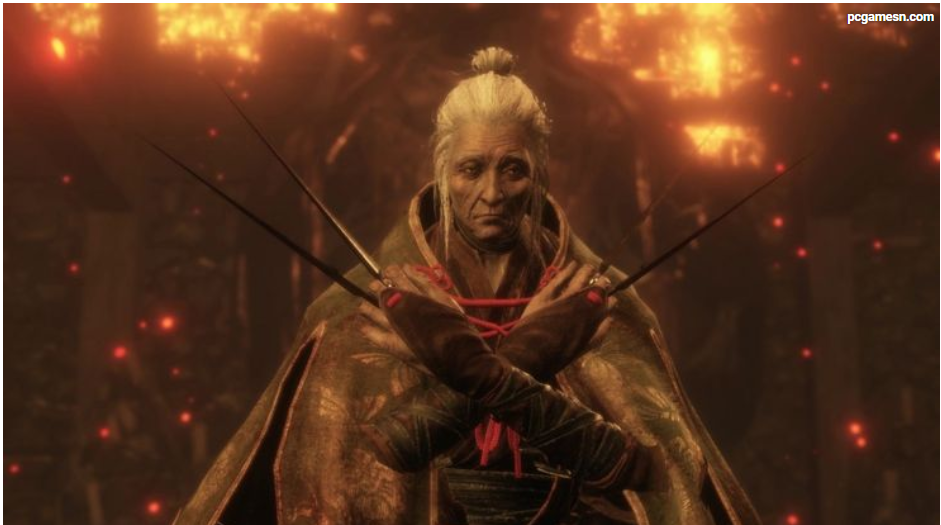
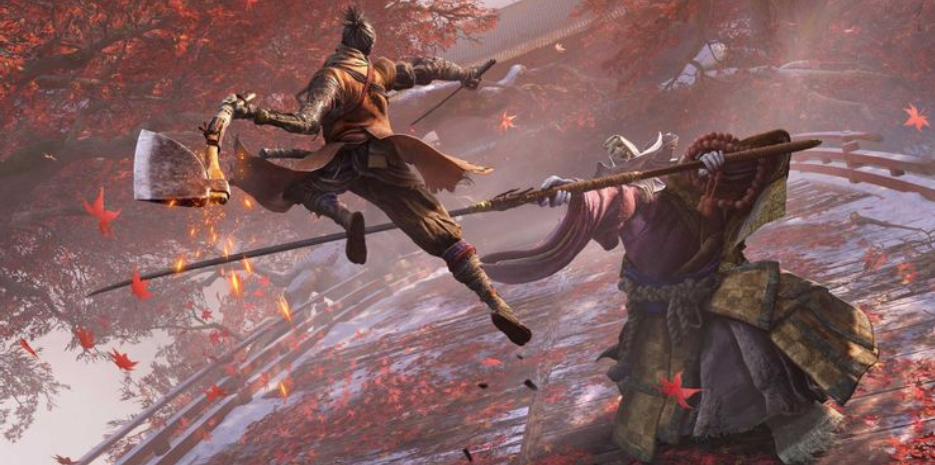
7 – Corrupted Monk

The Corrupted Monk, which can be located in the Ashina Depths, must be defeated before the Shelter Stone may be discovered. Because it is an Illusion adversary, snap seeds may be used to put an end to this battle swiftly. If you maintain sufficient space between you and her, she will be forced to use an easily avoidable leap attack and the battle will not be very tough.
Due to the fact that her strikes are slower than those of most opponents, it might be tough to time your deflections at first. It won’t take long for you to master the timing, and if you keep spamming your firecracker, you’ll finally defeat her.
6 – Emma/Isshin Ashina
The Corrupted Monk, which can be located in the Ashina Depths, must be defeated before the Shelter Stone may be discovered. Because it is an Illusion adversary, snap seeds may be used to put an end to this battle swiftly. If you maintain sufficient space between you and her, she will be forced to use an easily avoidable leap attack and the battle will not be very tough.
Due to the fact that her strikes are slower than those of most opponents, it might be tough to time your deflections at first. It won’t take long for you to master the timing, and if you keep spamming your firecracker, you’ll finally defeat her.
5 – Great Shinobi Owl/(Owl) Father

As a result of being loyal to Kuro, you’ll have to face battle against The Great Shinobi Owl, also known as Wolf’s father, who was responsible for Wolf’s training.
Although the Great Shinobi Owl moves at the speed of a Shinobi, it possesses the power and reach of a beast. His assaults will munch up your posture bar, so make sure you’re well-stocked with Gokan’s Sugar before taking on his attacks. His second phase will also include poison into the mix, so stay away from the poisonous puddles.
4 – True Corrupted Monk
When you first enter Fountainhead Palace, you will be faced by the True Corrupted Monk, who will try to intimidate you. She has attacks that are identical to those of the Corrupted Monk, although she has three health bars instead of two. Each phase of the battle is a little different from the previous phase.
The key to winning this battle is to block her sluggish blows as much as possible while simultaneously targeting her enormous hitboxes. It is possible to deliver a deathblow from above during the second phase if you time your attack perfectly, enabling you to go directly to the third phase in which she grows an evil centipede to attack you.
3- Divine Dragon
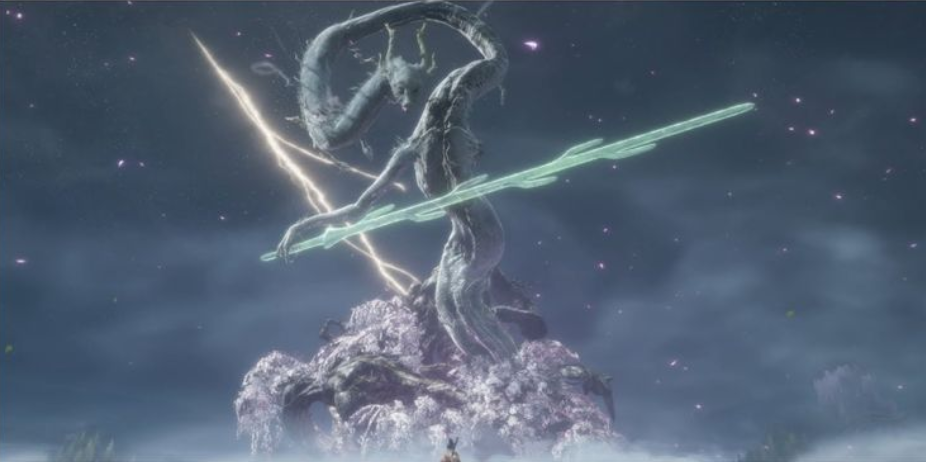
In Fountainhead Palace, prepare for the most gorgeous boss fight From Software has ever made, as the Divine Dragon will be your adversary. The initial part of this battle is straightforward; all that is required is that you destroy The Old Dragons, who may be slain in swarms when you deliver a leaping deathblow to their heads.
The Divine Dragon is the second phase, and it is more of a procedural challenge than a true test of talent. Despite the fact that you must still block and navigate, you can swing past trees. You’ll eventually come across lightning trees, which will enable you to utilise Lightning Reversal, which will deal Posture damage to your enemies. Repeat this as many times as necessary until the conflict is over.
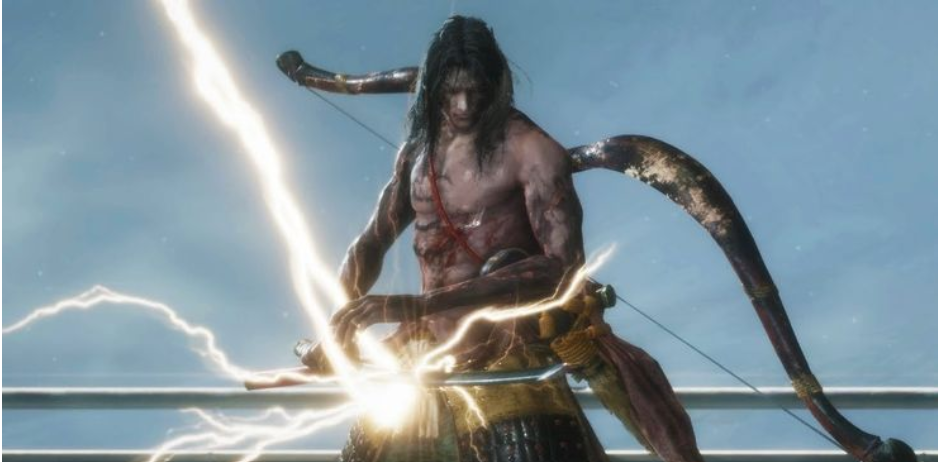
2 – Demon Of Hatred
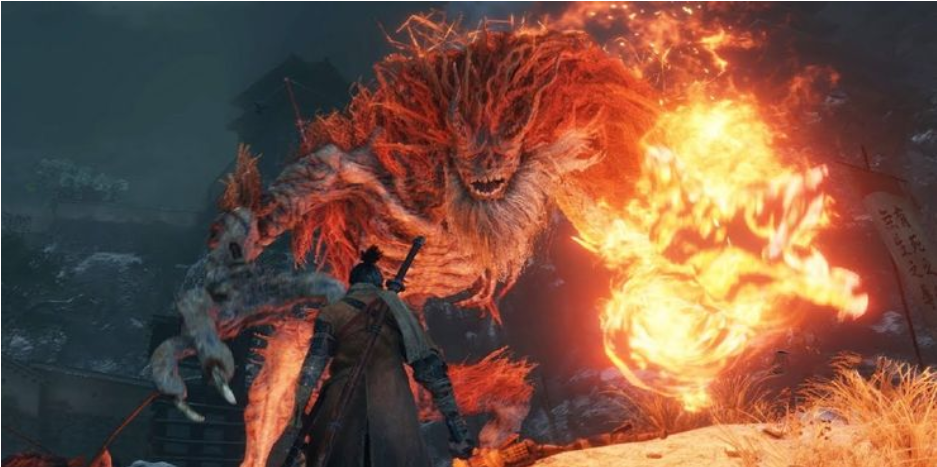
Fortunately, this low-cost Bloodborne reject monster is an optional encounter. The Demon of Hatred strikes quickly and with great force. If you don’t take precautions, you will be consumed by fire. After slaying the Divine Dragon, you’ll be able to discover it in the Ashina Outskirts.
Many of its strikes are difficult to evade, and adding fire to the mix doesn’t make things any easier. Your hidden weapon in this battle is the Malcontent upgrade for the Finger Whistle Prosthetic, which you obtained via a ruse. This will force The Demon Of Hatred to stumble for a few seconds, allowing you the opportunity to land some heavy blows on the creature. Despite this, you’ll want to use it carefully, and you may want to reserve the most of it for the third health bar.
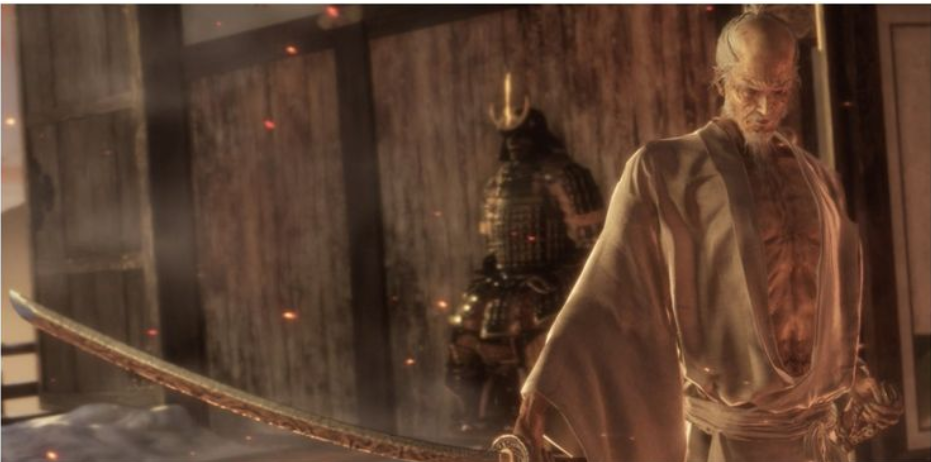
1 – Isshin, The Sword Saint
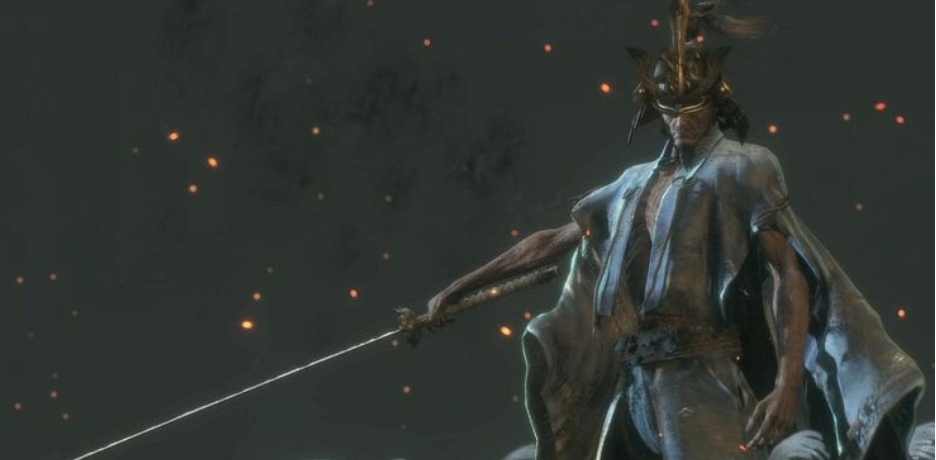
It’s right here. The genuine climactic battle of the game. The last boss, Isshin, is the ultimate test of all you’ve learnt up to this point in your journey. He has a high level of aggression and speed, and his assaults deplete your Posture metre. There are four stages to this battle (yes, four) and they are as follows. The first phase consists of combat with Genichiro, who does not seem to be giving up easily. He’s easy to deal with now that he doesn’t have access to his lightning assaults any more. He wields a Mortal Blade, and if you are unable to avoid it, you have no one else to blame but yourself.
It’s time to face up against Isshin, The Sword Saint, now. It is difficult to predict his assault patterns since they are rapid and unpredictable. Further complicating matters, his sword is obscured by the floral arena, making it impossible to determine in which direction he is moving. The most important piece of advise for this battle is to get familiar with all of his attacks, which might occasionally be distinct variants of one another. The first two stages have a large number of potential combinations, all of which need you to keep your Posture. It’s ideal if you retain your distance and force him to come to you on his own. The third phase is quite identical to the previous two, except now he obtains lightning assaults that you must neutralise. You’re on your way!
FEATURED Video

Roblox Username Generator – Create a Cool & Unique Username in Seconds

Grow a Garden Recipes in Roblox: Guide to Cook (Donuts, Sushi, Pie, Pizza & More!)

Job Opportunities in Dubai – 2026

Mr Bit at the SBC Awards Europe 2025: The Bulgarian Brand Setting New Standards in the European Gaming Industry

Dennis Rodman Net Worth 2026 – Everything You Need to Know

Bloxburg Neighborhood Codes 2026
Grow a Garden Recipes in Roblox: Guide to Cook (Donuts, Sushi, Pie, Pizza & More!)
Job Opportunities in Dubai – 2026
Dennis Rodman Net Worth 2026 – Everything You Need to Know


