Gaming
How To Enable Ray Tracing In Minecraft on Windows
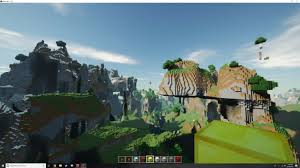
You probably wouldn’t have imagined it, but the popular game Minecraft has been given a realism boost for the year 2021, according to the official website. It is referred to as ray tracing, and it was pioneered by the well-known chipmaker, Nvidia. Ray tracing will be made accessible for Xbox Series X gamers as part of the new Minecraft RTX, despite the fact that it was initially meant for PC gamers.
Follow the instructions in this tutorial to discover how to enable ray tracing in the Minecraft game.
Read Also: How To Make Grass Grow Faster In Minecraft
What Is Ray Tracing?
To understand how to activate ray tracing in Minecraft, it is first necessary to grasp what ray tracing is and why it is used. Despite the fact that it is a somewhat esoteric phrase that not every gamer is familiar with, it has an impact on your gaming experience unless your preferred game is Solitaire.
The representation of light and shadows in video games has always been a bit of a challenge, and the same can be said for digital sound effects (SFX.) This appears to be the most difficult aspect of obtaining top-notch realism in terms of technical difficulty and time commitment. Until recently, a game’s lighting had to be “guessed” in order to be as realistic as feasible.
Nvidia has just launched a new ray tracing technique based on its cutting-edge RTX chipsets, which is intended to revolutionize gaming. No matter what kind of game you’re playing, ray tracing makes the lighting seem really stunning. In other words, Minecraft fans have something to look forward to in the near future.
How to Enable Ray Tracing in Minecraft on Windows 10 PC
As previously stated, the installation of Minecraft RTX is required in order to enable ray tracing in Minecraft. However, when it comes to compatibility, Minecraft RTX is the only game available. Microsoft Windows 10 will be required, and at this time, it is the only alternative available.
In order to use Minecraft RTX, you must first install Minecraft for Windows 10, which is the most recent version of the Minecraft PC client. Here’s how to download and install Minecraft on your Windows 10 computer.
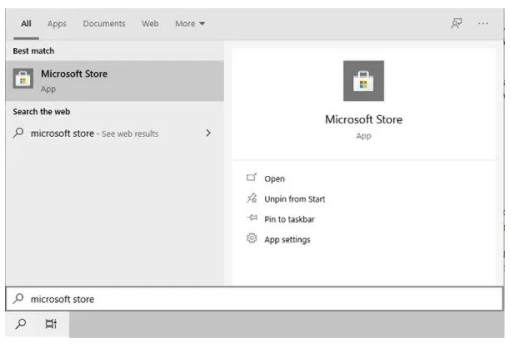
1. To access the Start menu or the Search bar, click on the appropriate icon.

2. Then, in the search box, put in Microsoft Store and press Enter.
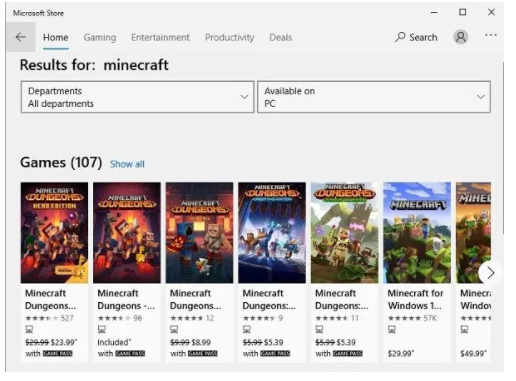
3. Once the Microsoft Store app has been launched, navigate to the search box in the app and put in “Minecraft for Windows.”
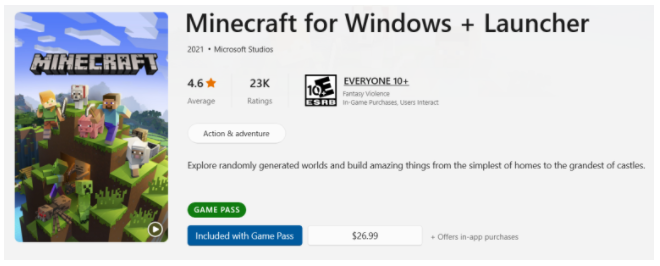
4. Purchase the game and install it in the same way you would any other application. You may also take advantage of the free trial.
Even after installing the most recent version of Minecraft for Windows 10, the game will not immediately activate ray tracing for the player. To make RTX capability available, you must first download and install the Xbox Insider Hub. Locate and download the application from the Microsoft Store. Following the installation of the app, follow these steps to enable ray tracing.
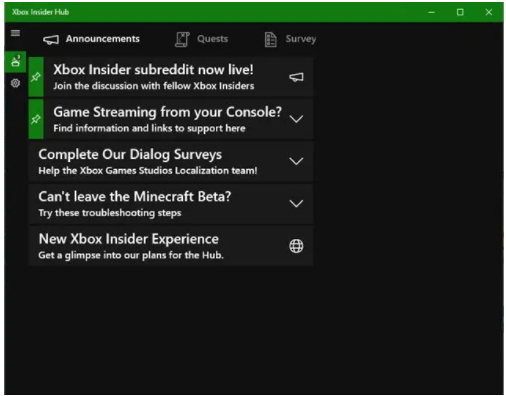
1. Start the Xbox Insider Hub application.
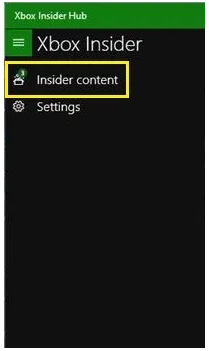
2. To access Insider material, go to the menu bar (hamburger icon) and pick Insider content from the left-hand side of the screen.
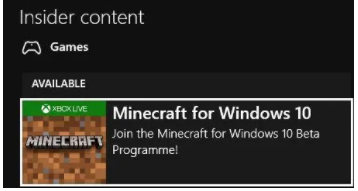
3. Minecraft on Windows 10 may be found in the Games section.
4. To become a participant in the Windows 10 Beta experience, select Join.
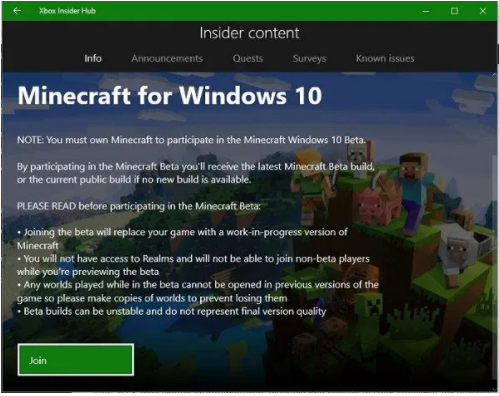
5. Select Minecraft for Windows 10 RTX Beta from the drop-down menu that appears, and then click on Done to complete the installation.
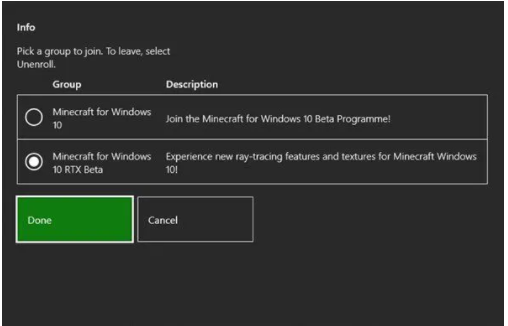
Now, the RTX Beta should be installed and applied to your Minecraft for Windows 10 edition without any more action on your part. Yes, ray tracing is enabled for you as a result of this operation.
Video

Vampire Crawlers Coin Farming Guide

Forza Horizon 6 Performance: Why 60 FPS Is Still the Console Standard

Yoshi and the Mysterious Book (2026) – Full Completion Guide, Rewards & Secret Ending

How to Get Free Pets in Adopt Me: A Guide for Players

Roblox Username Generator – Create a Cool & Unique Username in Seconds
How to Get Free Pets in Adopt Me: A Guide for Players
Yoshi and the Mysterious Book (2026) – Full Completion Guide, Rewards & Secret Ending
Vampire Crawlers Coin Farming Guide


