Gaming
How to Take a Screenshot on Your Xbox One
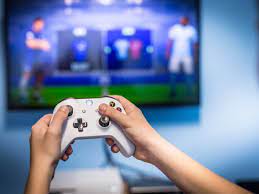
Because the Xbox One is capable of delivering some experiences that absolutely take your breath away, you may find yourself pausing occasionally to stare in awe at the display on your television. You might want to share the experience with anyone and everyone, whether you’re marvelling at a breathtaking in-game landscape or rejoicing over a particularly lopsided victory in an online multiplayer game. The procedure of taking screenshots on your Xbox One is, thankfully, rather straightforward and easy to understand.
Read Also: How to Play DVDs on Xbox One
Capturing a Screenshot using an Xbox One controller
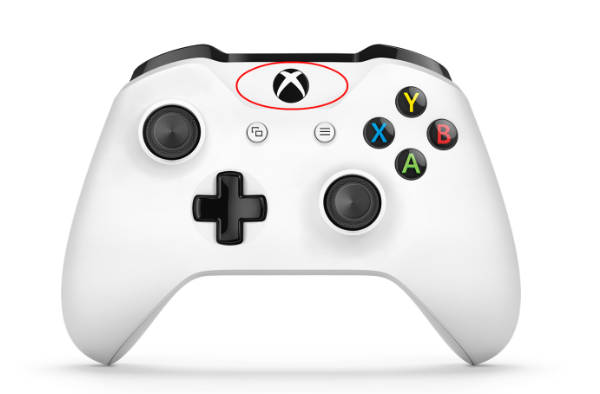
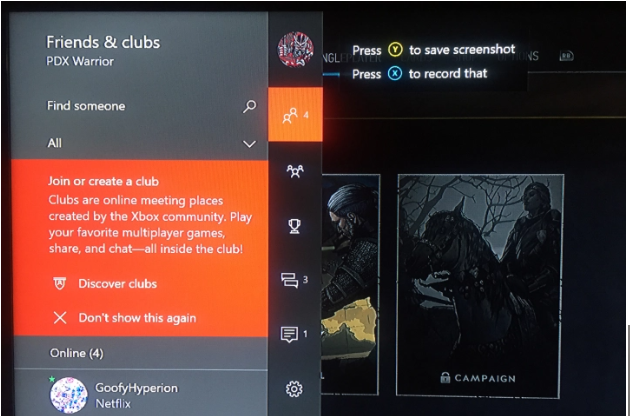
To begin, press the Xbox button, which is located in the middle of your controller and resembles a large circular logo with a glowing centre. This will open the Xbox Guide Menu in your current game. When you get there, you can immediately take a screenshot by clicking the “Y” button. This will store a time in the game for you so that you can share it or go back to it later.
Capturing a screenshot using voice commands
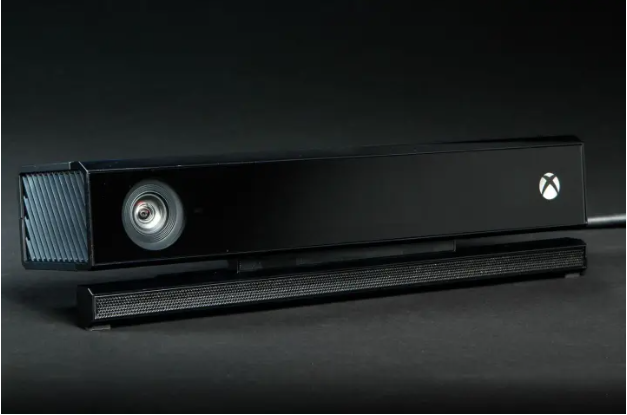
Simply saying “Xbox, take a screenshot” will get the job done if you’re utilizing a Kinect sensor, which is a proprietary motion sensor that was formerly packaged with the Xbox One. Alternately, if you are using an Amazon Alexa instead of the legacy commands that come with the Kinect, you can say “Alexa, capture a screenshot!” to get the same result. In the event that you have the feature activated, the latter command will function properly with either the Kinect sensor or a headset.
Start by navigating to alexa.amazon.com or logging into the app on your smart device. Doing either of these will allow you to link the Amazon Alexa to the Xbox One. When you get to the main screen of the Alexa app, tap the Menu button, and then tap Skills. Try searching for “Xbox” in the Skills area; Microsoft is the company that will be publishing the app. If you select this application, you will be taken to the Microsoft sign-in page. You will need to provide the username and password for the Xbox Live account in order to link it to Alexa and give her authority over it. After the players have granted the necessary permissions, the linkages will be established. This will prompt various permissions, which the players will need to authorize.
Once this is finished, you should return to the Xbox and navigate to the System menu under Settings. Kinect & Devices should be selected, and then the Digital Assistance option should be opened. You are going to be prompted to enter your password once again, but after that, you are going to be asked if you would like to enable Digital Assistance. After ensuring that the box to enable Digital Assistance is checked, you can return to the home screen. Turn on Alexa and say “Alexa, pair with Xbox” into the microphone. Alexa will let you know that you may use voice commands to handle the gaming system, and she will do so by giving you an announcement.
Sharing your screenshots
When you are ready to show off the screenshots you’ve taken, navigate to the Guide Menu by hitting the Xbox Button on the controller. This will bring you to the main menu for the game. Screenshot, Record That, Capture Options, and System Options are the several options that can be selected from at the very bottom of the guide menu. Simply press and hold the View button on the controller for an extended period of time to open a list of recent captures. You can access the Share Panel by finding and selecting the image you want to share from your gallery.
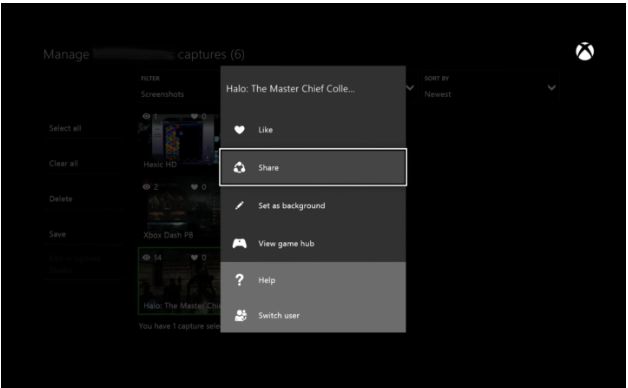
You will be given the option to select from a number of different channels, including your Activity Feed, Twitter, OneDrive, and private messaging, among others, when the popup appears. After it has been taken care of, you are finished with everything! Your masterwork will be remembered for all of time. In the event that your console is connected to an external storage device, you also have the option of using your screenshots as the background for your home screen, as well as saving them in other locations.


