Gaming
How to Make a Banner in Minecraft
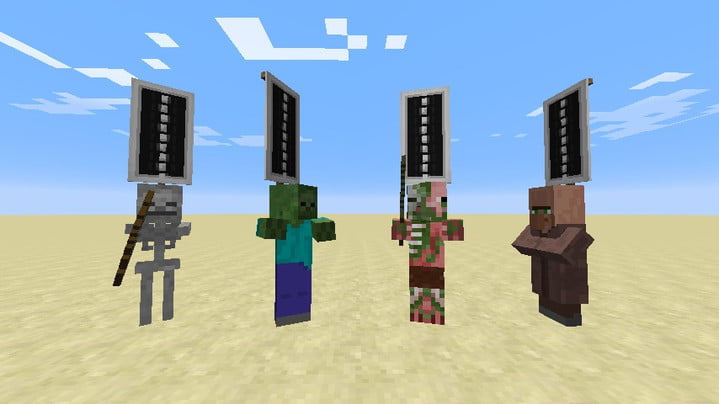
An interior room can be enhanced with the use of banners, which are tall blocks that are specifically made to exhibit a pattern or design. Banners are a wonderful item for decorating an interior space in Minecraft. Despite the fact that banners can be discovered spontaneously spawning in Minecraft, the results are limited and unimpressive, with few intricate alternatives accessible beyond simple white flower banners found in Woodland Mansions and villager face banners found in pillager outposts, among other options.
You can make your own flag as a result of this, just by putting different coloured dyes in different spots on a piece of fabric. What you need to do is follow the steps below.
Read Also: How to Update Minecraft on Xbox 360
How to Make a Banner in Minecraft
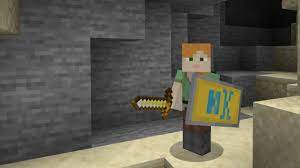
Step 1: Create or find a banner
First and foremost, get yourself a banner! You can normally loot a banner by attacking it or attacking a villager who is holding it, then checking the items that fall from it afterwards. Alternatively, you can make your own flag using six segments of matching wool colours and a pole, which is simple to do.
Step 2: Bleach the banner if necessary
However, bleaching a banner before you begin is an option that you can choose to use. This provides you with a white, blank canvas on which to begin adding dyes if you so choose, and it also removes any existing patterns if you looted the banner earlier. Despite this, you will require bleach, which can only be made using a lab table (accessible with the Education Edition or through direct commands), in which you combine three parts water and three parts sodium hypochlorite. After that, you can use the newly produced bleach to build a banner that will be easy to clean.
Otherwise, we recommend that you start with white wool while you are making because it will produce the most beautiful outcomes.
Step 3: Add dyes to the banner
Now is the moment to harvest, buy, or make dyes. You can use up to 16 dyes, so choose your colours and get to work. Bonemeal, ink sacs, flowers, and plants are all typical components that can be used to make dyes.
Once you have enough dye for your project, create it. The placement of your banner and dyes in the 3×3 crafting grid determines the pattern of your banner.
Most placements are natural, especially when creating a crest-inspired design. By putting one dye in each corner of the crafting grid, you get a square of colour in each sector. A dye in the centre makes a big dot. To create a border of that colour around the banner, dye it. Place dyes in the upper right and left corners, as well as the bottom two centre grid sections. Dye patterns are used to create crosses and Xs. Based on location, a triangle of dyes can make chevrons on a banner’s top or bottom or diagonally divide the banner with colour.
Special designs
You can also create special banner designs by adding in additional items along with a dye color for more complex results. These options include:
- Brick: Adding a brick will create a brick pattern. Add a single dye and a brick to create a colored brick pattern.
- Vine: Crafting a vine, a dye, and your banner will create a wavy border in the color of your preference.
- Creeper head: This gives you a Creeper-like face on the banner, in the color of your choice.
- Wither skeleton skull: Use this to create a skull and crossbones design.
- Oxeye daisy: This provide a vague flower shape.
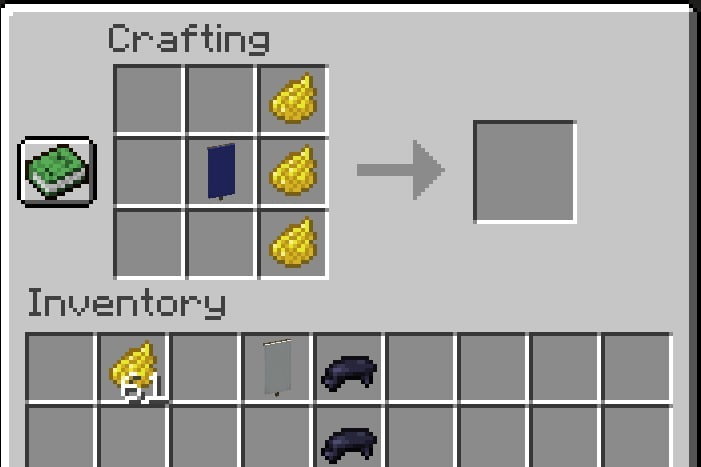
- Enchanted gold apple: Use this to get the Mojang logo.
Remember, you may reuse dyes on a banner! To achieve the desired aesthetic, you can compliment and overlay designs. Minecraft provides a tool for experimenting beforehand to avoid wasting materials. From real-life national flags to Game of Thrones’ House crests, there’s plenty of inspiration for more complicated designs. If you have access to a loom, you can design more banner patterns with more logos, although this isn’t required.
Step 4: Place your banner
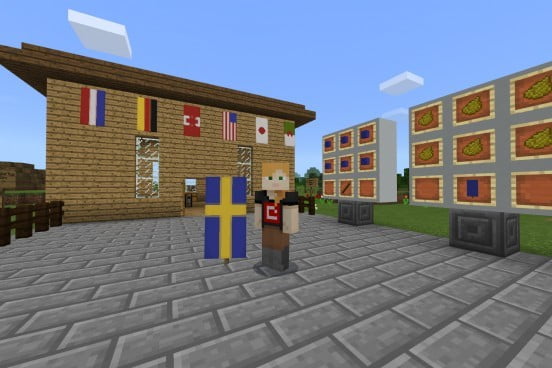
After you’ve finished creating your dyes and design, you’ll be ready to hang your banner at the desired spot. Banners do not have any collision dynamics and can be placed on the ground (like a sign) or on a wall, depending on the situation. If necessary, items like as running water can pass right through them because they are impervious to lava damage.
Step 5: Arrange multiple banners if necessary
It’s possible that one banner won’t be enough to achieve the exact effect you’re going for, especially if you’re trying to spell something out or build a giant billboard. This will necessitate the creation and placement of many banners in the same position, with their colour patterns being combined to produce a larger design.
Put a blank banner and your dyed banner into the crafting grid if you want to make another banner with the same colours as your dyed banner. This allows you to duplicate the design without having to acquire all of the materials from scratch.
Video

Vampire Crawlers Coin Farming Guide

Forza Horizon 6 Performance: Why 60 FPS Is Still the Console Standard

Yoshi and the Mysterious Book (2026) – Full Completion Guide, Rewards & Secret Ending

How to Get Free Pets in Adopt Me: A Guide for Players

Roblox Username Generator – Create a Cool & Unique Username in Seconds
How to Get Free Pets in Adopt Me: A Guide for Players
Yoshi and the Mysterious Book (2026) – Full Completion Guide, Rewards & Secret Ending
Forza Horizon 6 Performance: Why 60 FPS Is Still the Console Standard


