Gaming
How to Make an Armor Stand in Minecraft
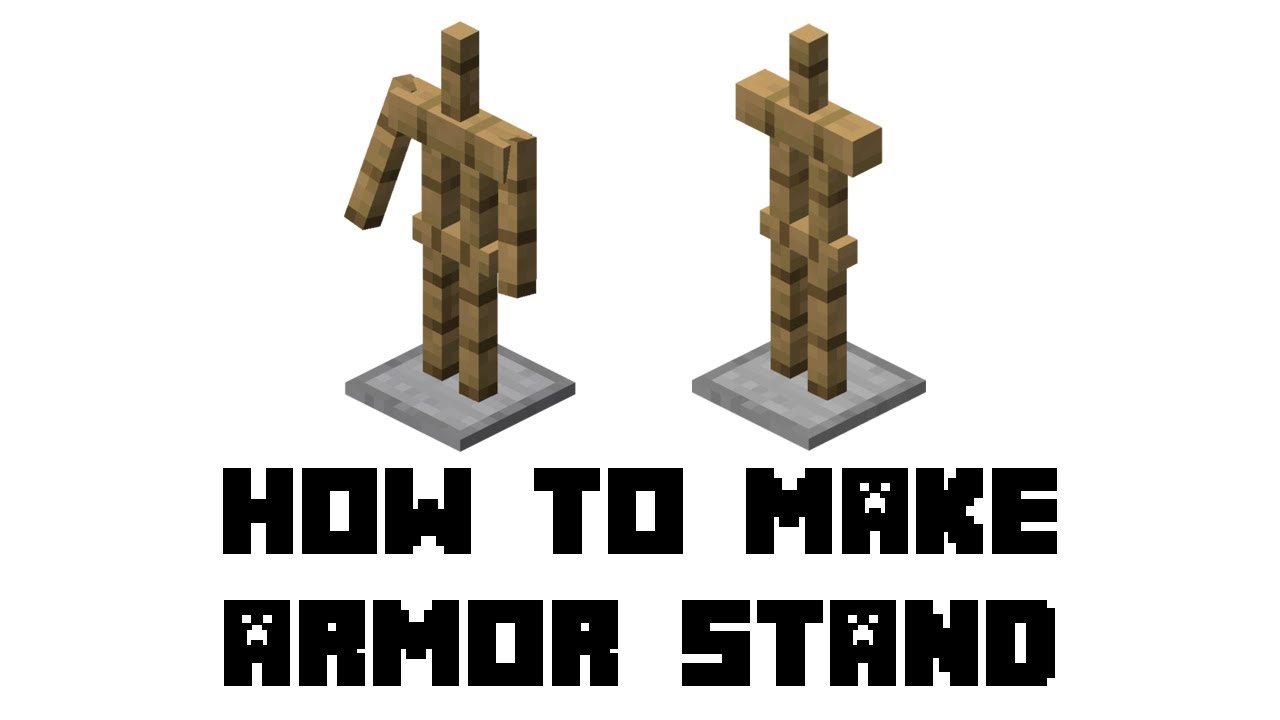
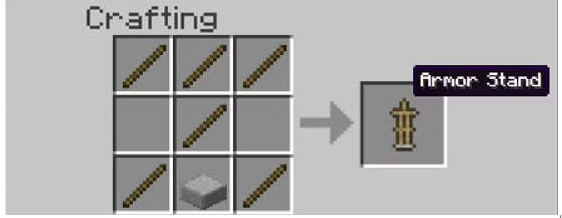
Fill the first row of the grid that makes up the crafting table with sticks to create an armour stand for your character. Sticks should be placed on either side of the third row, and a fourth stick should be placed in the centre of the grid. Place a smooth stone slab between the sticks on the third row of the armour stand to complete the construction of the stand. Simply click on the armour stand and drag it into your inventory to complete the process.
Armor stands were first included in the Java edition of Minecraft in version 1.8, and its intended use was to allow players to show off/display their armour on a wooden stand, which was a niche use for the feature.
Although it was first difficult to see, it soon became clear that the principles of armour stands could be used to a variety of diverse applications, particularly those that met the demands of third-party multiplayer Minecraft servers and map designers.
All of the queries you could have about armour stands in their present status in the game will be answered in this brief tutorial. It will describe how to make armour stands, as well as some of their most typical applications, and it will conclude by answering some of the most often asked questions about the subject.
Read Also: How To Enable Ray Tracing In Minecraft on Windows
Required Materials to make an Armor Stand
Armor stands are made from 5 sticks and 1 smooth stone slab, and they are rather simple to make.
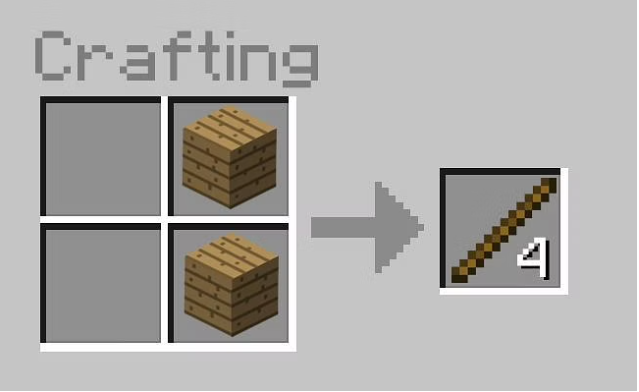
Sticks may be readily obtained by stacking two wood planks on top of each other in your 2×2 crafting inventory menu, as seen below. If you are unaware of how to obtain wood planks, consult with a professional.
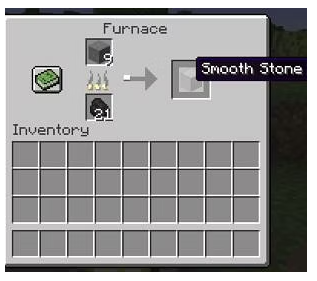
To get smooth stone, which is required for the production of smooth stone slabs, use a pickaxe enchanted with Silk Touch to mine any block of stone in your inventory. This chunk of stone must next be melted in a furnace to complete the process.
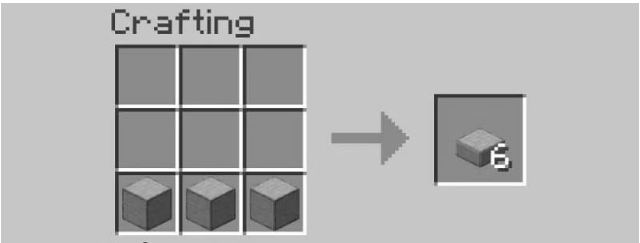
After getting smooth stone, go to the crafting table menu and choose “Crafting Table” from the drop-down menu. Simply lay your smooth stone in the precise manner outlined in the image below.
Minecraft Armor Stand Crafting Guide:
Step-by-Step Guide(with Pictures):
In order to create armour in Minecraft, you must follow the steps outlined in the following visual guide:
Step-1 To begin, a crafting table menu must be selected from the main menu. If you are unfamiliar with the notion of a crafting table, as well as how to use or construct one, read on.
Step-2 Simply recreate the identical arrangement shown below using the smooth stone slabs and sticks that you previously purchased for the recipe. Finished!
Step-3 That’s all there is to it! To complete the process, simply drag your newly built armour stand into your own inventory and you’re done.
Uses of Armor Stands in Minecraft
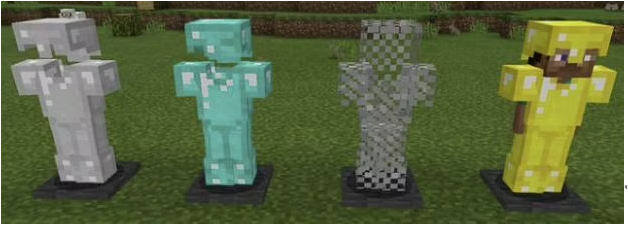
Armor stands have the potential to be useful in a variety of ways, depending on your specific requirements. In vanilla survival mode, on the other hand, its primary and most popular purpose is to display armour and provide rapid armour storage, both of which are quite useful.
Outside of survival mode, armour stands may be employed as excellent ornamental elements, which can be particularly useful during the custom map development process. Due to the unique mechanical qualities of armour stands, many servers opt to employ them on a regular basis; a large number of the most popular server-side plugins in Minecraft presently rely on armour stands to ensure that their code runs correctly.
Video

Roblox Username Generator – Create a Cool & Unique Username in Seconds

Grow a Garden Recipes in Roblox: Guide to Cook (Donuts, Sushi, Pie, Pizza & More!)

Job Opportunities in Dubai – 2026

Mr Bit at the SBC Awards Europe 2025: The Bulgarian Brand Setting New Standards in the European Gaming Industry

Dennis Rodman Net Worth 2026 – Everything You Need to Know

Bloxburg Neighborhood Codes 2026
Grow a Garden Recipes in Roblox: Guide to Cook (Donuts, Sushi, Pie, Pizza & More!)
Job Opportunities in Dubai – 2026
Dennis Rodman Net Worth 2026 – Everything You Need to Know


