Blog
How To Use An Air Rivet Gun?

Equipment and DIY tools are a matter of proper knowledge. That’s why children should avoid using it or under the guidance of a professional. However there are some tools that you should not otherwise use if you don’t know it’s working comprehensive approach.
And for those who are wondering about how to use an air rivet gun, this article would be more like an assistive read. Here we shall dig out the keep and step by step procedure of how you can use a pneumatic rivet gun the right way.
But Wouldn’t Like To Know What An Air Rivet Gun Is Indeed?
Basically, this is a tool that you use to link or fix two different metals with each other. Usually it is aluminum and steel. As you know the material and its demand is not the same each time and therefore, the air rivet gun is readily available in t different contours and size to provide the kind of efficiency you need.
Since the rivet gun uses the air compressors, it is named after it. The air pressure ultimately forces the rivet to fasten or join the material you are dealing with. However, you can set the pressure the gun uses as per your requirements.
What is a rivet?
Just like nails, rivets are the joiner that helps to join the material together. These are the long cylindrical metals. With the privilege to size and shape you can pick whichever you want. It comes in either aluminum or steel.
Step By Step Guidance for Using an Air Rivet Gun
Here is the proper air rivet gun guidance. Have you worn your safety glasses by now?
Know the drill:
After wearing the safety glasses, place the metal over that very metal you want to join. Target the spot you want to nail. It’s better to mark it for perfection. Fix the different materials using a clamp to any self-locking pliers. Now, place this orientation on the smooth and stable working place (surface).
Do the holes:
Generally the air rivet gun comes with a mixture of rivets and drills. So attach the drill and ensure the diameter with perfection. The length of the rivet and thickness of each metal should be well-balanced. Now drill the perfect holes!
Insert the rivets:
It’s pretty important to manually insert the rivet in that drilled hole. The backend of the rivet would go in between the hole and the frontend of the hole would be on the surface of the metal sheets. Ensure perfection for strength and take out the rivet, load it with the pop rivet tool!
Get those tools ready:
At this point, apply air tool oil on the air fitting on the rivet. Join the airline using a compressor to the fitting of the rivet’s tool that has been oiled. After that, turn on the air compressor.
Make sure to lubricate the inside of the tool, and introduce the rivet into the pop rivet tool. Carefully locate that perfect hole which should get to the river you are dealing with. Right rivet into the right hole; that is the whole point!
Utilize the rivet tool!
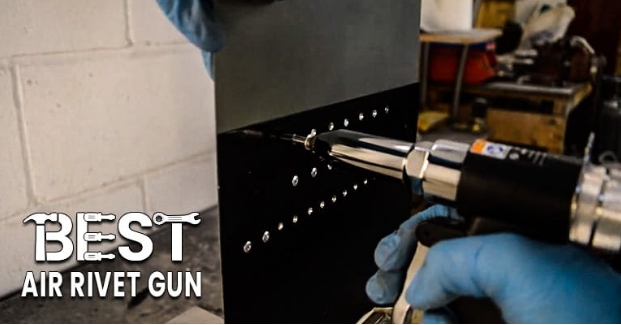
Place the gun (pneumatic rivet tool) before the material you are anticipating to fix and press the trigger till you are done. Press the gun’s trigger until you hear the popping sound. The dun would automatically restrain after the material joins.
And this is it. You have successfully joined the two materials together with the help of an air rivet gun!
Read Twice!
Dealing with an air rivet gun isn’t child’s play. Never point it out at someone. It can go off randomly and can be fatal. Moreover, the noise when dealing with the gun is another concern. So make sure to cover your ears with something that is made for it.


