Gaming
Valheim Progression Guide – The Ultimate

Assuming you need to advance in Valheim Progression Guide, you will have to discover and overcome the managers first. At the point when you drop down into Viking limbo, you’re welcomed by a circle of runes and conciliatory stones and Odin’s raven, Huginn, who occasionally peeps instructional exercise guidelines on the off chance that you collaborate with him. Here, you can find out about the five managers that you need to overcome to climb to Valhalla.
I’ve done what I could to assemble the most complete Valheim progression guide on the web at the present time. I cover all you require to do to advance right from sticks and stones up to dark metal toward the finish of the game.
In this Valheim guide, we’ll tell you the best way to recognize every one of the game’s biomes. Whenever you’ve found another region, we’ll momentarily clarify the accessible assets and what the dangers that you’ll experience there.
Our Valheim Progression Guide making progression guide will help in a game without a story where you can go any place and do anything you desire. In Valheim Thistle, progress occurs as you open new structure articles and things by getting a center fixing that makes up what you need to create.
There’s a lot to investigate in Valheim Progression Guide, on occasion it can nearly feel like excessively! With so many biomes, it very well may be a little befuddling what each is useful for and a few players probably won’t understand they exist. This is the reason it’s great to find out about the biome progression, from simplest to hardest.
Part 1 – Getting Started
I’ve isolated the guide into five individual parts. Each part is separated into the means you need to take to advance to the following level in your progression.
The guide runs you through the essential request you need to acquire things and materials to advance up the thing quality stepping stool, despite the fact that you’ll see later on that you don’t have to make it right to the fifth level to complete the game.
Valheim Progression Guide is procedurally created. That implies that I can’t give you any bearings on where to head; I can just encourage you on what to do. The game is intensely based around investigation, however, so I guess that is something to be thankful for.
To begin, you need to snatch your essential materials, as you do in each and every sandbox creating game since Minecraft. In particular, you’re searching for wood and stone. Stones are all around the ground close to the beginning region, as are branches that you can get for wood. Utilizing your new materials, you need to make yourself a sledge, a club, and a hatchet. These three will bring you through the remainder of the initial part of the game.
Setting up Your Base
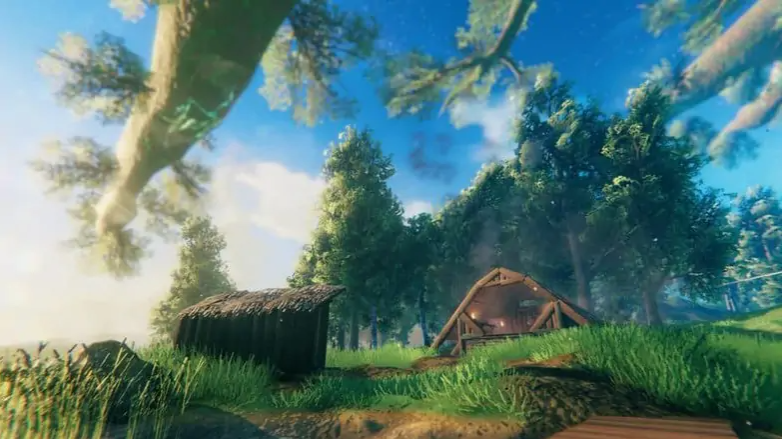
With your trusty band of instruments next to you, you’re prepared to begin assembling your headquarters. Utilizing your hatchet, slice down certain trees to get more wood. Utilizing the wood from the trees, make a workbench. Your workbench is the focal point of all your base-building takes advantage of, so ensure you place it in a space that you need to set up camp at.
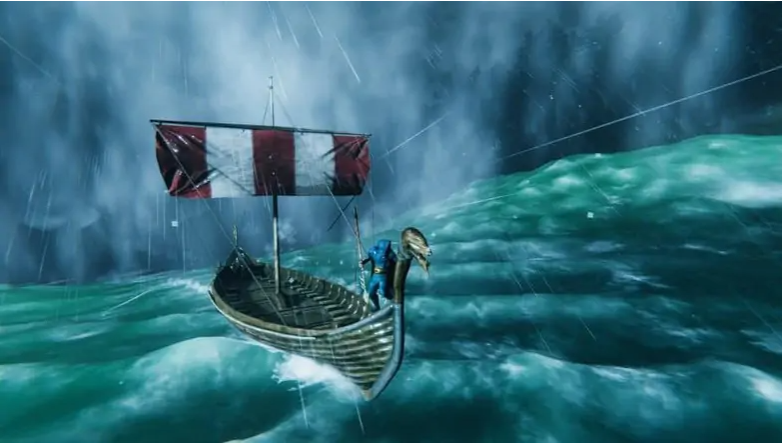
Attempt to pick a detect that is close to the sea. There’s a ton of cruising associated with Valheim, so being close to water will be life-saving over the long haul. When you place your making seat, you’re not really going to have the option to utilize it. Prior to that, you need to fabricate dividers and a rooftop around it. Thus, invest some energy gathering assets, developing somewhat base, all until you have yourself something comfortable that you’re content with.
Food
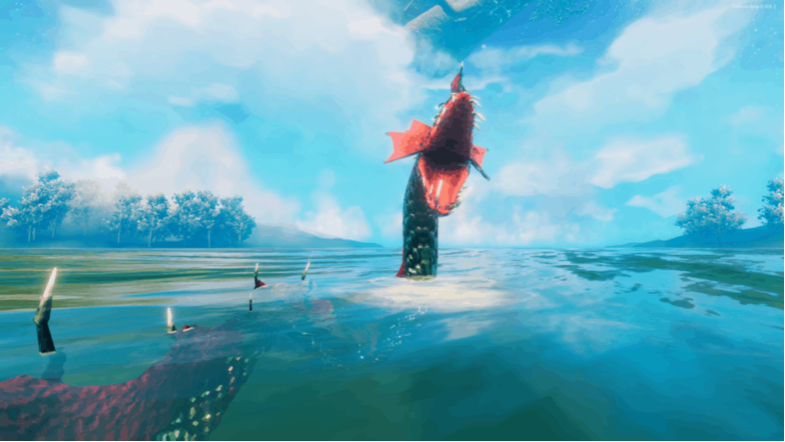
You can’t starve to death in Valheim Progression Guide, so that is not why we’re chasing for food. All things being equal, eating gives you buffs. Buffs that you will require as you battle your direction through the game’s supervisors. Assuming you need to attempt these battles without food, go right ahead, however don’t come crying to me when you get butchered. You’re searching for three explicit creatures for meat now, just as berries and mushrooms.
You can discover your veggie lover alternatives all around the wild, and you should simply pick them, so I don’t think you need a clarification for that. Chasing, then again, can be a bit of a task toward the start of the game. You’re searching for pig, deer, and necks. Sneak up any of these folks you find and give them a whack over the head with your club. Then again, in case you’re sufficiently fortunate to have created a bow now, you can utilize that all things being equal.
While you’re chasing deer, look out for deer prizes and deer stows away. You need the prizes for the chief and the stow away to fabricate yourself some calfskin covering. With your ridiculous meat close by, head back to base and fabricate yourself a fire and a cooking station. Balance your meat over your fire and let it cook. Try not to allow your food to prepare for a really long time, however, else you will consume it, actually like when you attempt to prepare food, all things considered.
You will stack three buffs for each manager battle going ahead. Two from meat, and one from vegetation, so attempt to keep a pleasant wash room loaded up with an assortment of edibles.
Getting Ready for the First Boss
You have your base, your food, and your weapons, so you’re practically prepared to go head to head against the primary chief. I will try not to reveal to you a lot about these supervisors, for the wellbeing of spoilers, so in case you’re experiencing difficulty, you must track down a manager guide.
Before you rock up and gather your first genuine test in Valheim Ymir Flesh, you will need to make some covering. Either utilize the cowhide from the deer you barbarously butchered, or then again in the event that you’ve figured out how to fell a few savages among now and, you can make some savage shield.
Snatch your shield, your three distinct food sources, your weapon, bow, and bolts, and advance over to the supervisor’s special stepped area. In the event that you lack raised area set apart on your guide, head back to your underlying produce point and interface with the sparkling rune. That will stamp its area on your guide.
Baby’s First Boss Fight
Just before you utilize your two deer prizes on the special raised area, eat your three food sources to buff yourself up. Then, at that point place your deer and hold tight for deer life (get it?)
After you’ve pounded the life out of the main chief, return its head and carry it to your bring forth highlight get a delectable once-per-day buff. You can do this for the remainder of the managers you face.
Part 2 – The Middle Game
I’m joking, I’m joking, however this is the place where Valheim Progression Guide truly begins to sparkle. Head back to your base and utilize the horns you removed from the manager’s head to make yourself a pickaxe. This pickaxe won’t keep going extremely long, so make the most that you can before you set out.
With your pickaxe, the following thing you need to do is begin searching for the Black Forest. These backwoods bring forth everywhere close to your produce point, so you shouldn’t need to look excessively hard.
Setting Up Your Second Base
Track down the Black Forest? Great, presently it’s the ideal opportunity for your a respectable halfway point.
You need to have different bases spotted around the guide for one basic explanation, and it’s not to do with transport. This is on the grounds that you can’t quick go with metals. That implies that except if you need to walk a long distance each time you need to create something, you need a few making stations set up in different areas.
You will interface these bases up later on with gateways, however for the present, you don’t approach the fundamental materials. When you arrive at an agreeable situation on the edge of the dark timberland, make yourself a workbench, and make a base.
In the Black Forest
In the first place, you need to get your hands on copper and tin. Both of these metals are the manner by which you both open bronze, just as start things off with a ton of the substance that Valheim Progression Guide right now has to bring to the table. This is the reason you constructed the pickaxes before, which you ought to have on you at the present time.
Copper stores can be difficult to come by and for the most part bring forth towards the focal point of the woods. They bring forth in huge groups of rocks, which means once you discover a vein, you will receive a good chomp in return. When you discover copper, mark it on the guide with the goal that you can return to it later.
You will be running a great deal of these prisons, and they don’t respawn, so be prepared for some grindy investigation now. The skeletons in these prisons are powerless to dull weapons, so bring a club assuming you need to be just about as effective as could really be expected.
Likewise, as you’re investigating, you may coincidentally find a prison with another rune. Collaborate with it to uncover the area of the following manager on your guide. Make sure to stamp the areas of prisons on your guide as you investigate. They don’t reset, yet they can assist you with improving lay of the land as you progress.
Back at Base
At the point when you have your centers, you should make a beeline for base. You will make two things here: a Kiln and a Smelter. On the off chance that you have the materials for it, make more than one smelter. The grounds that these things are agonizing.
You utilize these smelters to… well… smelt the metal you found before. Get some coal from your furnace and put it in your smelters with your metal of decision. While you’re trusting that your mineral will be dissolved down, update your workbench by creating the stations with stars close to them. Especially, you need to make yourself a manufacture.
The following not many strides in your Valheim Progression Guide progression guide are to redesign. The entirety of your stuff to bronze. This is grindy and takes some time. So go on autopilot and simply appreciate playing the game for a brief period. Develop your base, persuade a few amigos to get the game and play with you. Simply have some good times until the entirety of your stuff has been overhauled.
Gracious! Also, remember to interface up your two bases. You’re additionally going to need to make yourself some fire bolts for this next chief. Trust me on this one.
Boss Number Two
Since you’re decked out in bronze, or even while you’re actually chipping away at your assortment. It’s an ideal opportunity to get yourself some antiquated seeds so you can produce the following b

Vampire Crawlers Coin Farming Guide

Forza Horizon 6 Performance: Why 60 FPS Is Still the Console Standard

Yoshi and the Mysterious Book (2026) – Full Completion Guide, Rewards & Secret Ending

How to Get Free Pets in Adopt Me: A Guide for Players

Roblox Username Generator – Create a Cool & Unique Username in Seconds
How to Get Free Pets in Adopt Me: A Guide for Players
Yoshi and the Mysterious Book (2026) – Full Completion Guide, Rewards & Secret Ending
Forza Horizon 6 Performance: Why 60 FPS Is Still the Console Standard


