Gaming
How to Get a Shovel in Animal Crossing

As you may assume, the shovel in Animal Crossing: New Horizons isn’t as easily available as you might think. The digging tool has been a mainstay of the game series for many years, but you’ll have to put in some effort if you want to include it in your collection of tools. When you first start the game, it appears that you don’t have a shovel, which is odd considering that you need it for a variety of tasks such as fossil hunting and tree-planting. However, despite the fact that it is really handy, you must first complete a number of tasks before anyone will even consider giving you a shovel. You’ll be handed a fishing rod and net right away, but you’ll have to work for the shovel and other equipment, which you’ll have to earn over time.
Read Also: How to Get Log Stakes in Animal Crossing
How to Get Your First Shovel (on an Established Island)
Players who create a new character on an already built island will be presented with a more concise and less detailed tutorial. If you’re a new inhabitant on an old island, here’s how to get your hands on a shovel.
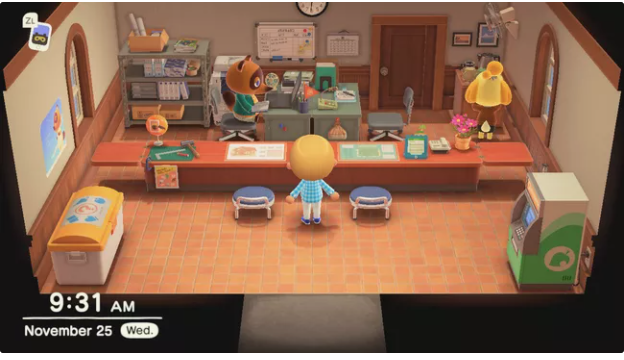
1.When you first arrive on the island, Tom Nook will provide you with a Tent Kit. Make use of it to choose a suitable spot for your tent, which will eventually serve as your permanent residence.
2.After you’ve finished setting up your tent, head back to Tom Nook at the Island Services building. He will say that he provides a do-it-yourself workshop. If you accept his offer, he will instruct you on how to construct a Flimsy Fishing Rod.
3.The Flimsy Fishing Rod necessitates the use of five branches. Shaking trees will help you collect them. To complete the fishing rod construction, return to Island Services and use the DIY crafting station located near Tom Nook to complete the project.
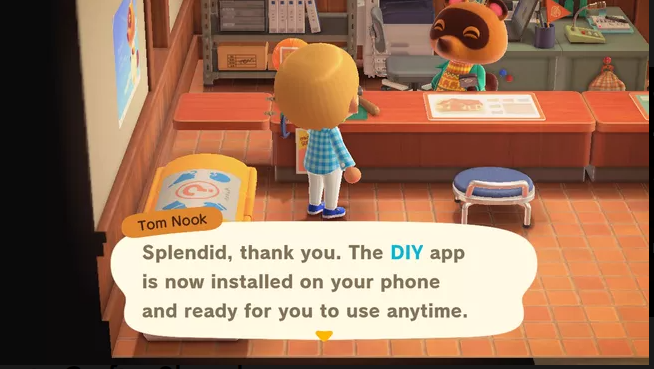
4.Once you’ve completed, chat with Tom Nook once more. He’ll give you access to the DIY app as well as numerous basic DIY recipes. Don’t be concerned if a shovel isn’t included on this list. Nook’s Cranny sells a Flimsy Shovel recipe for 280 Bells, which can be found here.
How to Craft a Shovel
The Flimsy Shovel is the most basic shovel in Animal Crossing: New Horizons, and it is used to dig holes in the ground. In order to make it, you’ll need five pieces of Hardwood. Hardwood may be obtained by slashing trees with an axe, as seen below. Once you’ve obtained the Hardwood, you may use it to build the Flimsy Shovel at any of the crafting stations in the game.

How to Upgrade a Shovel
While it does its function, the Flimsy Shovel is prone to breaking. You’ll want to make the necessary upgrades as soon as feasible.
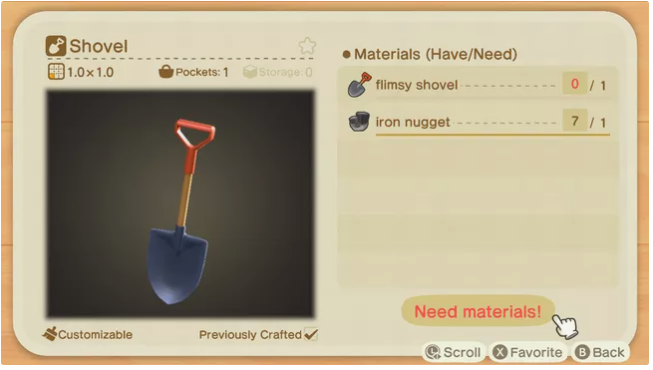
For 2,000 Nook Miles, you may purchase the Pretty Good Tools package at the Nook Stop, which will allow you to use the regular Shovel. The package also grants access to standard versions of other basic equipment, such as an axe, a stone axe, a fishing rod, a net, and a watering can, among others. The Shovel may be crafted by mixing a Flimsy Shovel with one Iron Nugget once the formula has been memorized, as shown below.
Iron Nuggets can also be obtained by smashing stones with a shovel or an axe, as described above. In addition, you may get them as balloon presents or from locals.
Video
FAQs
Why can’t I make a shovel in Animal Crossing?
Instructions on Obtaining Your First Shovel (on a New Island) A shovel cannot be crafted until the player has completed a few tasks in the game’s tutorial, which takes place on a new island in Animal Crossing: New Horizon. Early in the training, Tom Nook will urge you to contribute five fish or bugs, which you must do. Use a fishing rod to capture fish, or a bug net to catch bugs if you want to catch them.

Vampire Crawlers Coin Farming Guide

Forza Horizon 6 Performance: Why 60 FPS Is Still the Console Standard

Yoshi and the Mysterious Book (2026) – Full Completion Guide, Rewards & Secret Ending

How to Get Free Pets in Adopt Me: A Guide for Players

Roblox Username Generator – Create a Cool & Unique Username in Seconds
How to Get Free Pets in Adopt Me: A Guide for Players

Grow a Garden Recipes in Roblox: Guide to Cook (Donuts, Sushi, Pie, Pizza & More!)
Roblox Username Generator – Create a Cool & Unique Username in Seconds
Yoshi and the Mysterious Book (2026) – Full Completion Guide, Rewards & Secret Ending


