How to Add a Border in Google Docs: A Simple Guide for Beginners.
How do you add a border in Google Docs? If you’ve ever wanted to know the answer to that question, you’ve come to the right place. This guide will give you step-by-step instructions on how to add a border in Google Docs.
Google Docs is an online word processing program developed by Google. It was introduced as a free web-based word processor that allows users to create and edit documents online while sharing them with other users. You can share your documents publicly or privately with whomever you desire. It also automatically saves all of your work, so if the internet connection goes out, your work will still be saved for when it comes back up again.
If you want to learn how to add a border in Google Docs, then read on!
What is Google Docs?
Google Docs is a free web-based word processor that allows users to create and edit documents online. It was introduced by Google as a free online word processor that allows users to create and edit documents online while sharing them with other users. You can share your documents publicly or privately with whomever you desire. It also automatically saves all of your work, so if your internet connection goes out, your work will be saved for when it comes back up again.
How to Add a Border in Google Docs
There are three different ways that you can add a border in Google Docs to your document.
1. Add a border around the whole document:
Select “Page layout” from the menu bar at the top of Google Docs.
Select “Margins and borders” from the drop-down menu.
Click on “Add Borders” and select the line style, color, and width you want for your border to appear around the whole document.
2. Add a border around a specific part of your document:
Select “Insert” from the menu bar at the top of Google Docs.
Choose “Drawing object” from the drop-down menu options.
– Draw a box on any spot in your document where you would like a border to appear. The box will automatically turn into a text box when you release your mouse button or finger from drawing over it, so make sure to draw boxes instead of lines if you want them to function as text boxes. – From there, select “Borders and Shading” from the drop down menu next to “Borders,” then choose “Line”
1- Create a 1 by 1 table
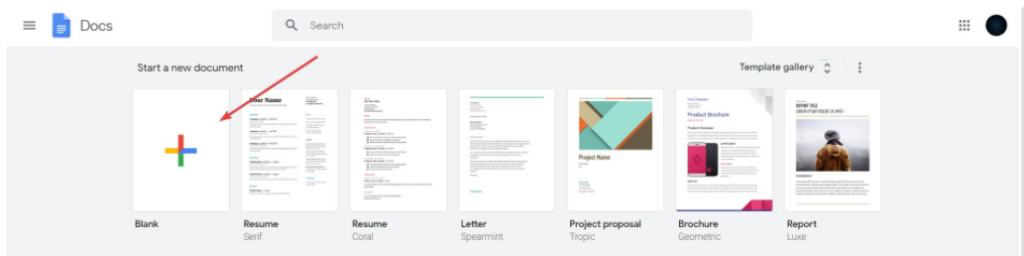
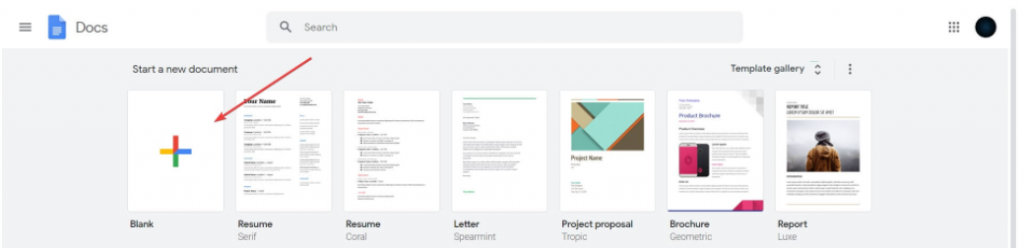
Go on your Google Docs web page and with inside the Start a brand new record pick out Blank.
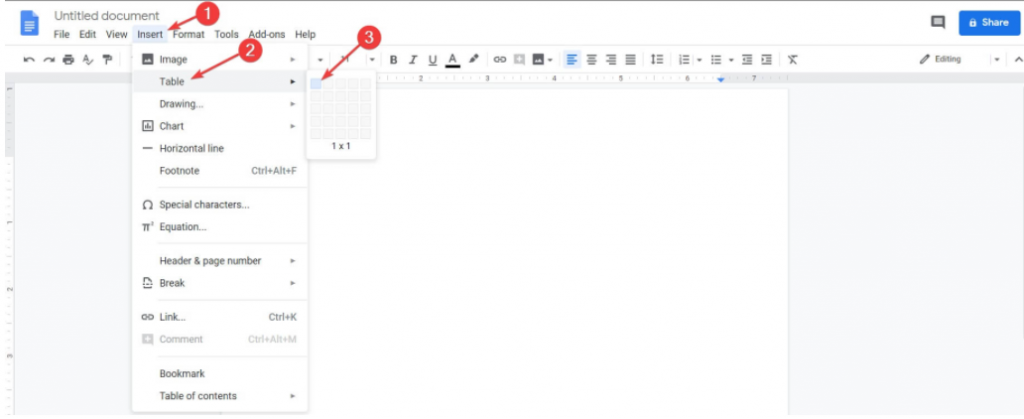
Now in the Menu click on Insert, select Table, and choose a 1 x 1 grid.
Resize the cell to fit your needs.
In the top-right, you will have the border options: Background color, Border color, Border width and Border dash. You can change the format in the manner that you see fit.

That’s it. You recognize have a border to your record and you could upload text, pictures, and different matters in the mobileular created at step 2
2. Draw the border
Go to your Google Docs page and in the Start a new document choose Blank.
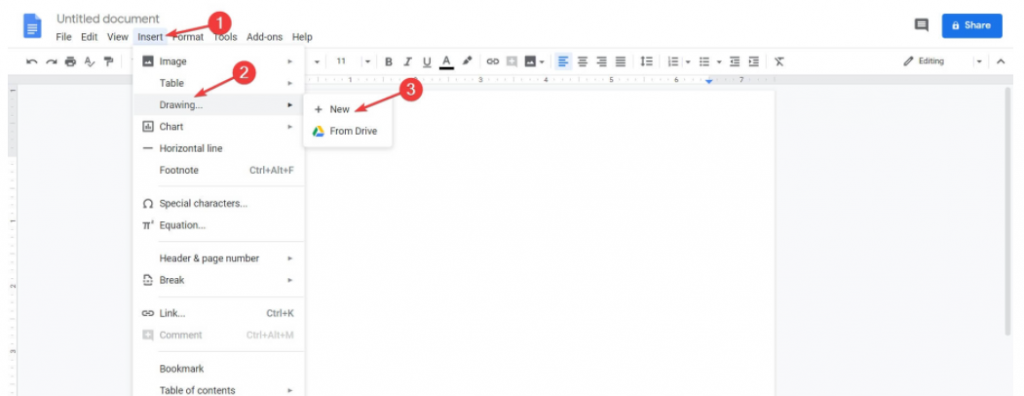
In the Menu click on Insert, select Drawing, and choose New
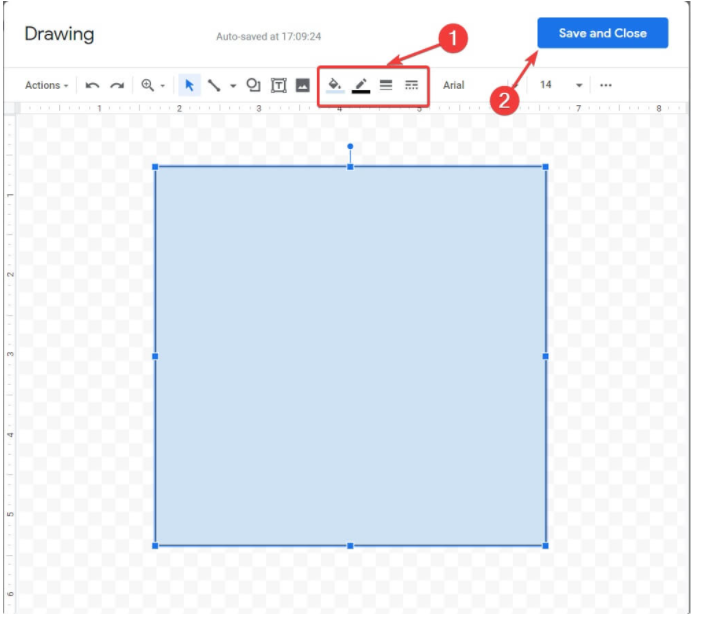
In the pinnacle menu click on on Shape, pick out Shapes, and pick out the way you need your border to look.
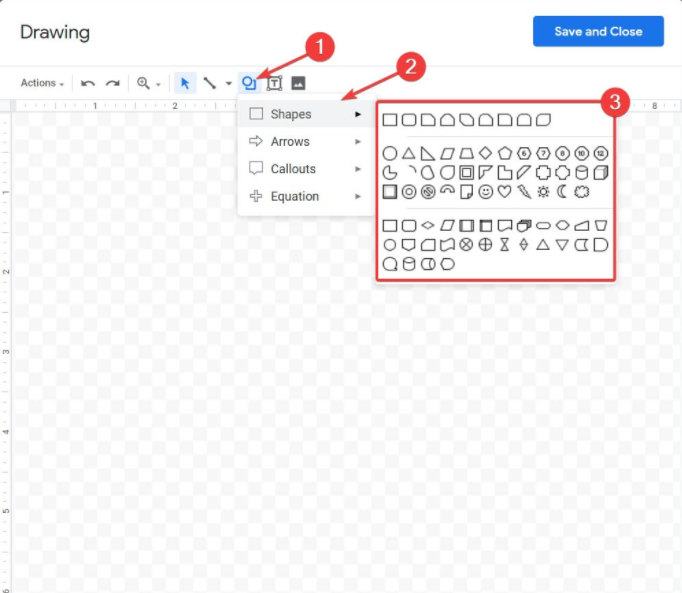
Once a shape created, a Border menu will appear and from there you can format the border.
In the end, click Save and Close.
The border will seem to your report.
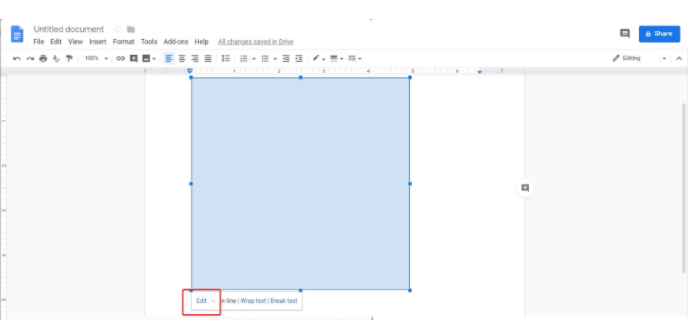
If you need to extrade the layout when you saved, click on at the border with inside the report and a menu will seem. Click Edit.
FEATURED VIDEO
Conclusion
In just a few minutes you can add a border to your Google Docs.
There’s no need to download anything or sign up for a new service. All you need to do is use a Google Docs function called Table. Table allows you to apply a border to a cell if you want the border to be the same color as your document or if you want it to be a different color, then you can use the Border option.
In this guide, we’ll show you how to use Table and Border in Google Docs for free.

Vampire Crawlers Coin Farming Guide

Forza Horizon 6 Performance: Why 60 FPS Is Still the Console Standard

Yoshi and the Mysterious Book (2026) – Full Completion Guide, Rewards & Secret Ending

How to Get Free Pets in Adopt Me: A Guide for Players

Roblox Username Generator – Create a Cool & Unique Username in Seconds
How to Get Free Pets in Adopt Me: A Guide for Players

Grow a Garden Recipes in Roblox: Guide to Cook (Donuts, Sushi, Pie, Pizza & More!)
Roblox Username Generator – Create a Cool & Unique Username in Seconds
Yoshi and the Mysterious Book (2026) – Full Completion Guide, Rewards & Secret Ending


