Guide
How to Share Screenshots From Switch to a Smartphone Wirelessly
The release of software update 11.0.0 for the Nintendo Switch brings with it a number of changes and additional features that are added to the base firmware of the Switch and Switch Lite. One of these features is the ability to transfer screenshots from your console to a smartphone or a personal computer. You can now use a QR code to wirelessly transfer up to ten screenshots and one video at a time to a smartphone or tablet if the operating system on your Nintendo Switch console is 11.0.0 or higher. This feature is only available for consoles that are running versions of the system that are 11.0.0 or higher. This post will walk you through the process of wirelessly sharing screenshots from your Nintendo Switch to your smartphone. So let’s get started:
Read Also: How to Transfer Videos and Photos from Your Nintendo Switch to PC
How to Share Screenshots From Switch to a Smartphone Wirelessly
via QR Code:
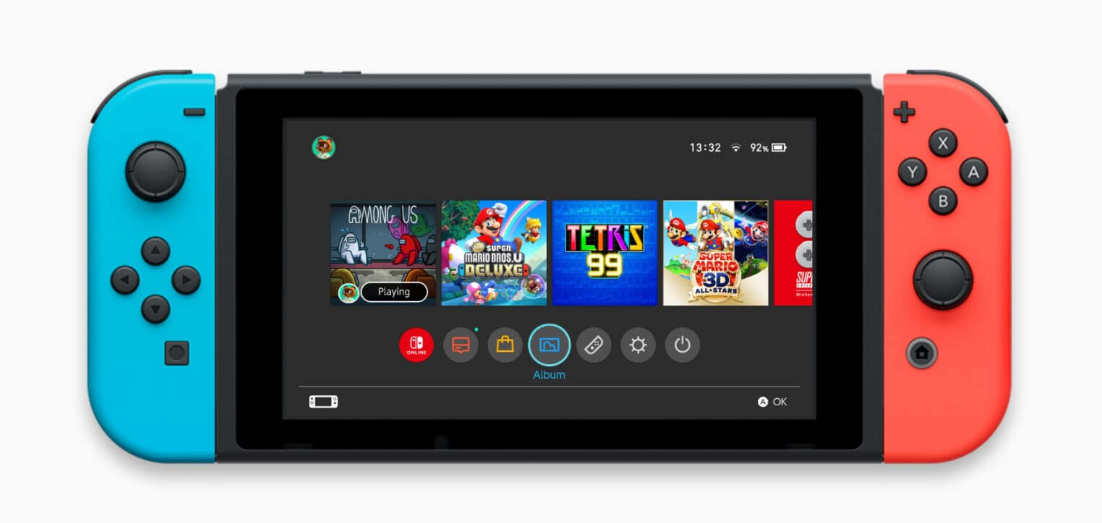
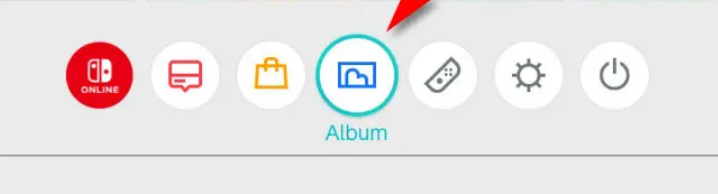
Before you can begin to share media from your Switch, you will first need to ensure that it is running System 11.0.0 or a later version. In such case, enter “System Settings,” go to “System,” and then pick “System Update” from the menu that appears. After then, from the Home menu, choose the Album icon (the circle with a rectangular photo of some curved, Mario-style hills).
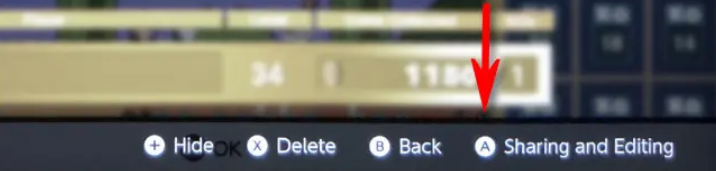
Choose the image or video that you wish to send to your mobile device, make your selection, and then press the A button to activate the “Sharing and Editing” menu.
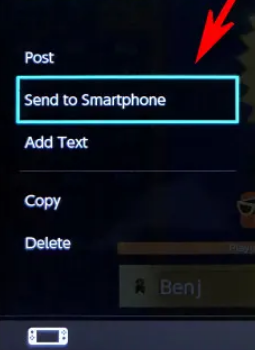
Choose “Send to Smartphone” from the drop-down menu in the “Sharing and Editing” column.
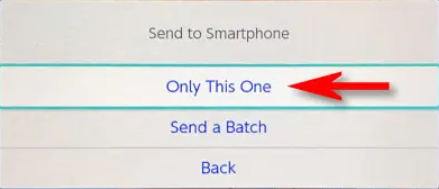
You will see a pop-up that asks you whether you would want to share “Just This One” or whether you would rather “Send a Batch.” You can select the photographs to send in a convenient thumbnail interface, and the batch option will only allow you to send a maximum of 10 still images and 1 video at a time. Nonetheless, for the sake of this illustration, we will go with “Just This One.”
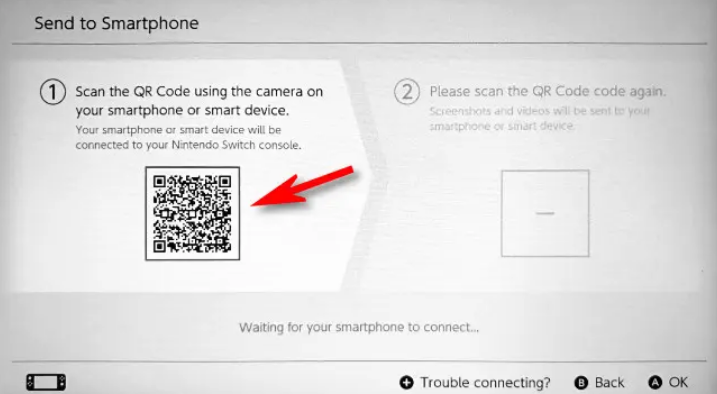
The screen titled “Send to Smartphone” will then appear, and it will contain a QR code. Launch the Camera application on your mobile device (either a phone or a tablet) and scan the QR code. This works with iPads and Android devices that can scan QR codes, however we’re using an iPhone here for demonstration purposes.
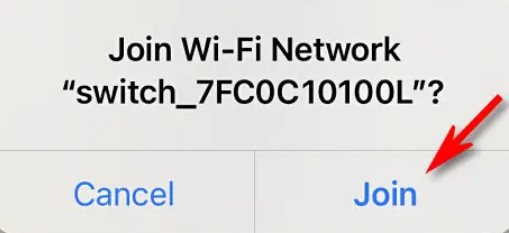
When you have scanned the code, you will receive a notification asking if you would like to join the Switch’s local Wi-Fi network. Tap the “Join” button to proceed. The name will be something along the lines of “switch 8057C0001.” It seems somewhat ominous, but there’s no need to be alarmed; all you’re doing is connecting to the Switch unit in your neighbourhood.
A second QR code will display on your Switch once your smart device has successfully connected to it.
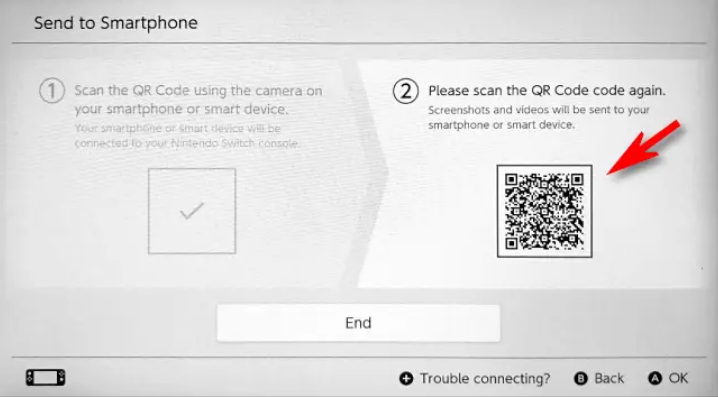
You can open it in a browser by scanning it with your smart device and then tapping the link that appears in the notification that displays after scanning it. You will then be taken to a web page that displays a small version of the image that you have selected to share. If you opted to share a collection of photographs, thumbnails of all of those images will be displayed on this page.
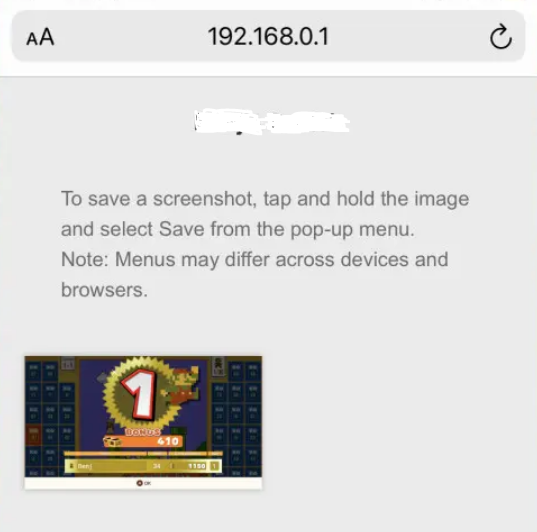
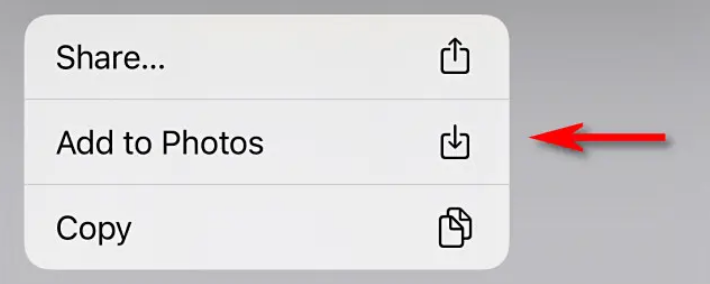
You will then be able to save each image or video to your own device from there. To accomplish this on an iPhone, simply press and hold your finger on an image for a few seconds, and when the contextual menu appears, select “Add to Photographs” from the list of available options.
After that, go back to your Switch and select “End” from the menu.

This will cause the Wi-Fi connection to be severed; shortly thereafter, your smartphone should automatically reconnect to the Wi-Fi access point that it has set as its default. In the event that it does not, you will be required to go into the settings of your device and manually reconnect.
FAQs
Are switch screenshots saved on the SD card?
To manage your data, go to System Settings after selecting HOME from the main menu. Choose Manage Save Data/Screenshots and Videos from the menu that appears, and then select Manage Screenshots and Videos. The following choices are going to be available to you: Keep This Location: You have the option of saving your movies and screenshots to the internal System Memory or to an external microSD card.
How do I view switch screenshots online?
You can view the screenshots you have taken by going to the Album section of the HOME menu. After you’ve added your screenshots to the Album, you’ll have the option to edit and share them on Facebook or Twitter.
How do you save screenshots on Android?
You can capture a screenshot on most Android devices by simultaneously pressing the Volume down button and the Power button for a second or two. This should allow you to snap a screenshot. When you take a screenshot, you will be notified with both an audible shutter sound and a visual confirmation.
How to take a screenshot on Android without power button?
Utilize Gestures
You can now snap screenshots on many Android devices by using gestures rather than pressing buttons, which eliminates the necessity of doing so. On Samsung phones, for instance, you can enable the Palm Swipe to Capture feature by navigating to the Settings menu, selecting Advanced Features, and then selecting Motions & Gestures.

Vampire Crawlers Coin Farming Guide

Forza Horizon 6 Performance: Why 60 FPS Is Still the Console Standard

Yoshi and the Mysterious Book (2026) – Full Completion Guide, Rewards & Secret Ending

How to Get Free Pets in Adopt Me: A Guide for Players

Roblox Username Generator – Create a Cool & Unique Username in Seconds
How to Get Free Pets in Adopt Me: A Guide for Players
Yoshi and the Mysterious Book (2026) – Full Completion Guide, Rewards & Secret Ending
Forza Horizon 6 Performance: Why 60 FPS Is Still the Console Standard


