Apple
How to Take Handwritten Notes on Your iPad
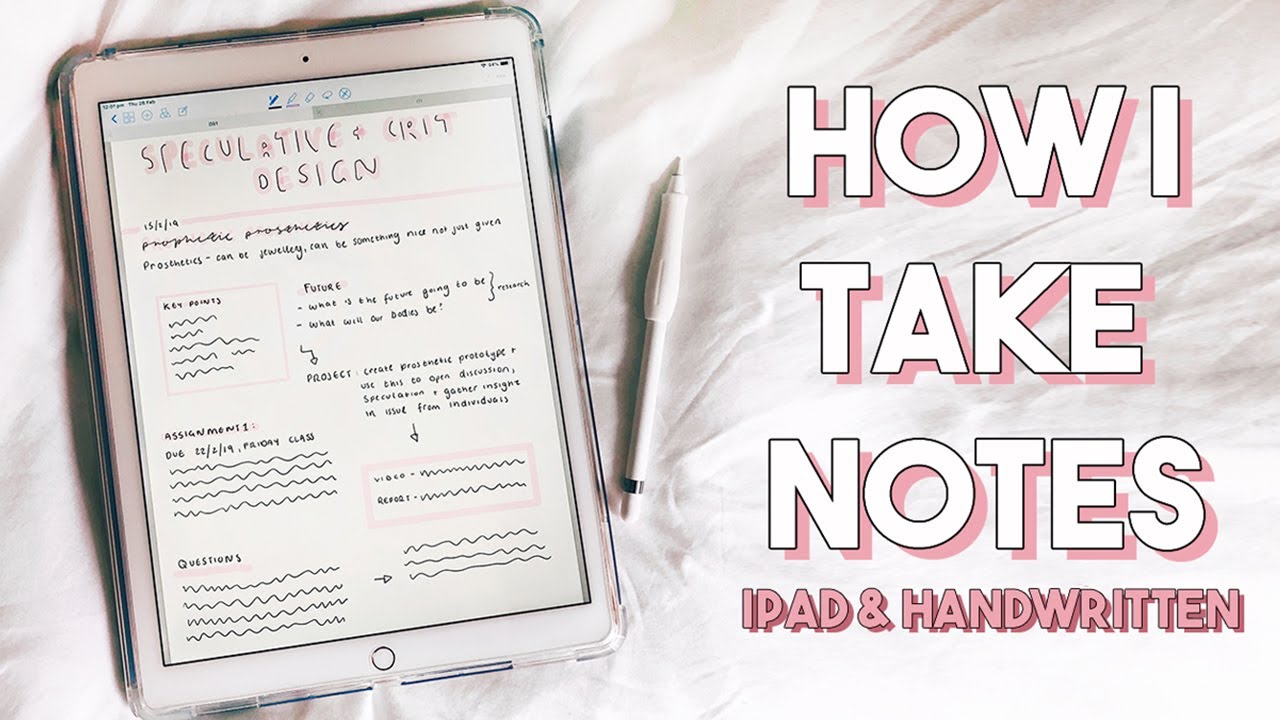
The Apple Pencil is a powerful tool for your iPad that can do a variety of things. Non-stop (virtual) drawing, painting, and coloring are all possible, but you can also take notes and doodle with it. Find out how to take handwritten notes on your iPad in this tutorial.
Read Also: How to Change Your Apple ID on an iPad
Apple Pencil Compatibility
It is possible to purchase two distinct models of the Apple Pencil. The first-generation Apple Pencil has a spherical form and was initially debuted with the first iPad Pro, which was released in 2016. It also has a Lightning connection hidden behind the cap, which may be used for charging.

Here’s a list of all iPads that support the first-generation Apple Pencil at the time of writing:
- iPad Air (3rd generation)
- iPad mini (5th generation)
- iPad Pro 12.9-inch (1st or 2nd generation)
- iPad Pro 10.5-inch
- iPad Pro 9.7-inch
- iPad (6th generation)
- iPad 10.2 inch (7th generation)
The second-generation Apple Pencil is quite a bit smaller, with a single flat edge. It now magnetically latches on to the edge of the iPad Pro and charges wirelessly.
The accessory is only supported on the following iPad Pro models with Face ID (again, at the time of writing):
- iPad Pro 11-inch (2018 and 2020 models)
- iPad Pro 12.9 inch (2018 and 2020 models)
How to take Handwritten Notes on iPad Using Notes App
Due to the fact that you do not need to download an app to begin taking notes on your iPad, getting started is fairly simple. Simply utilize the Notes app that comes pre-installed on your iPad.

Create a new note in the “Notes” app on your iPad by selecting “New Note.” From there, click on the Full-Screen option to make the note appear in full-screen mode.

Now, you can tap the tip of your Apple Pencil on the screen to enter the handwritten notes mode. You’ll see drawing tools appear at the bottom of the screen.

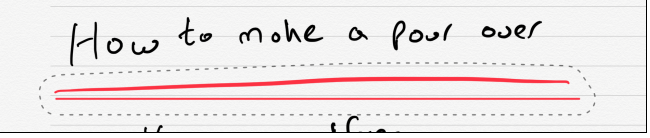
The canvas is now yours. You can doodle, write, or type anything in the note. When you’re taking notes with the Apple Pencil, use your finger to swipe up and down.
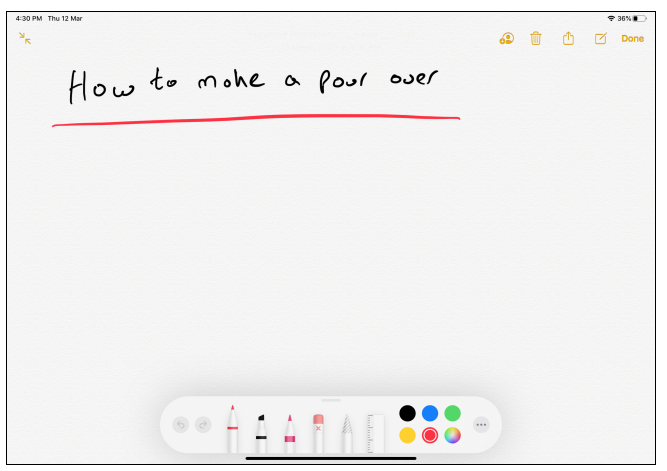
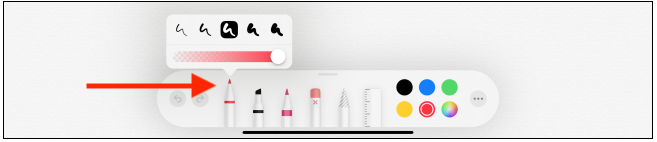
The first of the drawing tools is the Pen tool, which is the first of the drawing tools. The choice for nib thickness as well as transparency may be accessed by tapping on the button. You may repeat the process for the following two tools, which are the Marker and the Pencil.
With the second-generation Apple Pencil, you may switch from the Action button to the Eraser by double-tapping on the Action button twice. You may also set the Action button to switch to the previous tool that was used instead of the current tool.
The fourth tool is the Eraser. Tap on it to turn your Apple Pencil into an eraser. Move your Apple Pencil over anything that you want to erase.
The fifth tool is a selection tool in the form of a Lasso. Photographers may be familiar with this technique.) Once the tool has been selected, you may use the circling tool to pick components. Once they have been selected, you may move them about with your finger. This might be a useful method for you to relocate a doodle to a new location.
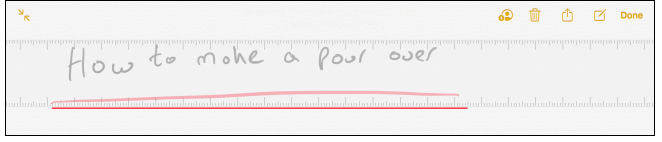
The Ruler is the final piece of equipment in the set. Following your selection, you’ll see that a huge ruler appears in the remark area. You may move the Ruler and modify the angle of the Ruler by using two fingers.
With a little movement of your fingertips, you’ll notice that the ruler snaps to particular angles, such as 45 degrees, 90 degrees, and so on. Once you’ve finished using the ruler, simply press on the symbol once again to dismiss it.
A colour picker can be found on the right-hand side of the screen. Initially, you’ll see five typical colours that you may choose from, but you can also touch on the colour picker button to see all of the colours that are accessible.
Now that you’re familiar with all of the tools, you can start writing with your Apple Pencil right now.
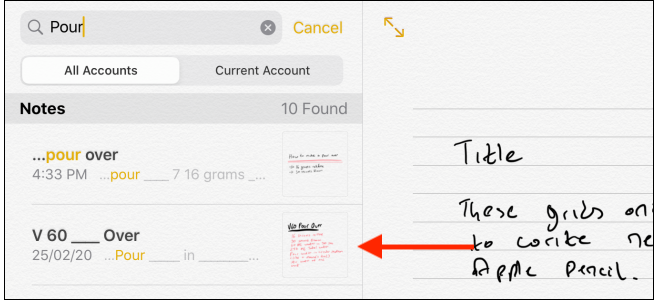
As soon as you’ve completed writing, you’ll come across a delightful hidden gem that you’ll want to explore more. Apple’s Notes application includes a built-in handwriting recognition feature. As a result, as long as your handwriting is legible, Apple should be able to detect and index your words and sentences.
In other words, you will be able to search for text within your handwritten notes. Go to the “Search” section and see if you can locate anything from your handwritten note to see how well it works.
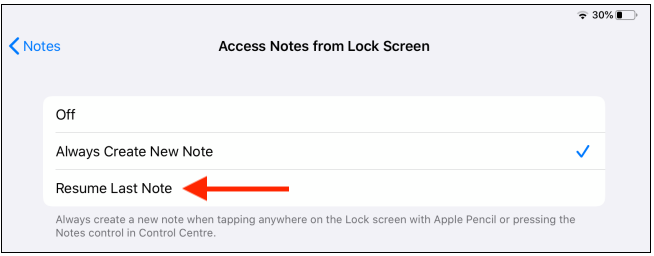
Furthermore, you don’t even have to unlock your iPad in order to begin taking handwritten notes. Simply touch on the lock screen of your iPad with your Apple Pencil to unlock it. The note will be created as a new blank note in which you may begin writing. Later thereafter, you may unlock your iPad and save the note to your computer.
By navigating to Notes > Access Notes From Lock Screen section in the Settings app, you may make changes to the lock screen functionality.
Video

Vampire Crawlers Coin Farming Guide

Forza Horizon 6 Performance: Why 60 FPS Is Still the Console Standard

Yoshi and the Mysterious Book (2026) – Full Completion Guide, Rewards & Secret Ending

How to Get Free Pets in Adopt Me: A Guide for Players

Roblox Username Generator – Create a Cool & Unique Username in Seconds
How to Get Free Pets in Adopt Me: A Guide for Players

Grow a Garden Recipes in Roblox: Guide to Cook (Donuts, Sushi, Pie, Pizza & More!)
Roblox Username Generator – Create a Cool & Unique Username in Seconds
Forza Horizon 6 Performance: Why 60 FPS Is Still the Console Standard


