Guide
How to Trim Video on Your Windows 10

The Photos app is the most acceptable solution for you to consider using if you do not wish to download any new software at this time. Windows 10 is already pre-installed on it, and the process of using it is as straightforward as it gets. Using the Photos app on Windows 10, which is covered in detail in the following article, you will learn how to trim films.
Read Also; How to Run Fallout 3 on Windows 10
How to Trim Video on Your Windows 10
If you need to cut some footage from the beginning or the conclusion of the video, follow the first set of instructions below. Use the advanced instructions that may be found toward the bottom of this page in order to cut out more than one section.
Trim One Segment
If you merely need to remove any superfluous video from the beginning or the conclusion, this is the perfect solution for you.
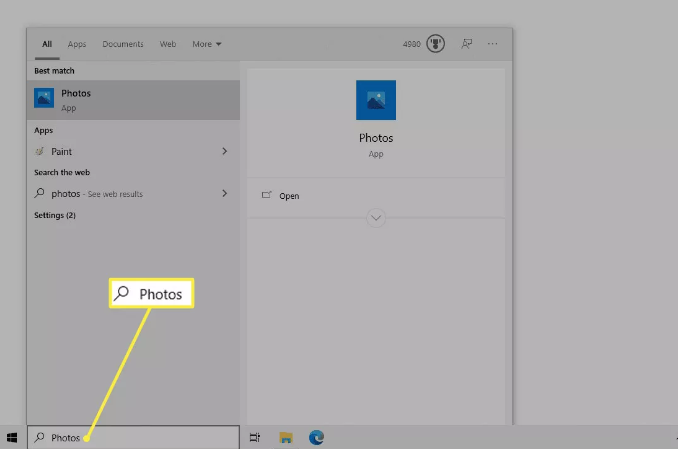
1. Open Photos. In the event that you do not have a shortcut immediately available, you will be able to locate it by using the search bar.
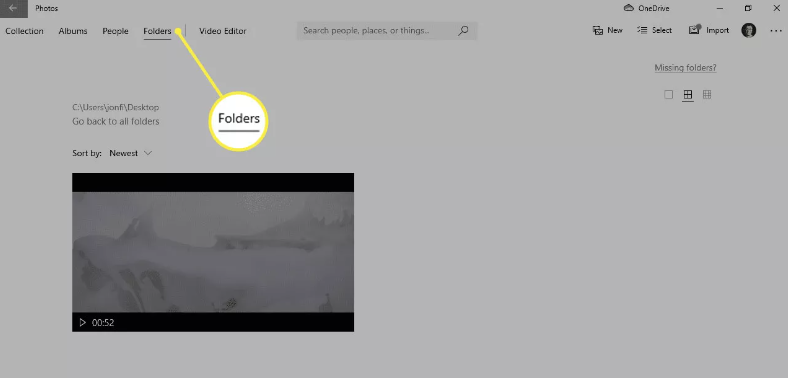
2. Select the video you wish to edit from the list. You are able to look through any folder you choose by selecting Folders at the top of the page.
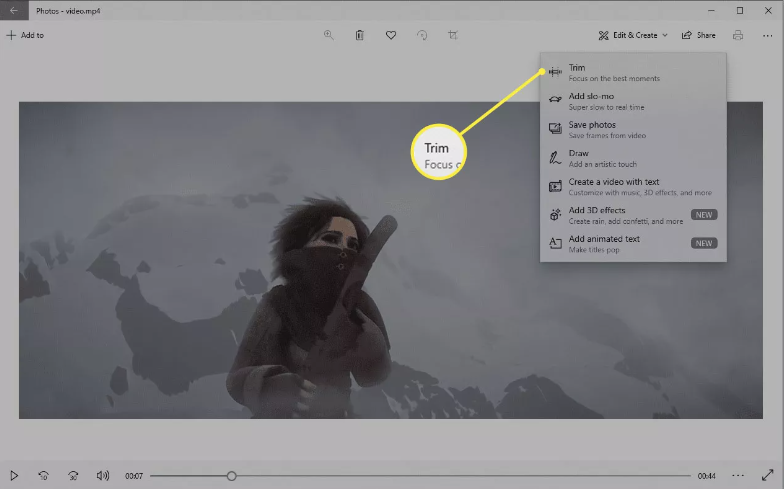
3. Select Edit & Create > Trim.
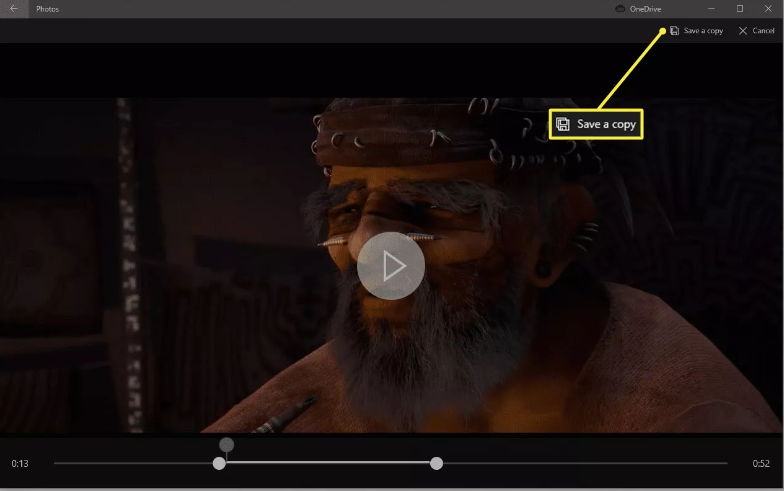
4. To select a different portion of the video, simply drag one of the circular buttons located to the left or right of the progress bar. In the subsequent stage, only the content that falls between the two white buttons will be copied to a new movie; the other content will be removed from the existing one.
If you wish to preview a different portion of the video, you can also drag the grey button that is located above the selection in the appropriate direction.
5. Select Keep a copy of it. The portion that you trimmed will be exported to a new file, saved to the same location as the original with _Trim attached to its name, and then opened automatically after it has been saved.
Trim Multiple Segments
If there are multiple points in the video that need to be removed, follow these procedures.
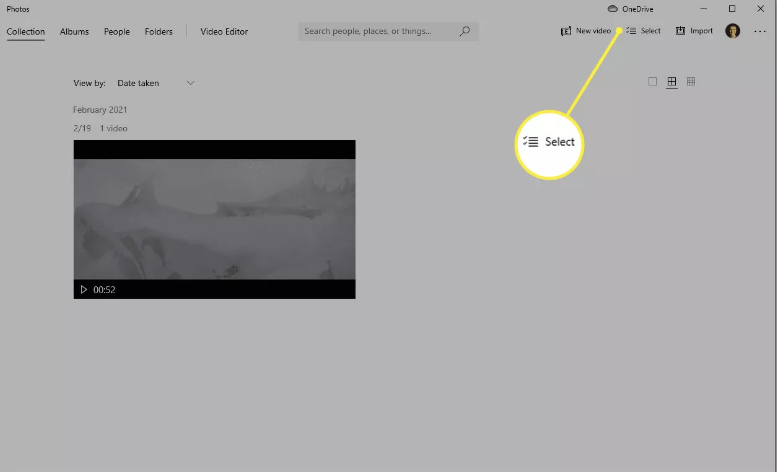
1. Launch the Photos application by doing a search for it in the search box located close to the Start menu.
2. Pick the option you want.
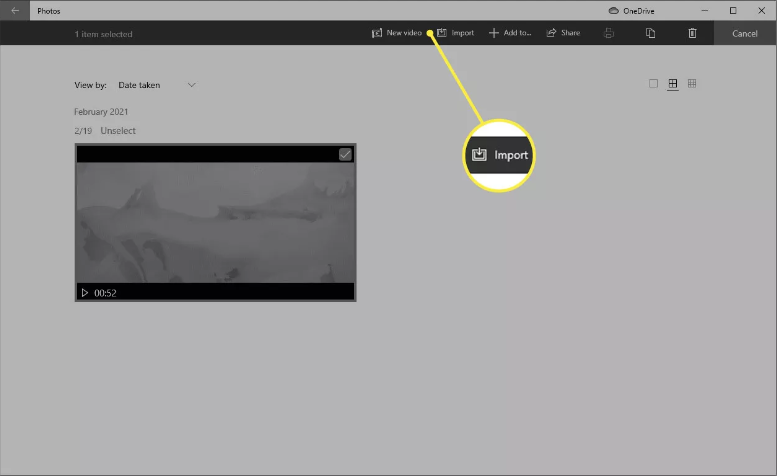
3. Make sure the source video is selected. If the video that you need to edit is not visible within the programme, you can bring it in by selecting the Import option.
4. Select New video > New video project from the drop-down menu.
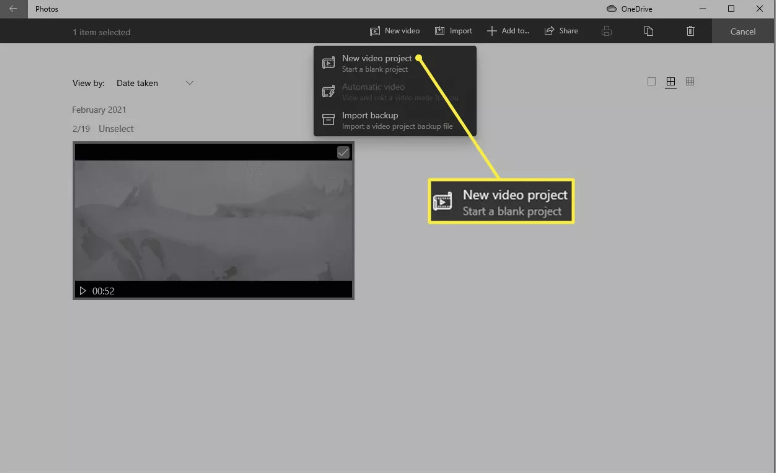
5. When you are prompted to give the project a name, type in the name, and then select OK.
6. Choose the video you want to split from the Storyboard area at the bottom of the page, and then select Split from the menu that appears above the video.
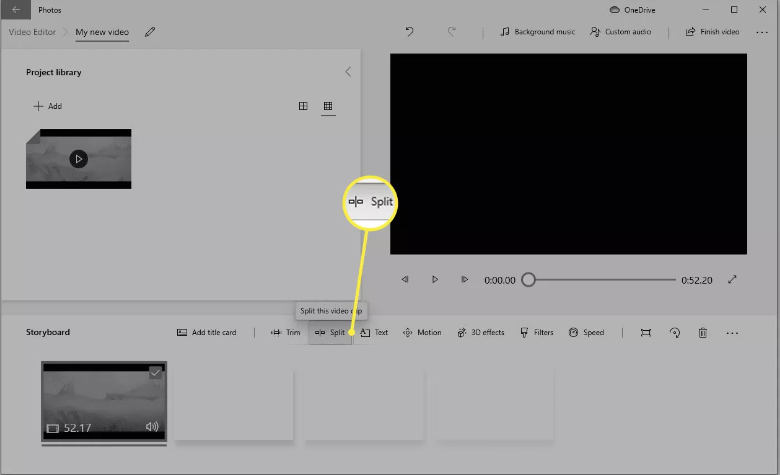
7. You can divide the video at any point you like by dragging the button through the progress bar until you reach the desired place. This will result in the creation of two unique video clips, each of which can be edited in greater detail shortly.
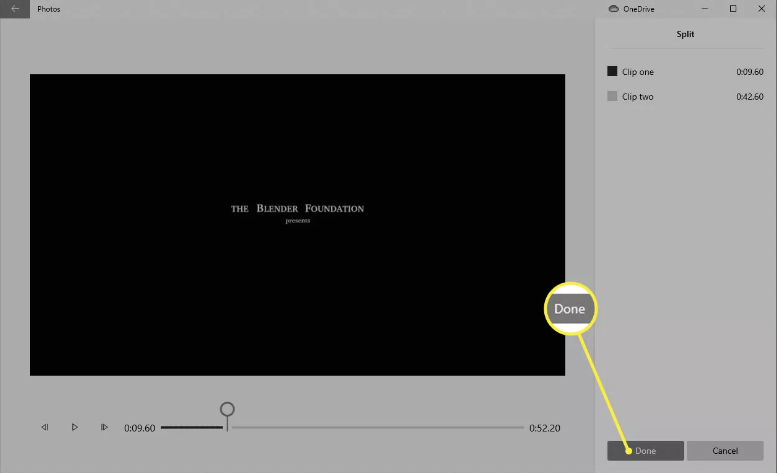
Since we are going to delete anything that appears before the opening credits, the first thing that we need to do in our example is break apart the beginning so that it is distinct from the part that comes before the opening credits. Now let’s move the button to the beginning of the credits so we can watch them. While you are adjusting the button, the length of each clip will be displayed on the right panel.
When you have made your choice, select the Done option.
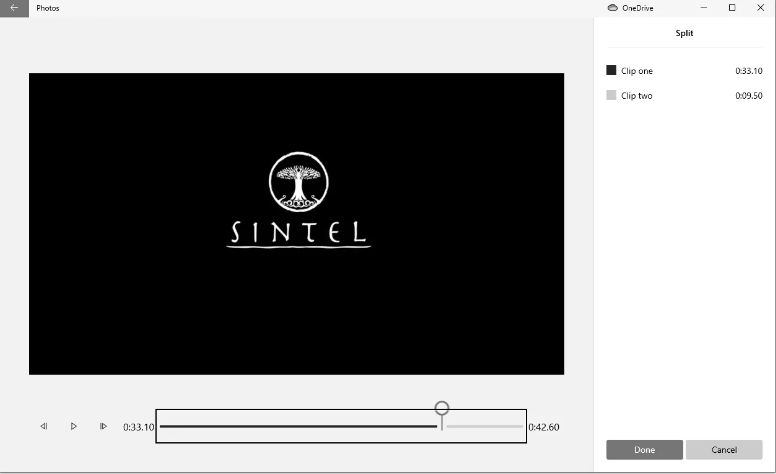
8. Both of the video can be found on the Storyboard area at this point. Pick the one that you wish to divide once more, and then go back to step 7.
Since we are only going to be removing a portion of the closing credits during the following phase, we need to divide the video up at the point where it begins to play so that we may do so.
9. Repeating the methods from the previous section will allow you to continue separating your video clips as necessary. You may also utilise the Trim button on any clip, and you can rearrange the elements of the storyboard by dragging and dropping them.
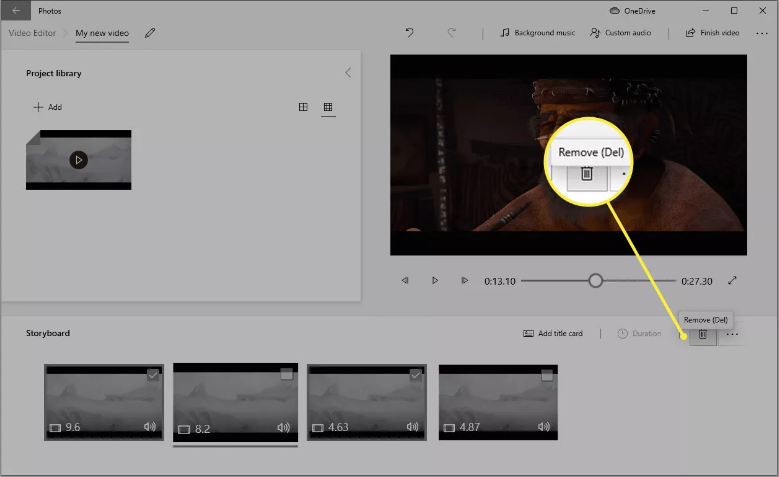
10. When you are finished, you can use the trash button to get rid of the clips that you do not want to be included in the final video by selecting them and then clicking the trash button.
11. You can watch a preview of the entire video by choosing the first clip and then using the play button in the area that displays the previews. If something is incorrect, you can correct it by using the undo button located at the top of the screen.
12. Click the Finish video button, select a quality setting, and then click the Export button.
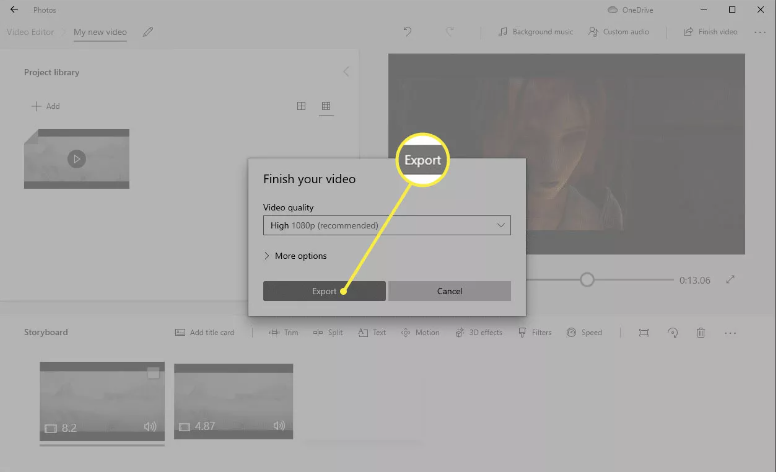
13. After determining where you want to save the video and what you want to call the file, pick Export once more.

Vampire Crawlers Coin Farming Guide

Forza Horizon 6 Performance: Why 60 FPS Is Still the Console Standard

Yoshi and the Mysterious Book (2026) – Full Completion Guide, Rewards & Secret Ending

How to Get Free Pets in Adopt Me: A Guide for Players

Roblox Username Generator – Create a Cool & Unique Username in Seconds
How to Get Free Pets in Adopt Me: A Guide for Players
Roblox Username Generator – Create a Cool & Unique Username in Seconds
Yoshi and the Mysterious Book (2026) – Full Completion Guide, Rewards & Secret Ending
Forza Horizon 6 Performance: Why 60 FPS Is Still the Console Standard


