Apple
How to Use Your iPhone as a Mouse on a Mac
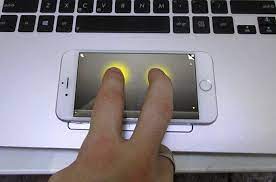
There are so many things that can be accomplished with an iPhone that it is almost impossible to count them all. The iPhone gives its customers the ability to carry out a wide range of activities, such as accessing the Internet and analyzing the night sky. It shouldn’t come as much of a surprise to anyone that an iPhone can perform the same functions as a mouse or trackpad on a Mac; the device is capable of doing so. It might seem ridiculous to use a device that costs hundreds of dollars as a mouse, but when you’re in a jam, the most effective tool is the one that’s sitting right there in front of you. The steps that are provided here will show you how to utilize your iPhone as a mouse when working on a Mac.
Read Also: How to Create a Shortcut on Desktop Mac
How to Use Your iPhone as a Mouse on a Mac
The concept of using an iPhone (or iPad) as a mouse is supported by a plethora of applications (apps), which may be downloaded for free. Mobile Mouse Remote is one of the apps that has received a lot of praise. Although it is one of a few dozen apps that come up online giving comparable functionality, it has garnered the finest reviews and offers compatibility for the iPhone, iPad, and Apple Watch. In addition, it is available for free.
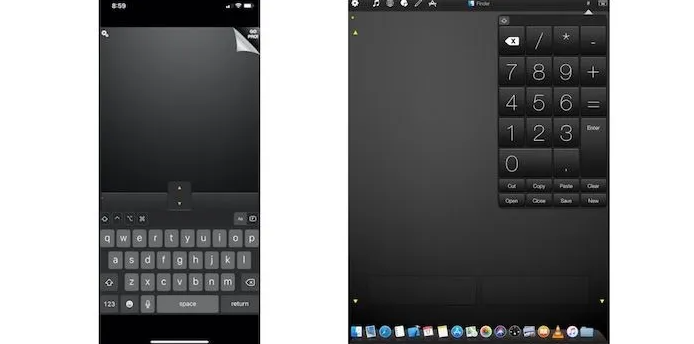
Given the extensive feature set, the price of just $1.99 is an absolute deal. The remainder of the process is relatively easy to do once you have downloaded the application onto your iPhone. You’ll have everything set up and ready to go in a matter of minutes, with your iPhone functioning as the priciest mouse you could ever possibly imagine.
Pairing the iPhone and iPad
Mobile Mouse Remote provides customers with four distinct options for establishing a connection with their Mac computer. Wi-Fi is, obviously, the first option. If you have a strong signal at your house or in your place of business, this is an excellent choice to consider. There is also a peer-to-peer option, however its utilization is the least likely of any of the four possibilities.
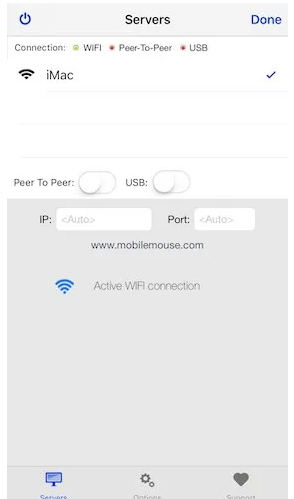
Bluetooth is probably going to be the choice that comes in second place. The next step, although certainly not the least important one, is to establish a USB connection between the iPhone and the Mac. This precludes any possibility of utilizing an iPhone as a “wireless mouse,” although if you are in a bind, it is possible to utilize it in this manner. Please be aware that in order to connect via a method other than Wi-Fi, you will need to make an in-app purchase of $0.99.
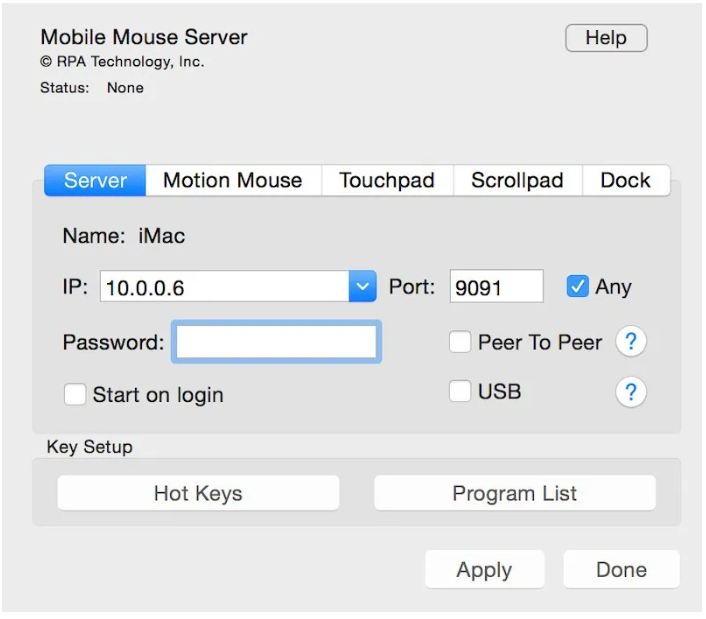
After you have downloaded and installed the software on your iPhone or iPad, the next step is to do the same thing on your Mac. Install the free Mobile Mouse server app on your computer by grabbing it from the Mobile Mouse website. After you have finished the initial setup, the next time you turn on your Mac, the two devices should automatically couple with one another if they are connected to the same Wi-Fi network.
Activating Mouse Functionality
The desktop application for Mobile Mouse is located in the Menu Bar of your computer, where it patiently waits for you to enter the server settings. The app is responsible for handling the majority of the backend tasks automatically, including the configuration of your IP and port settings in order to sync with your iPhone.
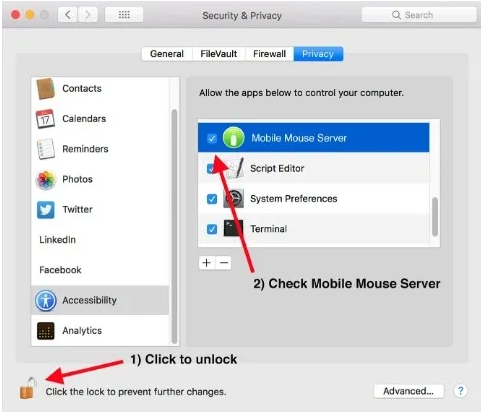
When you open the application for the first time, it will irritably request that you grant it access to the Accessibility menu on your Mac. This request has been made numerous times in the most recent macOS releases, and although it can be a nuisance, it is included for the customers’ own safety even though it can be a nuisance.
After doing so, navigate to “System Preferences -> Accessibility -> Privacy -> Mobile Mouse Server” and check the appropriate box. It’s possible that you’ll need to enter your computer password, uncheck the lock, and then choose the mouse application. After that, you can click the lock a second time to ensure that no more adjustments are made.
Verify that your connection is active by navigating into the app’s server settings once you have successfully established a connection to the computer. It is expected that your machine will be included in the list and have a checkbox next to it. There should also be a green check mark next to the type of connection that you are using.
After you have successfully connected, you will be able to use your mouse in the same manner as you would with any other type of wireless mouse. You have access to many of the same multi-finger functions, including pinching in and out for a number of shortcut functions, because multi-touch is built in, thus this means that you have access to many of the same multi-finger capabilities.
One last thing to keep in mind is that you are strongly urged to safeguard your iPhone by activating a password for this app, which can be done inside the settings. This is done in the case that someone gains unauthorized access to your iPhone. Take this as your very first and only cautionary message!
Alternative App Options
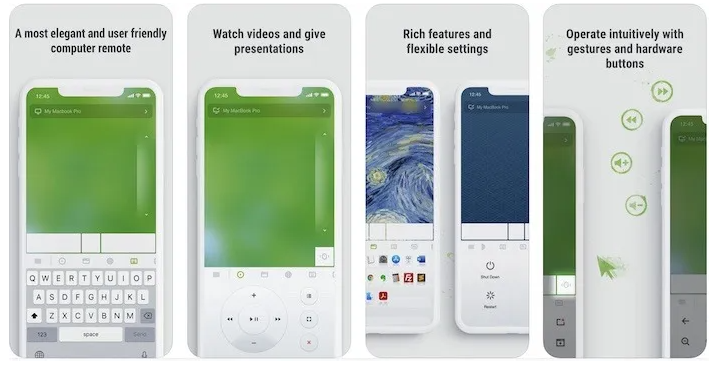
Even while Mobile Mouse Remote does a great job of letting you use your iPhone or iPad as a mouse, you should know that it is not the only choice available. Another option worth considering is Remote Mouse, which is free to download but offers optional in-app purchases. You will get the majority of the same capabilities as the choice that was mentioned earlier, and in addition to that, you will receive a really helpful setup video to guarantee that everything is functioning as planned. For a one-time payment of $0.99, users can remove advertisements from the application; however, the “Pro” subscription option costs $1.49 each month.
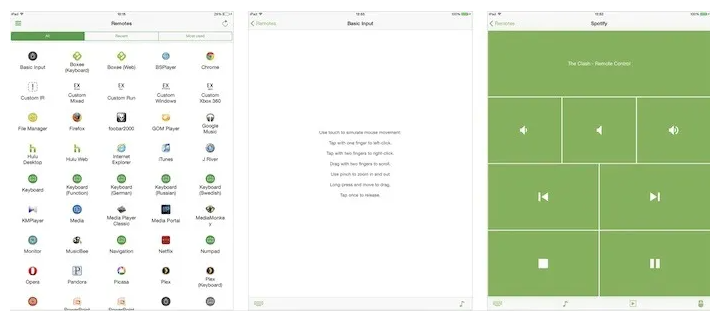
Another well-liked alternative is the Unified Remote app, which not only serves as a mouse for your Mac but also essentially transforms your mobile device into a universal remote. The application is compatible with both the iPhone and the iPad, and it comes with support for more than ninety different programmes already installed. The free version has some restrictions, as it only gives you access to 18 different types of remotes. However, you can unlock the remaining remotes by making an in-app purchase for $4.99.


