Guide
[Solved] Top 3 Ways to Fix “iPod is Disabled Connect to iTunes

There are few things more frustrating than getting locked out of your iOS device, and for many iPod users, a common example of this is iPod disabling. Indeed, many of us have seen that oh-so-infuriating error message on our devices: “iPod is disabled, connect to iTunes.” If this is something that you are facing, though, then there are a few different options for getting access back to your iPod, and today, we’ll be looking at a few of these to help you overcome this infuriating error message.
What is the “iPod is Disabled, Connect to iTunes” Message?
If your iPod has prompted you to connect to iTunes because the device is disabled, then it’s worth knowing what this message means.
Generally speaking, this iPod message will occur after someone has attempted to unlock your iPod with the incorrect password ten or more times. The cause for this varies; for example, some people might find that they have forgotten their iPod password and are hence having difficulty remembering it, or otherwise, someone may have attempted to hack your iPod device.
Whatever the case might be, the “iPod is disabled, connect to iTunes” message occurs as a way of protecting your safety and security. Indeed, this message serves to provide an additional layer of security to your iPod, helping prevent fraudulent eyes from opening the device.
The iPod won’t be automatically disabled after getting your password wrong; to begin with, after multiple failed password attempts, you will simply have to wait for a set time to try again. However, after the tenth attempt, the iPod will be fully disabled for your security, and you will need to connect to iTunes to enable your iPod again.
How to Fix “iPod is Disabled, Connect to iTunes”
If your iPod has been disabled, then there are a few ways you can unlock it. The three most obvious methods to re-enable your iPod device after it has been disabled are as follows. First, you could use a specialist iOS unlocking tool. Second, you could try to connect to iTunes (as prompted). Thirdly, you could reset the device using Find my iPhone if you have enabled this feature on the device.
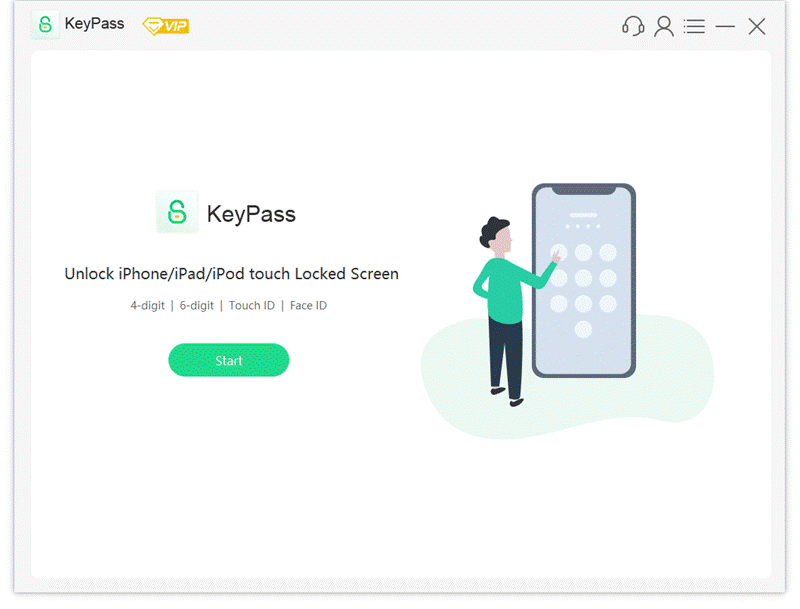
Unlock a Disabled iPod via KeyPass – Pro iPhone Unlocker
One of the easiest ways to access your disabled iPod is to use a dedicated iPhone and iPod unlocking tool such as StarzSoft KeyPass. It has 2 funtions: Unlock Screen Passcode from iDevice and remove activation lock. KeyPass is a professional iPhone unlocking tool that fortunately can also be used with other iOS devices, as well, and is one of the most popular iOS unlocking tools on the market.
KeyPass can be downloaded directly from the developers’ website and claims to achieve a 98% success rate for remove locks from iOS devices – that’s a pretty impressive reputation. A further notable benefit of the KeyPass software is that it’s modern and up-to-date; this is something that many other iPhone unlock tools fall down on.
KeyPass can help with re-enabling your disabled iPod device, as well as other iOS unlocking functions such as bypasses 4 and 6 digit passcodes, TouchID, and FaceID.
How to Use KeyPass
At this point, you’re probably wondering – how can I use KeyPass to get past my iPod disabling? Fortunately, the KeyPass software is incredibly straightforward to use if you have had an “iPod is disabled, connect to iTunes” message appears for your iPod device.
First, make sure you’ve downloaded a legitimate copy of KeyPass onto your computer device. Then, load up the software while connecting your iPod to the computer using a lightning cable.
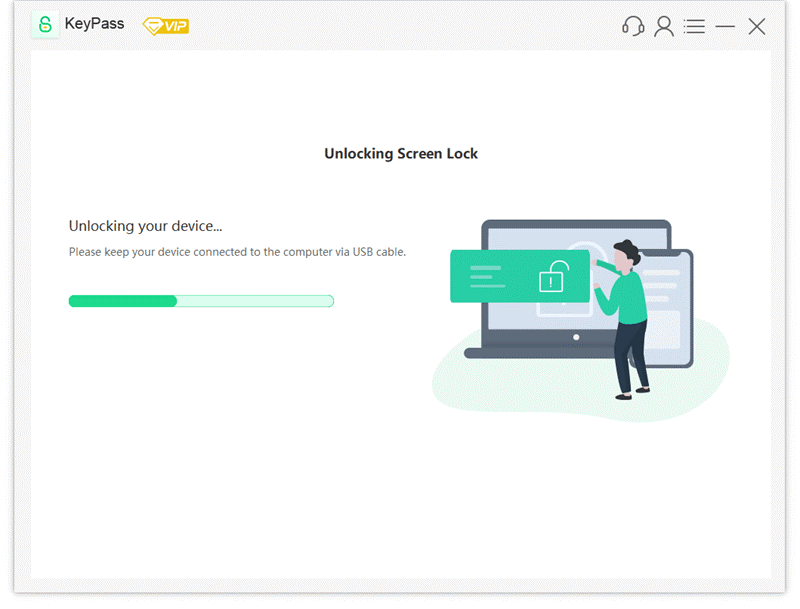
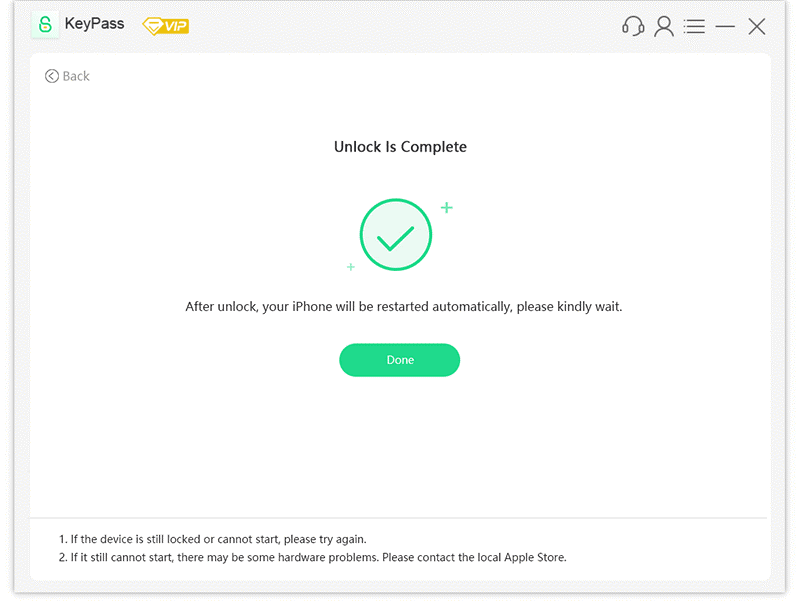
The KeyPass software is excellent in that it gives detailed instructions for how to use the software on the app itself. Furthermore, since the software is designed for use with multiple iOS devices, it provides clear illustrations and diagrams for each step to make it almost effortless to use the tool. Simply follow the steps provided by the software, and then sit back while the tool works to remove the disabled status from your iPod.
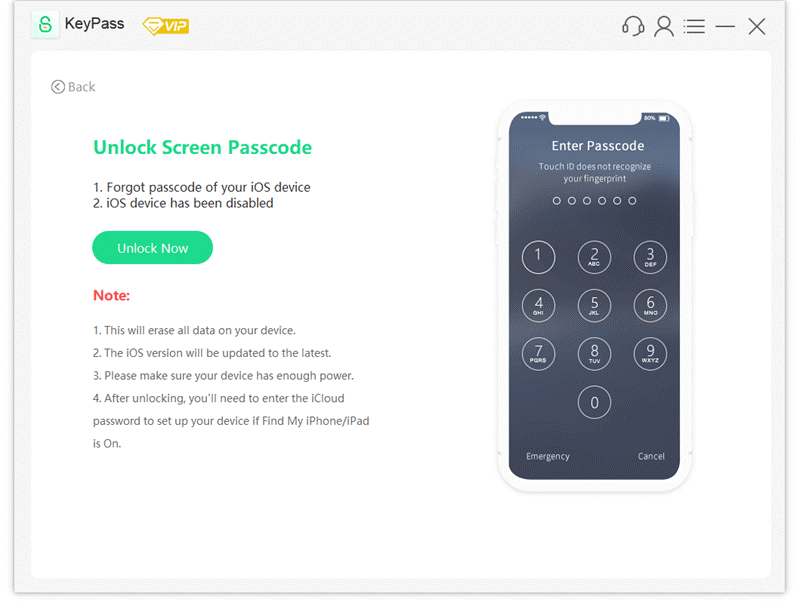
Step1: Download the KeyPass and connect your iPod to your computer.
Step2: Download the firmware properly.
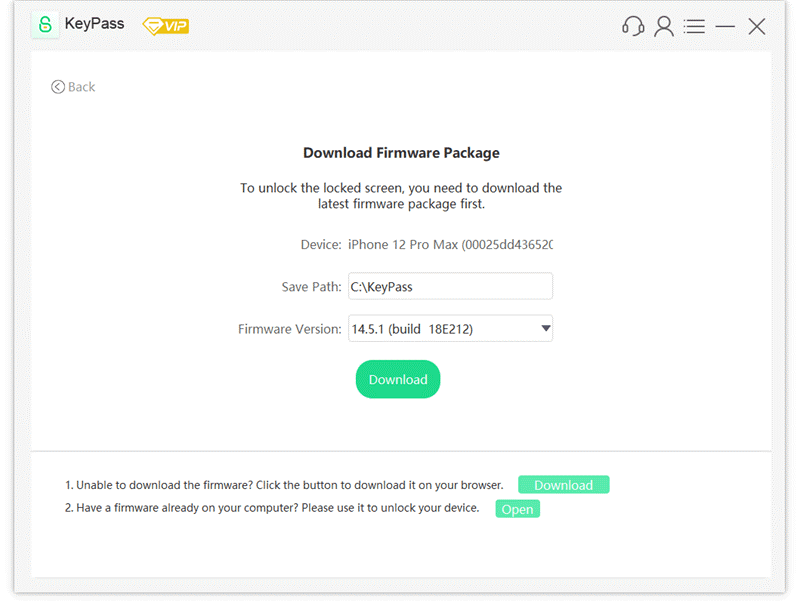
Step3: Click the “Unlock Now” and waiting a few minutes to unlock the iPod
Since you can also use the tool to remove passcodes from your iPod, you can avoid the device getting disabled in the first place, if you can’t remember your password or credentials!
Alternative iPhone Unlock Tools
KeyPass is a highly-rated iPhone and iOS unlocking tool, but it’s far from the only tool available online. Indeed, online software has been offering iPhone and iOS unlocking solutions for years, with varying success rates; while there are plenty of top-quality iPod unlock tools, there are also many that don’t offer any value at all. Make sure to choose carefully and pick a reliable tool for best results with your iPod unlocking.
Your device’s security should remain paramount at all times. Indeed, many iOS unlock tools are fraudulent and finding clean, original copies of the software can be hard. Hence, there are potentially hundreds of false versions of iOS unlocking tools available online, and downloading these could open your device up to malware, viruses, and the like.
As such, before downloading any iPhone or iOS unlock tool from the internet, we highly recommend that you check your antivirus software is up-to-date and working well. Having effective antivirus in place provides a backup plan, just in case you accidentally download a copy of an iOS lock bypass tool that hackers have fraudulently infected with malware.
Remove Passcode on a Disabled iPod via iTunes
Your iPod has prompted that you connect the device to iTunes to re-enable it, so you might want to try this method. It requires connecting your iPod to an internet-enabled computer to complete the reactivation process, which is usually done using a USB cable.
Once you have connected your device to a computer, launch iTunes on the computer device. Once iTunes has launched, you should then see a device icon at the top of the screen; selecting this will give you the option to “restore iPod”, which you should select.

A benefit of using the iTunes recovery method is that it’s an easy and straightforwards process. However, this will wipe all of the data from your device, so you must get a manual backup of your iPod device immediately before restoring it to ensure that you don’t lose any of your data.
After iTunes has finished restoring your iPod, you’ll be able to restore this data so that you haven’t lost any of your information or content from your iPod. However, this may not be possible if you haven’t taken a manual backup of the information first, so it’s always worth taking a few more seconds for peace of mind purposes if you ask us
Erase a Disabled iPod Without Passcode via iCloud
To unlock your iPod via iCloud, you’ll need to use the Find my iPhone functionality. Indeed, Find my iPhone is a handy tool for helping you to track down your lost or stolen iPod in normal times – but in this instance, it’ll help you get access to your disabled iPod instead.
To regain access to your iPod using this method, start by going to iCloud.com and inputting the correct login credentials. These should be your iCloud details, but if you are having trouble with accessing a device that you purchased from someone else, the details will likely need to be theirs.
Once you have logged in, scroll down until you find the “Find my iPhone” logo. Select this, and then wait while the tool loads. Once it has finished, you’ll be able to search the list of “All Devices” to find the iPod or Apple device in question. Your device will also be denoted on the map with a blue dot.
All that’s left to do now is select the device and click “erase device” from the management panel. This action will automatically wipe the device from the connected iCloud account and simultaneously delete the device’s password.
A key benefit of this method is that you don’t need to use a computer device to regain access to your phone. Indeed, with this method, you can access iCloud.com from any internet-enabled device, be it a tablet, a phone, another iPod, or a computer. What’s more, it’s reliable and incredibly quick, making it one of the most popular steps to follow for overcoming “iPod is disabled, connect to iTunes” blocks.
The main drawback is that you will be wiping all of the data from your device. As such, make sure you’ve taken a backup of your device before attempting to unlock it using the Find my iPod method. Once the iPod has been reset, you can return to the iCloud.com website and restore your device from a backup to return all the files, photos, and the like.
Conclusion
If your iPod has been disabled and the device prompts you to connect to iTunes, you may want to consider the steps and tips we’ve listed above to help. Indeed, there are multiple methods like StarzSoft KeyPass that you could try to regain access to your iPod after you have been locked out by iPod disabling. Fortunately, most of these methods are quite straightforward, and this can give you plenty of options for getting back into your disabled device.

Vampire Crawlers Coin Farming Guide

Forza Horizon 6 Performance: Why 60 FPS Is Still the Console Standard

Yoshi and the Mysterious Book (2026) – Full Completion Guide, Rewards & Secret Ending

How to Get Free Pets in Adopt Me: A Guide for Players

Roblox Username Generator – Create a Cool & Unique Username in Seconds
How to Get Free Pets in Adopt Me: A Guide for Players
Yoshi and the Mysterious Book (2026) – Full Completion Guide, Rewards & Secret Ending
Forza Horizon 6 Performance: Why 60 FPS Is Still the Console Standard


