Guide
How to Edit Slow-Motion Video on iPhone
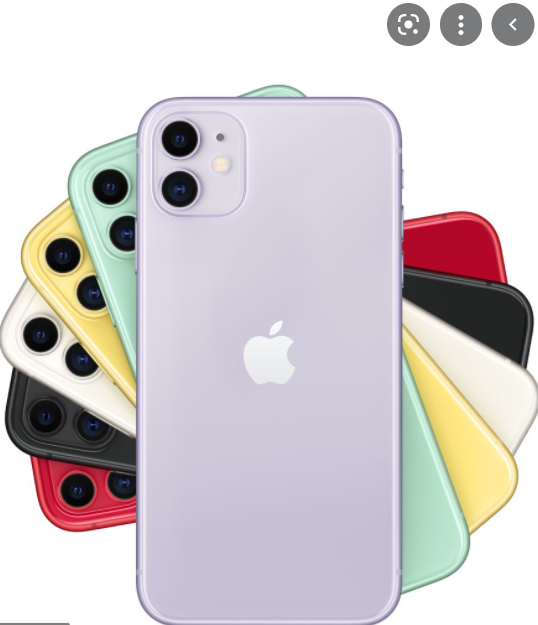
The iPhone’s slow-motion video editor makes it exceedingly easy to edit slow-motion videos on the go. You can edit your video in the Photos app after you’ve shot it; you can pick when the slow motion should begin, when the video clip should begin and stop, which filters to apply, what rotation or cropping you want, and even the exposure and saturation settings. Starting today, we’ll go through how to edit slow-motion films on the iPhone.
How to Edit Slow-Motion Video on iPhone – Step by Step
- Open the Photos app.

- Choose the slow-motion video that you’d want to alter.
- Select Edit from the drop-down menu.
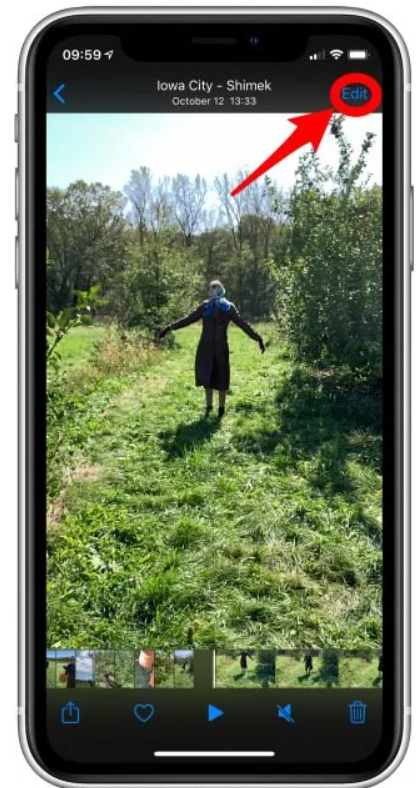
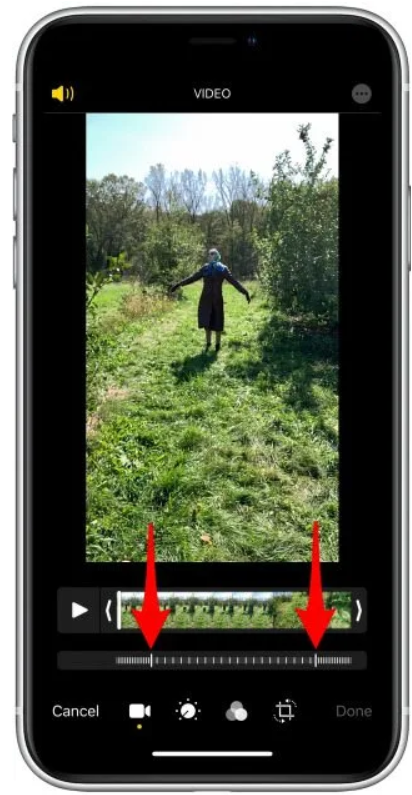
- You’ll see a series of still photographs, separated by a bar of white lines, at the bottom of the screen.
- Drag the huge vertical lines to the right or left to expand or contract the slo-mo area to make changes to when the slo-mo begins and stops (indicated by more widely spaced lines).
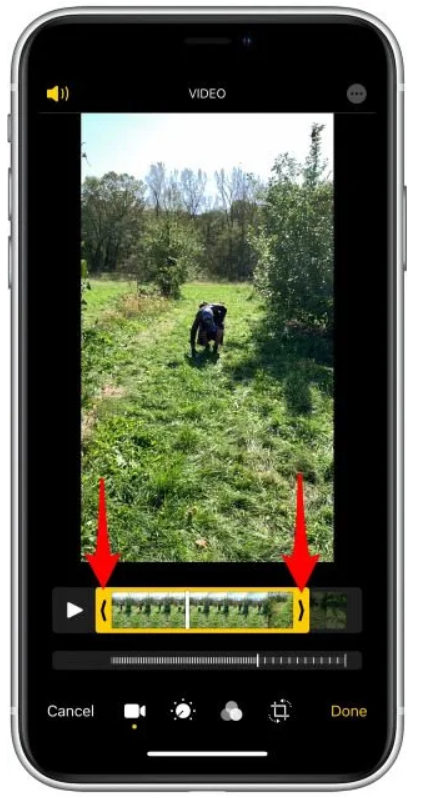
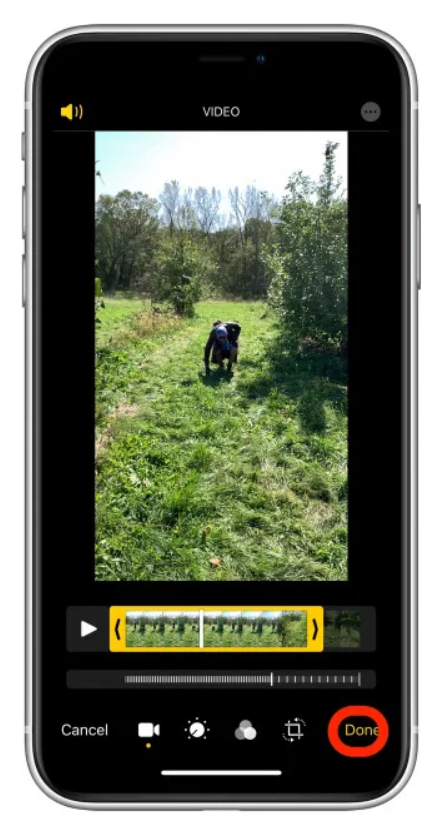
- To adjust where the video begins and ends, tap either end of the timeline and slide it left or right. A yellow outline will highlight the portion of the video you will keep.
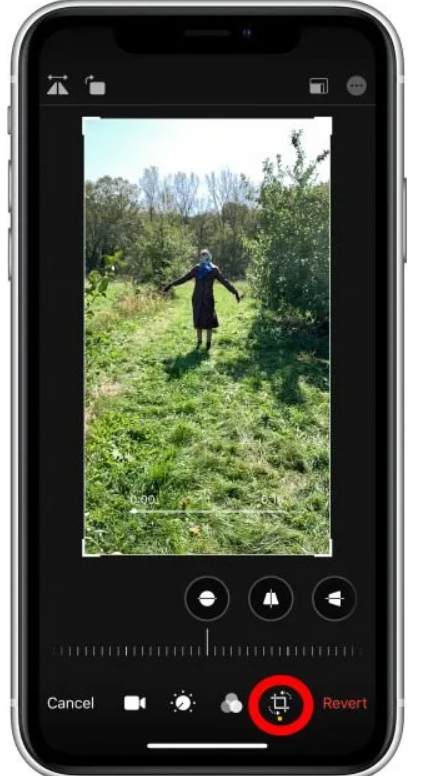
- To rotate or crop a video, select it and then press the rotate-crop symbol, which appears as a box with overlapping corners and two curving arrows on the bottom right. After clicking this, you’ll be sent to a screen with the same rotate and crop choices that you’re accustomed to seeing when editing photographs.
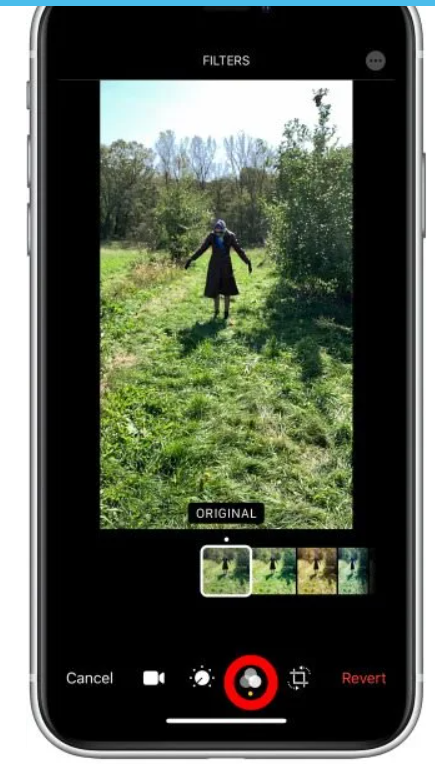
- To apply a filter, tap the filters icon, which looks like three overlapping circles.
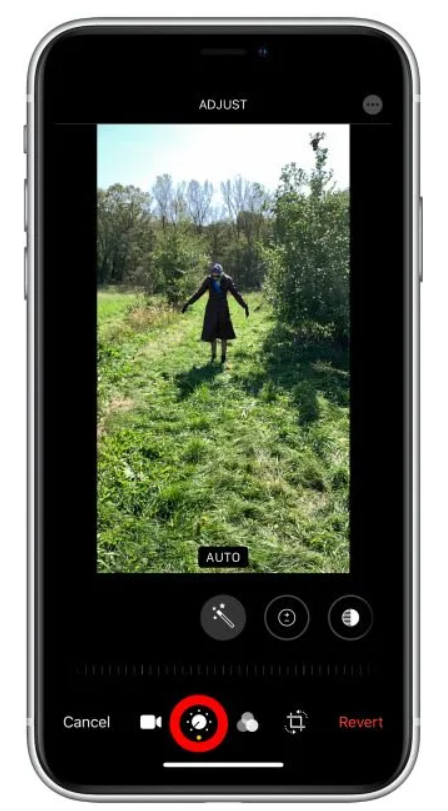
- To make manual adjustments to colour parameters such as exposure, brightness, contrast, shadows, saturation, and so on, choose the dial icon from the toolbar.
- When you are finished, tap Done.
You may now change the start and stop points of your slow-motion films, as well as how to apply filters, rotate, and crop them in post-production. Alternatively, if you save modifications and later decide you don’t like them, you may easily return the altered movie back to its original state. Good luck with your edits!
Read More: How to Use Google Lens on iPhone
Video


