Guide
How to Outline Text in Photoshop
Adding an outline to text in Photoshop is one of the quickest and most effective methods to make it stand out. It’s quick and simple to use, even if you’re a complete newcomer to Photoshop; it’ll almost certainly become one of your favourite effects from this point forward.
Subtlety is quite crucial. When you use the proper combination of font, line weight, composition, and form, you may produce a stunning impact. Throughout this post, we’ll show you not only how to outline text in Photoshop, but we’ll also show you how to outline text in Photoshop the right way, just as the pros do it.
Read Also: How to Resize a Layer in Photoshop
How to Outline Text in Photoshop
This method creates a stroke by applying Layer Styles to the Type Layer, which allows the Type Layer to stay editable. You can also add a stroke to any item on your canvas by following the methods outlined below.
1. Choose the Type tool (Horizontal or Vertical) and begin typing your text into the document to get started.
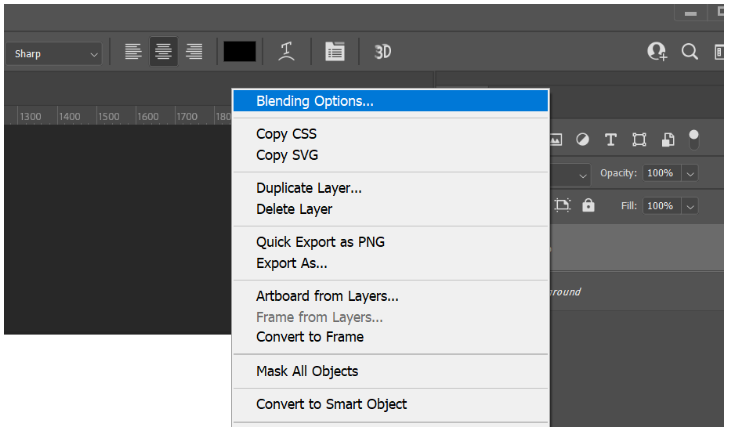
2. Select Blending Options from the menu that appears when you right-click on the Type Layer. Alternatively, select Layer > Layer Style > Stroke from the menu bar.
3. To open the Layer Style dialogue box, click the Stroke option from the list of styles on the left side of the screen. The settings available under Stroke offer you complete control over the appearance of the text border around the text area. Utilizing the slider or manually entering your own number, you can adjust the size and breadth to achieve your desired line weights.
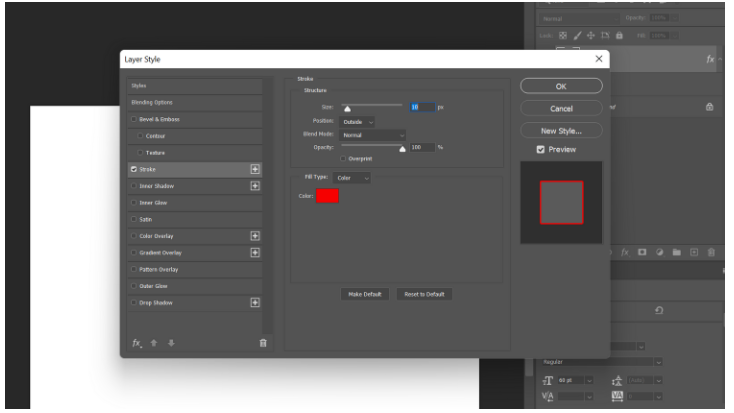
4. Following that, you’ll select a Position for the stroke. When text is merged with other layer elements, the appearance of the effect changes depending on where the text is placed. There are three options to choose from: inside, centre, or outside.
5. You may modify how the coloured stroke interacts with the colours or layers behind it by adjusting the Blend Mode. When you do anything like placing the text over a vibrant image, for example, it will have an impact on the final appearance of the piece. You can also adjust the transparency of the text border by dragging the Opacity slider to the right.
6. Solid colours, vivid gradients, and patterned borders can all be used to fill in the gaps between Photoshop strokes. If you prefer a solid colour, you can access the Color Picker by clicking on the colour tile in the background. Select the colour of your choice and press OK.
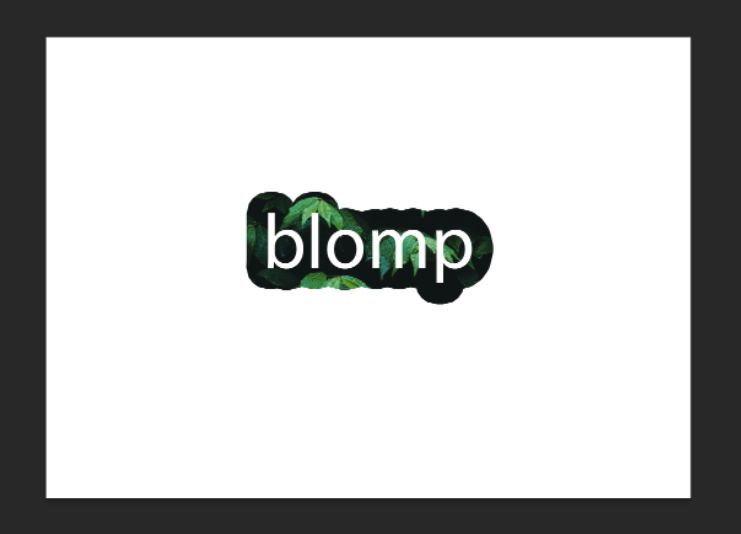
Here’s what we’ve got so far:
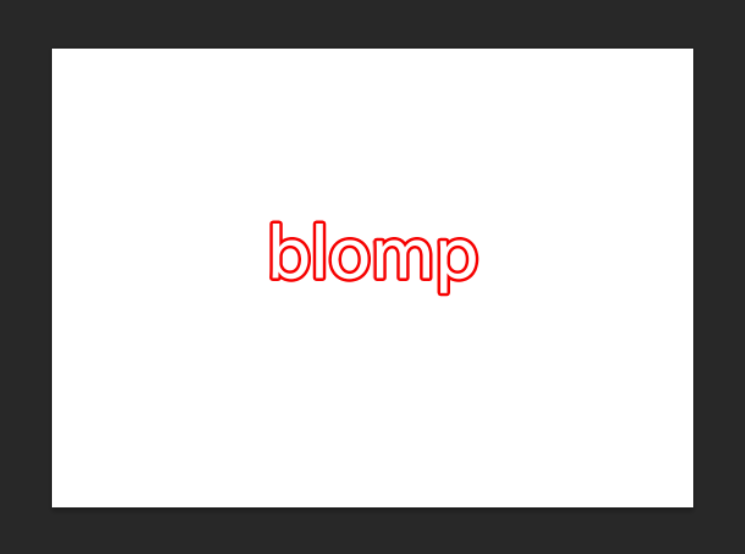
Never be bothered if it appears to be uninteresting at first glance. Adobe Photoshop can certainly be used to create more colorful outline text; all you have to do is experiment with different settings to come up with more interesting results. For example, the screenshot below depicts what it looks like when we choose Pattern as the background rather than Color as the background.
How Does Your First Outlined Text Look?
When it comes to outlining text in Photoshop, there are a variety of options available, but a basic stroke is the most straightforward. If you want to create compound effects, you can always combine the text with any Layer Styles.
With this method, you have complete flexibility; Photoshop allows you to copy and paste any text that you want into an un-rasterized Type Layer, altering or replacing anything that you need to quickly and easily. The Layer Styles remain in place, and the document preview will immediately update itself to reflect the new text that you’ve just pasted into the page.
It is possible to outline text, shapes, and even images in order to draw attention to their limits. We strongly advise you not to stop at this point because it is a very adaptable approach. Also available is the ability to create unique shapes and combine them with text effects to create something truly extraordinary.
Video

Vampire Crawlers Coin Farming Guide

Forza Horizon 6 Performance: Why 60 FPS Is Still the Console Standard

Yoshi and the Mysterious Book (2026) – Full Completion Guide, Rewards & Secret Ending

How to Get Free Pets in Adopt Me: A Guide for Players

Roblox Username Generator – Create a Cool & Unique Username in Seconds
How to Get Free Pets in Adopt Me: A Guide for Players
Yoshi and the Mysterious Book (2026) – Full Completion Guide, Rewards & Secret Ending
Forza Horizon 6 Performance: Why 60 FPS Is Still the Console Standard


