Guide
How To Change Margins In Word

Adjusting the margins of a document in Microsoft Word is one of the things that could need to be done while the document is being formatted. You may be producing a paper for a school that mandates certain margins, or you could be producing a document for your company in which you just favor particular spacing.
Word provides you with not just a variety of fixed margin settings but also a custom option, and this selection differs depending on the platform that you are using. We’ll walk you through how to adjust the margins and where they differ in Word on Windows, Mac, the web, and the mobile app. This is necessary since these settings vary significantly depending on the version of Word you’re using.
How To Change Margins In Word on Desktop
The procedure for modifying the margins in Microsoft Word is same across all versions of the program, including those running on macOS, Windows, and the web. The distinctions include the predefined choices that may be selected, as well as a few other margin settings that can be customized.
Fixed Margin Settings
Launch Microsoft Word and go to the Layout tab on the ribbon. To adjust the margins, use the arrow at the top left of the ribbon that says “Margins.” The fixed margin settings that you have the option to choose will be the first item that you see.
You have the option of selecting Normal, Narrow, Moderate, or Wide in each of the three Word positions. Additionally, the amount of inches per margin is shown next to each preset selection for your convenience.
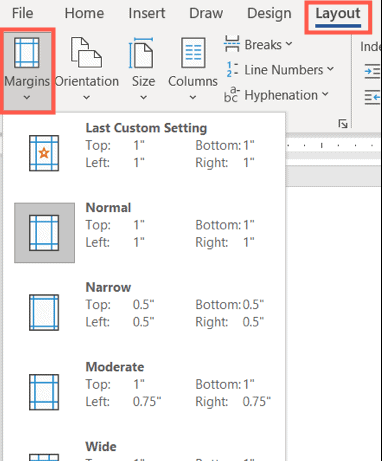
There are two more fixed choices, the specifics of which change depending on the platform:
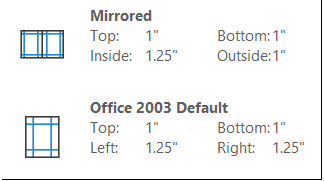
- Mirrored: Available in Word on Windows and Mac.
- Office 2003 Default: Available in Word on Windows and the web.
If you choose the predefined margin setting you wish to use for your document, it will take effect as soon as you save your changes. If you would rather work with Custom Margins, you may do so on both Windows and Mac operating systems, in addition to the web.
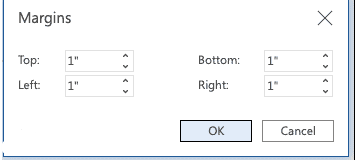
Custom Margin Settings
Choose your own custom margins at the very bottom of the drop-down list labeled “Margins.” You may make adjustments to the top, bottom, left, and right margins by entering a number in inches or by using the arrows.
You have the option in Word for Windows and Mac to take your margin settings to the next level by selecting where you would like the custom settings to be applied, whether or not you would like to use the Gutter settings, and whether or not you would prefer a different page orientation for those margins (on Mac, click Page Setup to change the orientation).
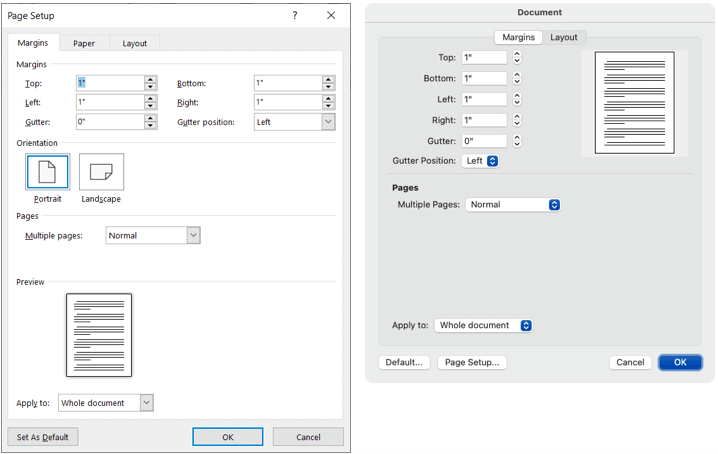
You may also make these custom margins your default setting by selecting the button in the bottom left corner of the window.
Change the Margins in the Word Mobile App
Altering a document’s margins may also be done while using Microsoft Word on a mobile device, which allows you to work on documents on the go.
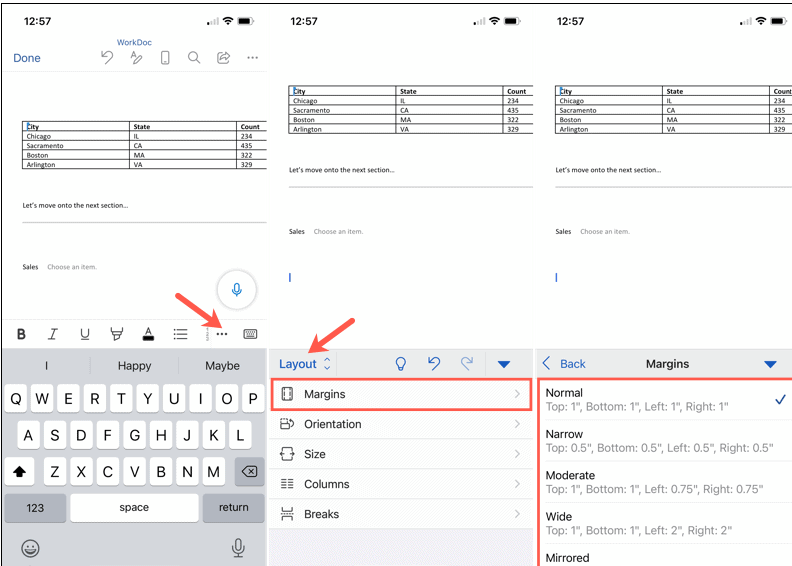
- Once your document is open, go to the toolbar that is located above your keyboard and hit the three dots that are located on the right side of the toolbar.
- Make sure you are on the Layout tab.
- Choose your margins.
- To apply a fixed margin setting, tap the setting’s name. You have the option of using the Normal, Narrow, Moderate, Wide, or Mirrored presentation styles.
Custom Margin Settings on Mobile
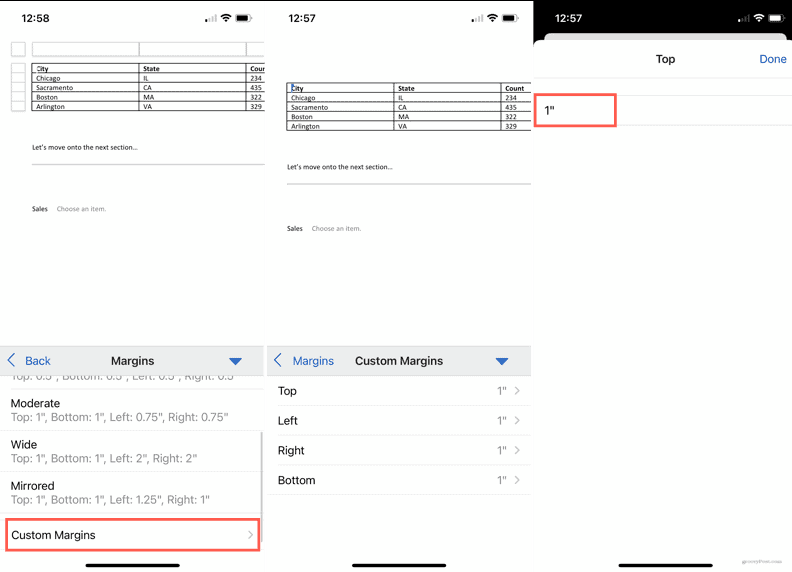
To utilize your own custom margin settings on the mobile app, perform the same steps as outlined above, but in Step 4, choose Custom Margins from the drop-down menu that is located below the defaults.
Choose each position—the top, the bottom, the left, and the right—enter the measurement in inches, and then hit the Done button after each selection. After that, you may continue working on your document by going back to it.
Read Also: How To Share Screen In Skype

Orcane Guide for Rivals 2

Rivals 2 Tier List – All Updated

How to Get a New Free Hairstyles on Roblox For Free

The Best Happy Birthday Stoner Wishes

Layers of Fear (2024) – How to Solve the Telephone Puzzle
How to Get a New Free Hairstyles on Roblox For Free
Rivals 2 Tier List – All Updated
Orcane Guide for Rivals 2

Everyday Trust, But Not Always Safety: Why You May Need a Personal Injury Lawyer in Iowa