Guide
How To Change the Background Color in Photoshop

This article describes how to alter the background colour of an image file in Photoshop 2020, whether it is a new or old one. It contains information on many tools that may be used to make a selection as well as information on different techniques for adding colour to the selected backdrop.
Read Also: 4 Photoshop Tricks to Make Design Process Faster
How to Change the Background Color in Photoshop
Make a Selection Around the Main Subject
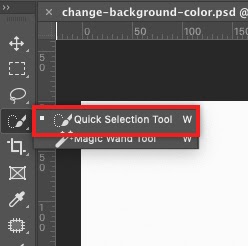
Photoshop users who are not subscribed to the Creative Cloud can utilize the Adobe Photoshop Elements plugin. Navigate to the Toolbar by using the W key on your keyboard.
To make a selection, choose the topic using the Quick Selection tool and drag your cursor all over the area.
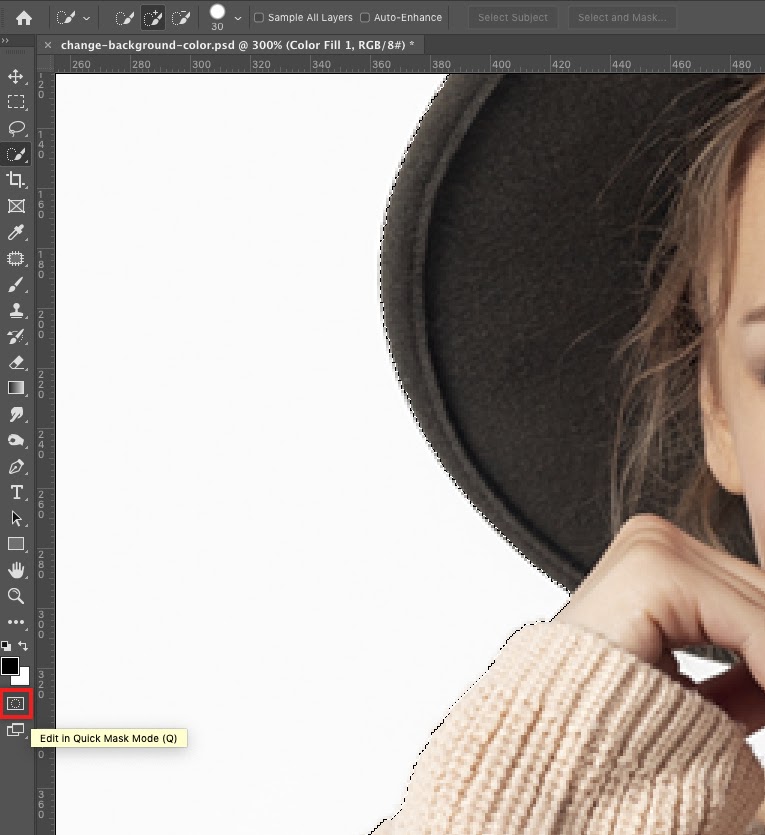
In addition, a moving dashed line, known as the “marching ants,” will automatically display the locations that have been tagged by the tool. To fine-tune your choices, click on the Options button. To remove the subject from the backdrop, click the Subtract from Selection tool, which is located just next to the presently chosen tool.
To save time, Creative Cloud customers may use the Select Subject feature located on the Options bar of their editing programme of choice. Choose a subject area An Artificial Intelligence (AI) system called Adobe Sensei assists this application in analyzing the complete photograph and quickly selecting the key subject!
Refine the Selection with a Quick Mask
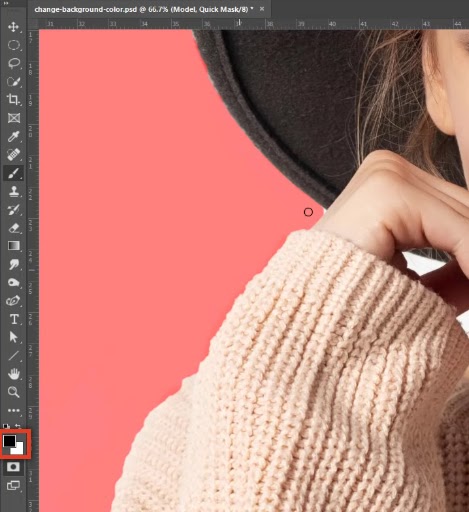
You will have to improve locations that the AI did not properly choose because the AI is not flawless. Quick Mask mode may be accessed by pressing the Q key on the keyboard. This phase adds a red overlay to the portions of the screen that are not currently chosen.
This permits you to correct the regions that should have been picked by the tool but were instead left blank. This is accomplished by selecting the brush tool from the Tool panel or by using the B key on your keyboard. Make use of the colours Black or White to paint over the regions that you wish to pick while editing the mask.
Please keep in mind that the painted regions will thereafter appear in Red, and anything that is in this area will be concealed and will become part of the colour change in the future.
Again, press Q key on your keyboard to retrieve the marching ants.
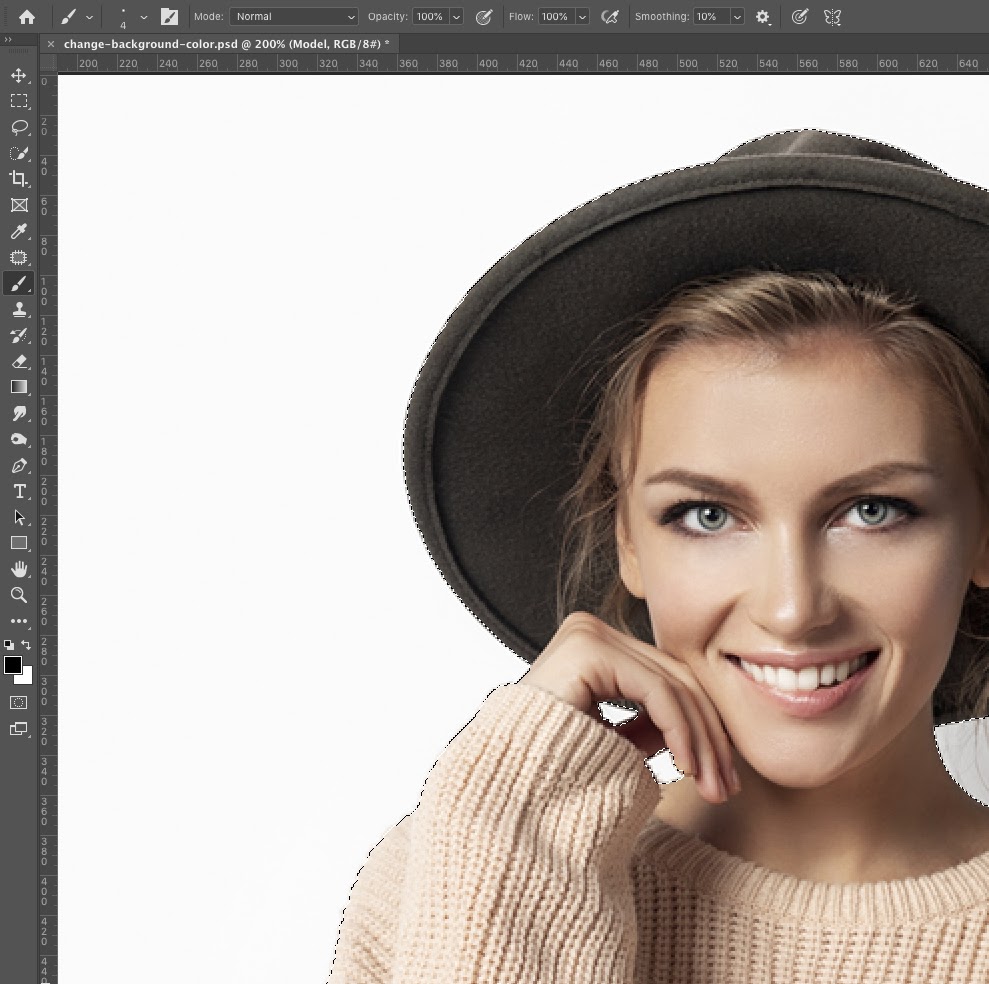
Then you’ll notice that the newly painted regions have been deselected, allowing you to make a more exact selection of your subject matter.
Use a Solid Color Fill Layer to How to Change the Background Color in Photoshop
In the Layers panel, pick Solid Color from the drop-down menu next to the New Adjustment Layer symbol.

As soon as the Color Picker box appears, you may choose whatever colour you like since you can always change it afterwards. Then click on the OK button.
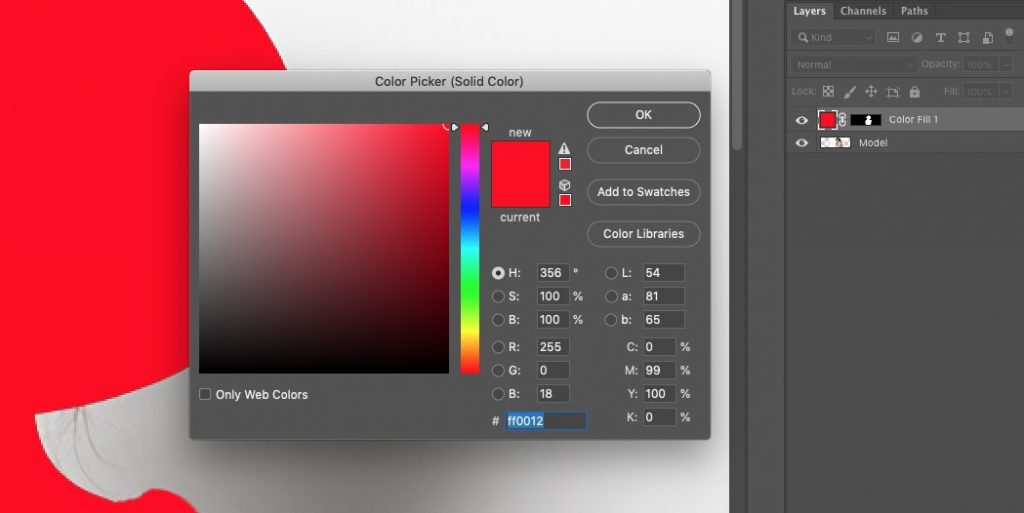
This will fill your topic with the colour you have picked. You may easily alter the colour of the backdrop by clicking on the Layer Mask button, which is conveniently located on the toolbar.
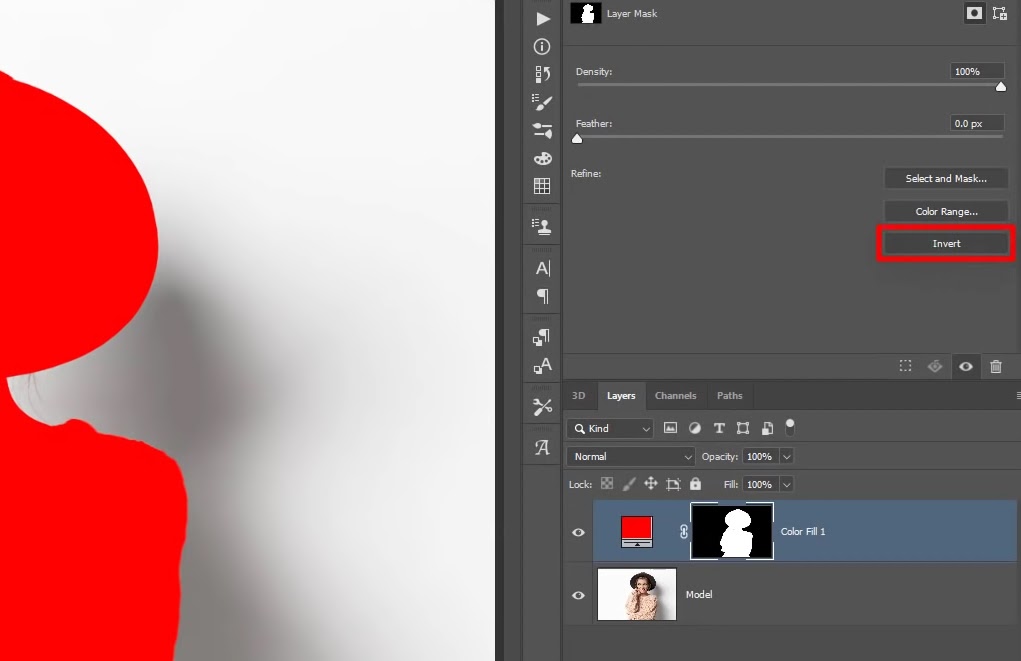
Then click the Invert icon on the Properties panel.
Blending The Background Color
At first glance, your backdrop will look fully solid and flat; as a result, we must make the solid colour background more realistic and blend in with the original background and its shadows to get the desired effect.
If you want to do this, choose Multiply from the Blending Mode menu.
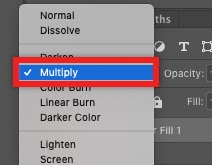
A deeper colour is always produced by the Multiply Blending Mode, which examines the colour information in each of the channels before multiplying the base colour by the blend colour to produce the desired result. Whenever any colour is multiplied by black, the outcome is always the colour of black. Colors will remain constant if they are multiplied with white, on the other hand.
As a result, when we select a certain hue of red and apply the Multiply Blending mode on a white backdrop, the colour will remain consistent.
I indicated before that you can always alter the colour of the background without having to go through the entire procedure again. This is true. This may be accomplished by hovering your mouse above the Layers panel and double-clicking on the Solid Color thumbnail, which will return you to the Color Picker window.
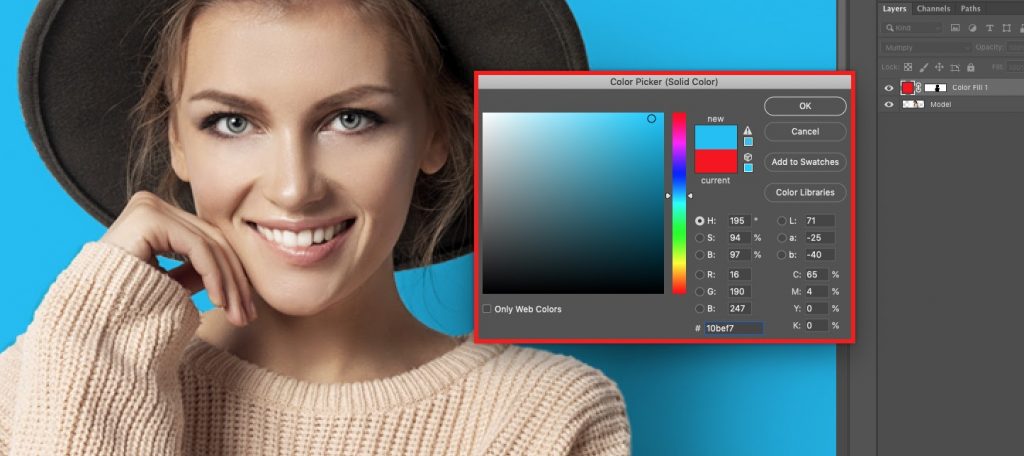
To do so, simply click and drag about the panel until you find a hue that works best with your topic and change the brightness or contrast as needed. As soon as you’re satisfied with the results, simply hit OK and you’re finished.
Video
FAQS
What is Ctrl T in Photoshop?
Selecting the Free Transform option
An simpler and faster approach to pick Free Transform is using the keyboard shortcut Ctrl+T (Win) / Command+T (Mac) (think “T” for “Transform”) (think “T” for “Transform”).
How do you fill color in Photoshop?
Solid Color may be selected by clicking on the Fill/Adjustment layer icon at the bottom of the Layers panel and selecting it. Choose a colour from the Color Picker that shows on the screen. You may edit the colour by dragging the round selection, and then clicking OK to save your changes.

Vampire Crawlers Coin Farming Guide

Forza Horizon 6 Performance: Why 60 FPS Is Still the Console Standard

Yoshi and the Mysterious Book (2026) – Full Completion Guide, Rewards & Secret Ending

How to Get Free Pets in Adopt Me: A Guide for Players

Roblox Username Generator – Create a Cool & Unique Username in Seconds
How to Get Free Pets in Adopt Me: A Guide for Players
Yoshi and the Mysterious Book (2026) – Full Completion Guide, Rewards & Secret Ending
Vampire Crawlers Coin Farming Guide


