Gaming
How to Clean an Xbox One Controller

It doesn’t matter how often or infrequently you play Xbox, chances are you haven’t cleaned the controller. This doesn’t make sense, given how quickly germs can accumulate in a gaming controller. If you don’t want your Xbox One controller to become contaminated, you should clean it often.
It’s simple to make a mistake when it comes to cleaning products and chemicals. Learn how to properly clean an Xbox One controller so that you don’t put yourself or others at risk.
Read Also: How To Turn Off Narrator On Xbox One
How to Clean an Xbox One Controller
After you’ve removed the outside shell from your Xbox One controller, you’ll be able to thoroughly clean the device. But where do you begin and what should be cleaned within the Xbox One controller are important questions to ask.
Step 1: Clean the Shell

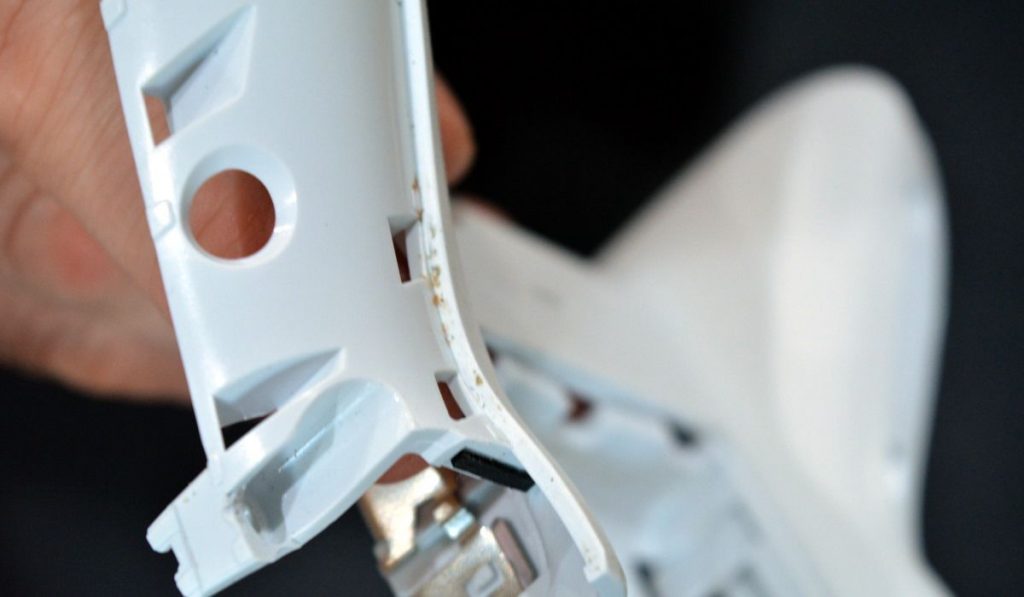
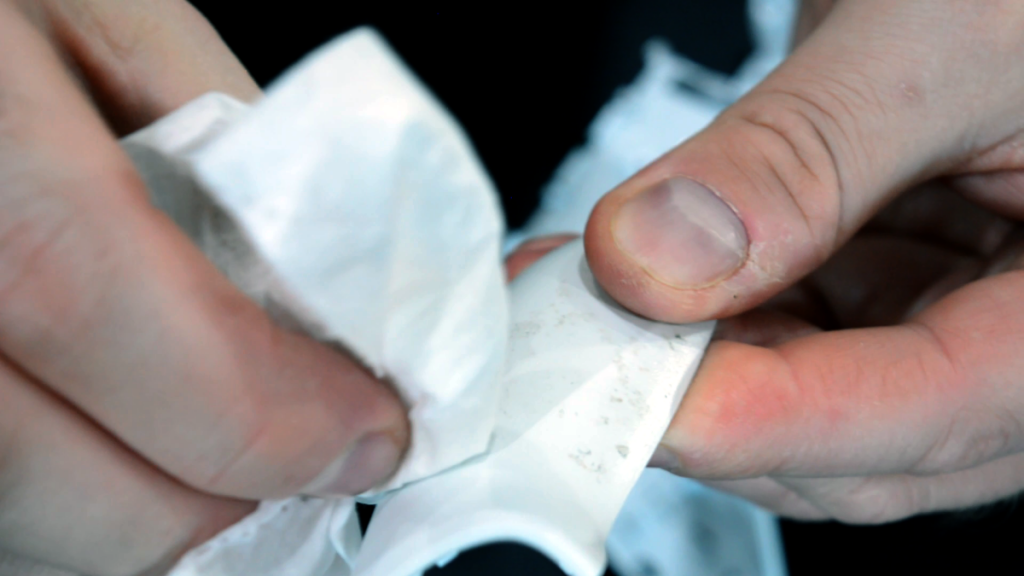
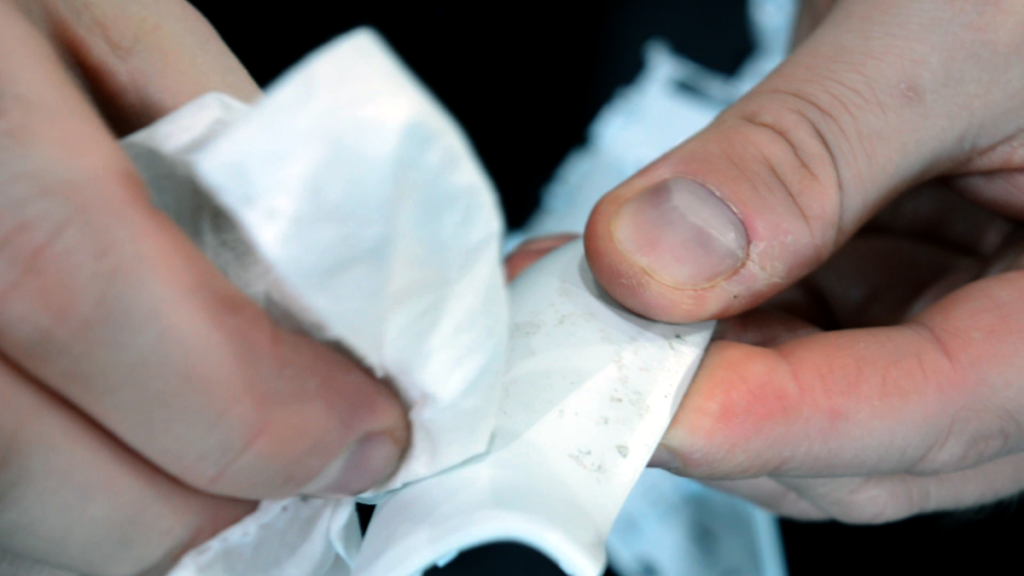
Begin by cleaning the shell down with a moist cloth to remove any dust. Make a point of cleaning up any filth and debris that has accumulated both inside and outside the house. This is commonly found at the edges; if it has accumulated in difficult-to-reach spots, use a toothpick to scrape the dirt away from the surface.
Make certain that the shell is totally clean before moving on to the interior cleaning process. This is the section of the controller that receives the most filth (apart from the thumbsticks), so take the time to fully clean it.
Step 2: Clean Inside the Xbox Controller

The next step is to thoroughly clean the interior of the Xbox One controller’s body. This entails cleaning the area surrounding the buttons and, if required, pulling them off. The D-pad and thumbsticks are subject to the same limitations.
It’s also a good idea to clean the shoulder buttons and triggers. Take caution here, since pressing in the wrong direction might cause the mechanism to disengage. A similar approach should be taken with the rumbling motors, which should be gently cleaned because they can collect dirt and dust.
Step 3: Remove Grime from the Nooks and Crannies

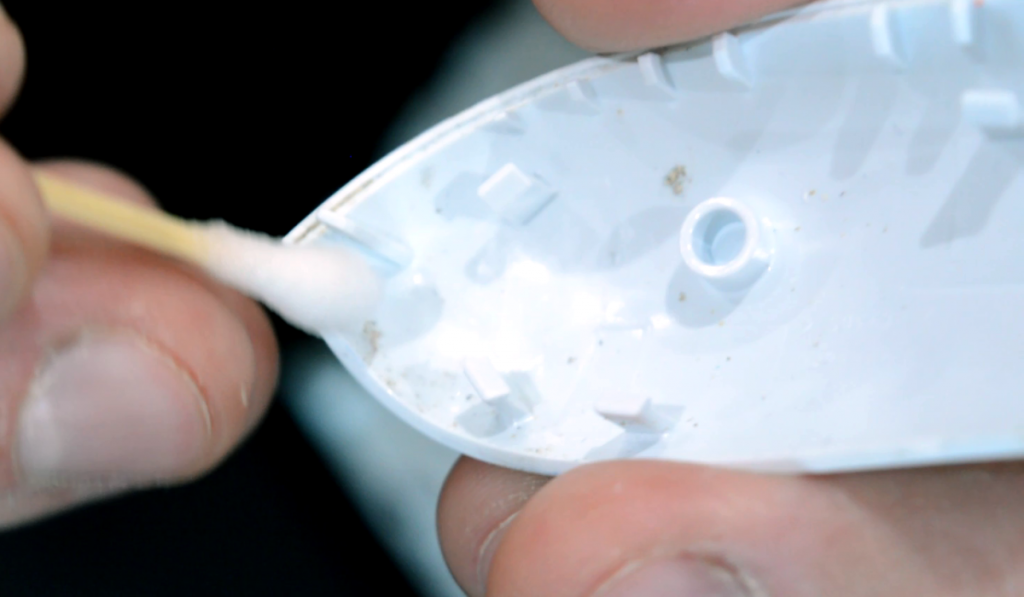
A moist cloth is good, but it does not reach all of the surfaces. To the contrary, toothpicks and slightly wet cotton swabs are ideal for picking up tiny bits of filth, sweaty clusters of dirt, and anything else that is difficult to reach.
Cleaning an Xbox One controller is not a simple or quick process. When performing your first thorough clean, it will take some time as you become familiar with the method and learn where the muck tends to accumulate. Remove the filth one piece at a time until everything seems to be clean and gleaming once more.
Step 4: Use Antibacterial Spray and Wipes

To prepare the Xbox One controller for reassembling, use an antibacterial wipe to wipe out every surface, both inside and outside, of the device. Antibacterial spray can be used on any surface that cannot be cleaned with a cloth.
Your efforts to provide an extra degree of cleaning will assist in ensuring that the Xbox One controller is fully cleaned. Taking this step makes sense if you’re concerned about maintaining hygiene or if the controller is in high demand. The controller may be part of a public gaming system at a store or club, or it may be part of your household’s hectic schedule.
Whatever the situation may be, you now have a completely pristine Xbox One or Xbox Series controller on your hands.
Video


