Guide
How to Clean Dust From Your PC – Complete Guide
This article outlines the step-by-step procedure for thoroughly cleaning the interior of a computer and its associated components.
Read Also: How to Clip on PC
How to Clean Dust From Your PC
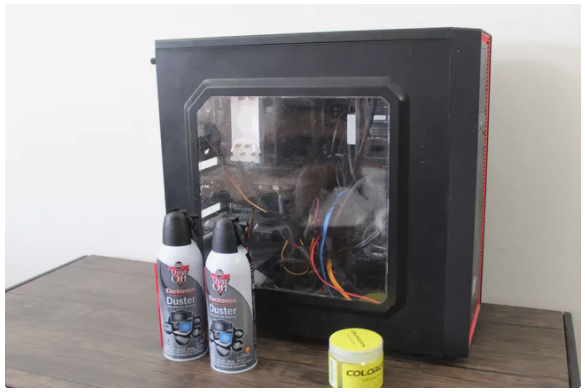
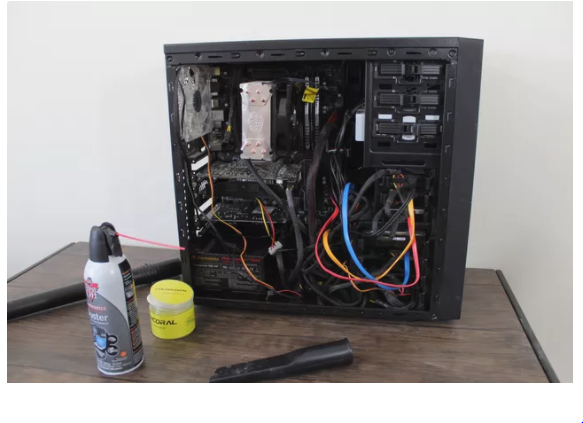
Cleaning a computer is simply only a matter of removing dust. You’ll need canned air, a computer vacuum, and a dust mask for this job. Cotton swabs and rubbing alcohol (for use solely in the case) are not required.
In essence, the goal is to blow dust off of components while collecting it with a computer vacuum, if at all feasible. Alternatives to canned air, such as a dust cloth or a gloved finger, can be used in challenging locations where the canned air is ineffective.
Here’s how to thoroughly clean your computer:
1. Disconnect your PC from the power source, unplug all of its peripherals, and find a suitable workspace. Maintain excellent ventilation, or keep a decent vacuum on hand to capture any dust that accumulates while you work.
2. Remove the side panel on your PC to gain access to the internal components. You may have to remove a couple of thumb screws, there may be screws that require a screwdriver, or your case may have some other type of fastening method.
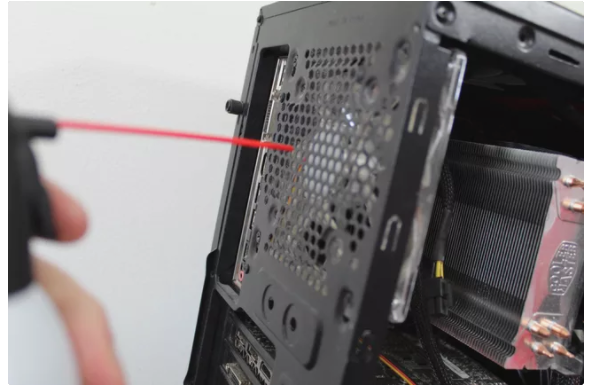
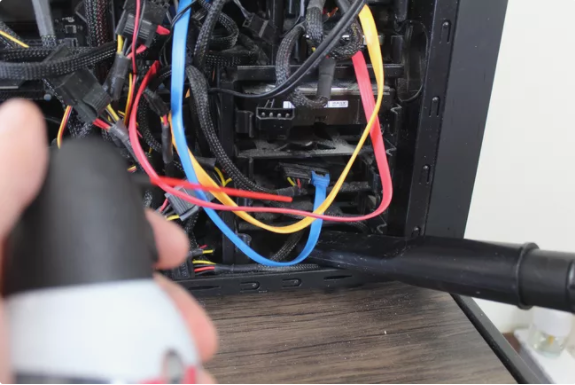
3. Begin by blowing off components using compressed air from a can. Work your way down from the top to prevent having to re-clean components when dust collects on the surface. Start by blowing air via a fan that’s placed towards the top of the computer’s chassis.
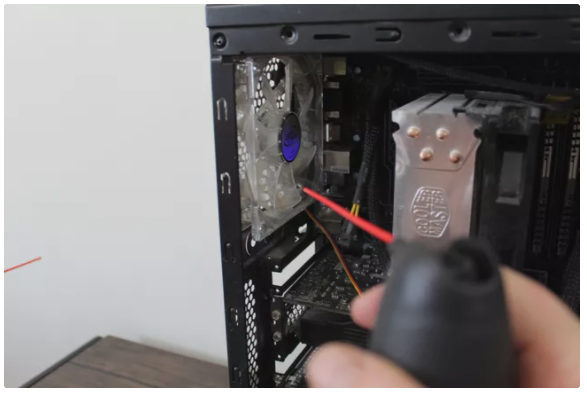
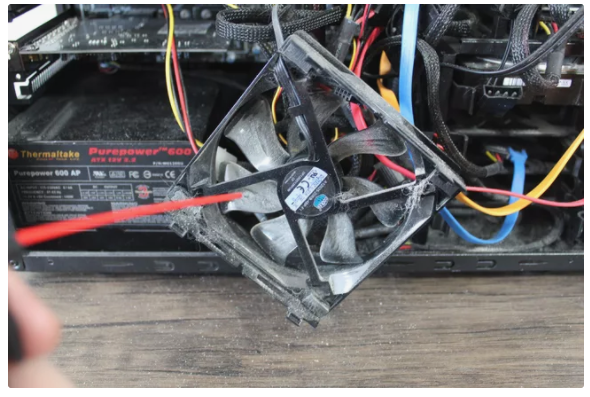
4. When cleaning computer fans, blow from both directions to remove the most dust.
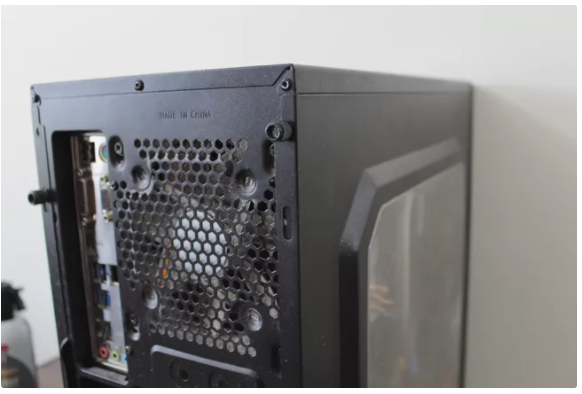
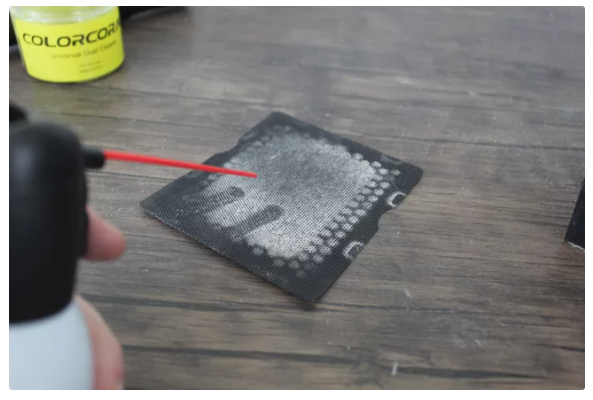
5. In other circumstances, such as when a filter is incorporated, it is more convenient to vacuum vents from the outside and use a cleaning gel to remove any tenacious debris or grit that has accumulated.

6. Blow dust off and through the external ports, starting at the top.
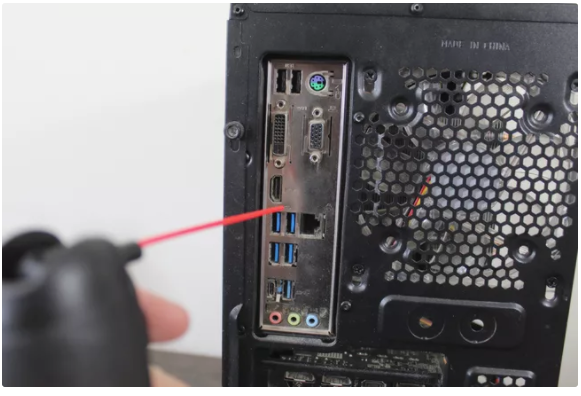
7. Remove the external peripheral connections and clean them. If cleaning gel, a cloth, or cotton swabs are required, they should be used.
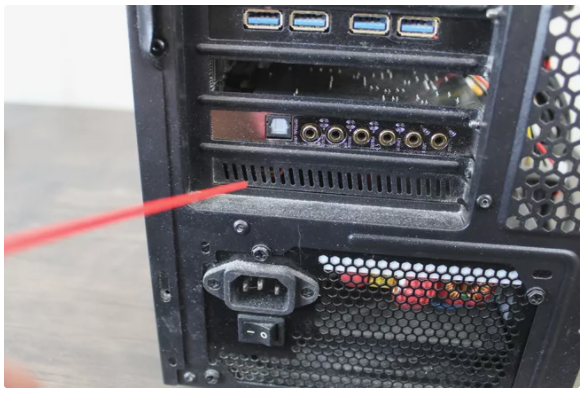
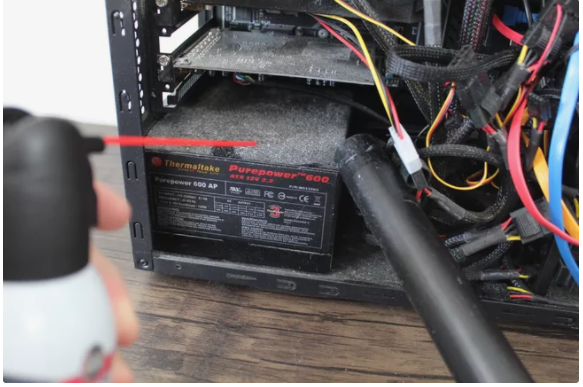
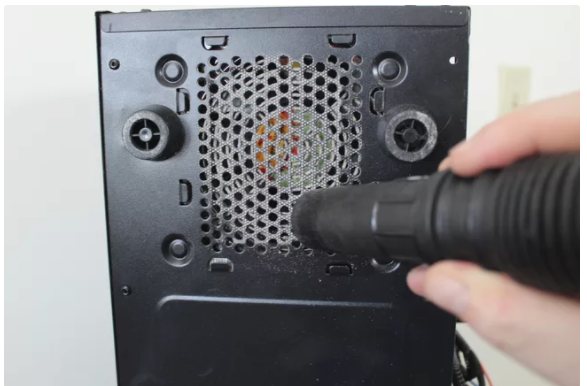
8. Remove any dust from the power supply. It should be noted that the power source is positioned at the bottom of the casing in this instance. It’s possible that yours is at the very top, in which case you’d start there and work your way down.
9. If you have a CPU air cooler, locate it and remove the fan or fans.
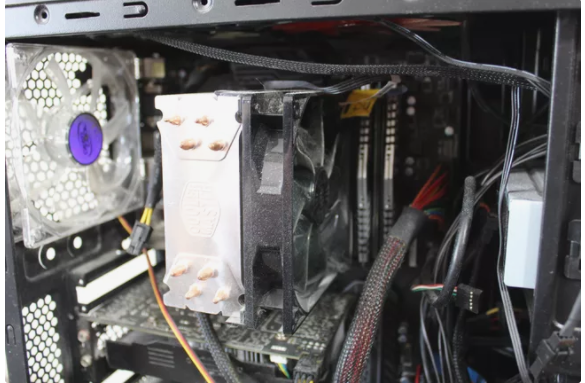
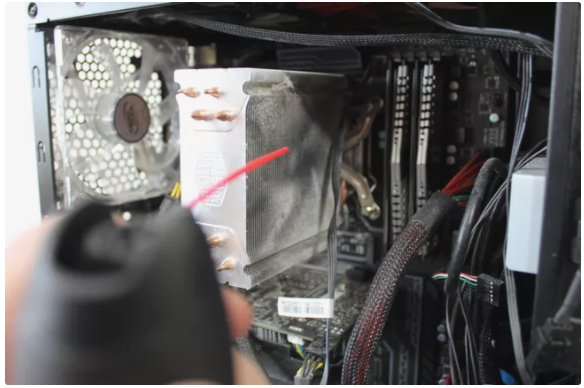
10. Blow the dust out of the cooling fins from both directions.
11. Clean the dust from the CPU fan.
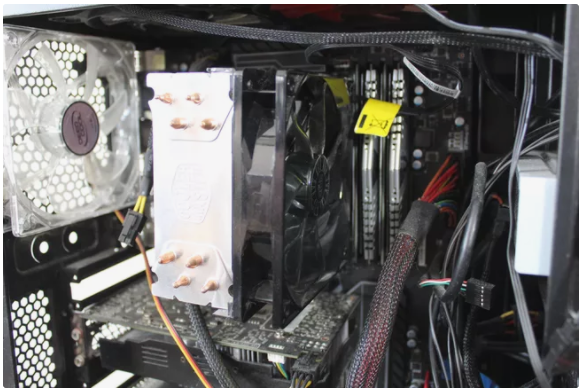
12. Reassemble the cooler and the fan once they have been thoroughly cleaned. Take care not to disconnect the fan from the electricity by mistake.
13. Start from the top and work your way down, blowing dust off your peripheral cards and the motherboard that sits behind them.
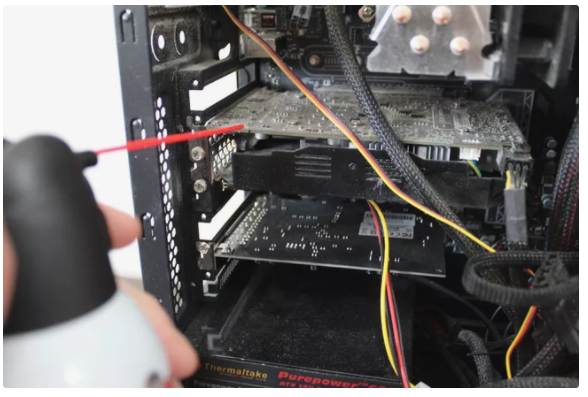
14. A number of cards, particularly video cards, are protected by shrouds and may contain components like as heat sinks and fans. Make every effort to blow the dust off both sides of your cards, out of any shrouds, and off of any fans you may be using.
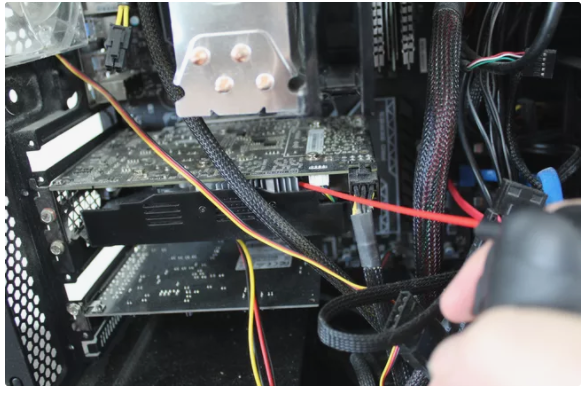
15. Continue working your way down, blowing off any additional peripherals, the motherboard, and any additional fans.
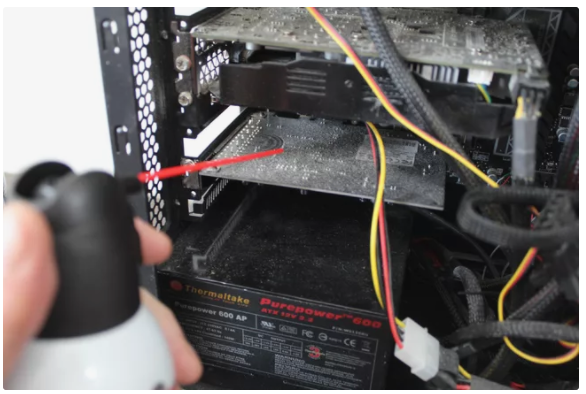
16. Continue to work your way down the list. The power supply is located at the bottom of the stack in this instance. As soon as you get to this point, you may blow out the case and thoroughly clean the bottom of it.
17. Blow out the individual drive bays, catching the dust with a vacuum if necessary.
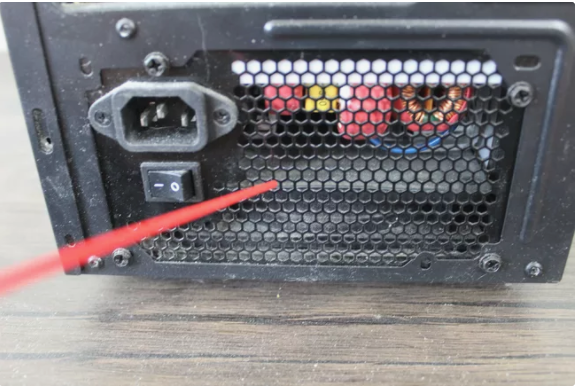
18. Whether your power source has a filter, check to determine if it’s clogged or otherwise ineffective.
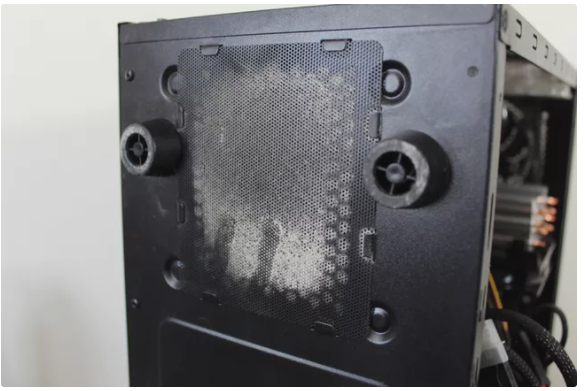
19. Blow off your power supply dust filter if necessary.
20. Clean the dust from the power supply air intake by turning off the internal fan, and then use a computer vacuum or a cloth to clean the dust from the exterior of the vent on the outside of the computer.
21. Reinstall the power supply fan filter.

22. Check to make sure you haven’t disconnected anything by mistake, that your wires and cables are properly routed, and that your PC’s side panel has been properly installed before continuing.
What Parts of a PC Should You Clean?
Cleansing the surface of your computer is a nice idea just for cosmetic reasons, but cleaning virtually every interior component is necessary in order to ensure that everything runs as smoothly as it possibly can.
When you’re through cleaning your computer, you should have as little dust as possible on your hands. Concentrate your attention to the fans and heat sinks in particular, but don’t stop there. It’s not that difficult to clean a computer, especially as compared to cleaning a laptop, but you need to be meticulous about the procedure.
When Is It Time to Clean Your PC Again?
To determine whether or not you have too much dust accumulation in your computer, look at how hot it gets when it’s operating. Depending on the quantity of dust in your house or business, the type of flooring you have, and whether or not you have pets, the precise period varies from scenario to circumstance.
Generally speaking, you should wipe up your PC once or twice a year. After six months, if there isn’t much accumulation, you can definitely get away with employing a year-long interval. If you see that your computer is getting clogged up with dust in less than six months, you may need to change your cleaning routine appropriately.
Video

Vampire Crawlers Coin Farming Guide

Forza Horizon 6 Performance: Why 60 FPS Is Still the Console Standard

Yoshi and the Mysterious Book (2026) – Full Completion Guide, Rewards & Secret Ending

How to Get Free Pets in Adopt Me: A Guide for Players

Roblox Username Generator – Create a Cool & Unique Username in Seconds
How to Get Free Pets in Adopt Me: A Guide for Players

Grow a Garden Recipes in Roblox: Guide to Cook (Donuts, Sushi, Pie, Pizza & More!)
Roblox Username Generator – Create a Cool & Unique Username in Seconds
Yoshi and the Mysterious Book (2026) – Full Completion Guide, Rewards & Secret Ending


