Guide
How to Clip on PC – A Beginner Friendly Guide

In the film and television industry, clipping is an essential part of the workflow. Many people use video snippets to enhance their products. You need clips, whether you’re a gamer who wants to share his best moments with friends or a professional cameraman who wants to improve your product’s iteration. The number of places where you can post short videos has exploded. Short videos have become increasingly popular on sites like TikTok, Youtube Shorts, and a host of others.
Here, you’ll find all the information you need to make your own short video using your own video clips. We’ll show you how to record clips on a PC in this article. To make things easier for you, I’ve compiled a list of three ways to take video clips, each utilizing a different programme. One that best meets your requirements can be selected. So, without further ado, let’s get started with the first step.
Read Also: How To Add Friends In Minecraft PC
How to Clip on PC with the Xbox Game Bar?
For years, PC gamers have been clamoring for a built-in game recorder for Windows 10 to be included. The Xbox Game Bar was ultimately added by Microsoft in 2019 in response to popular demand.
In this way, it functions as a substitute for the native Windows recorder. Because of this, the Xbox Game Bar was designed with simplicity in mind by Microsoft engineers. As a result, it’s ideal for the casual gamer who wants to record gameplay footage on their gaming PC. As a built-in Windows feature, the Xbox Game Bar does not need to be purchased separately. Activated Windows and a Microsoft account are all you need. Make clips on PC with the following steps if this programme is a good fit for what you’re searching for.
Make sure you have the Xbox Game Bar activated in Windows before proceeding. Click the option that comes after typing enable Xbox Game Bar into the Windows search bar. You’ll notice an option to activate Xbox Game Bar in the new window that appears. Flip the switch style selector if this option is not immediately activated. Let’s get down to the business at hand, namely, capturing clips from the Xbox Game Bar. You should know that Xbox Game Bar footage are only available for 30 seconds of gameplay at a time. You must accept this as a reality of life. You may cut the Xbox Game bar by following these instructions:
- Run the game you want to take the clips off.
- Make sure Xbox Game Bar is enabled. If you have been following the write till now then it should be enabled in your case.
- Whenever you want to save the last 30 seconds of the gameplay as a clip press the Windows + G key.
- In the pop that appears click on the widget menu icon which is next to the Xbox icon.
- From the drop-down menu select the capture option.
- A new pop window will appear here click on the record last icon which is right beside the camera icon.
- By doing this you will successfully save the last 30 seconds of the action.
Alternatively, you can record a clip in a single linear setup if you don’t want to go through the laborious process of going through each menu by hand. The Windows + Alt + G key combination is used to activate this shortcut. Windows will save the past 30 seconds of the game automatically if this key combination is hit.
Xbox Game Bar is unquestionably a user-friendly feature. It’s quick and easy to get up and running, and setup takes only a few minutes. As simple as the Xbox Game Bar is to use, there is a downside to the recorded video quality. Despite being fine for home usage, Xbox Game Bar clips lack a professional quality.
How to Clip on PC with the Graphics Card Software?
The graphics card technique is what we’ll go over next. It doesn’t matter which business makes the graphics card; both Nvidia and AMD provide software that allows for PC video recording. The quality of the video clips taken using the graphics card software is superior to that of the Xbox Game Bar, as well.
Be sure to have the most recent versions of each of these devices’ drivers installed before continuing. Nvidia and AMD users should use Geforce Experience or Radeon software, respectively, to perform driver updates. Let’s get started with Nvidia’s technique of collecting clips now that we’ve covered the basics.
For Nvidia Graphics Card
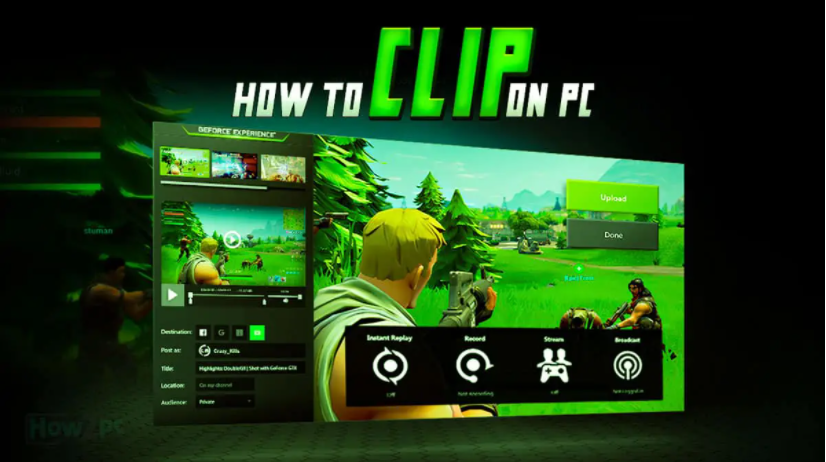
We’ll use the GeForce Experience’s instant replay feature to generate video here. That’s how it works, as follows:
- The GeForce Experience Overlay may be accessed by pressing Alt + Z on your keyboard.
- To disable it, uncheck the box next to “Instant Replace” in the new window that appears.
- As soon as it’s been switched off, open the settings menu.
- In this section, you’ll need to figure out how long an instant replay should be recorded at. Also, take into account the physical specifications of your gaming PC while adjusting the quality. Use the Low or Medium presets for a low-end PC, and the High preset for a gaming PC of the newest generation. Retain the default settings for resolution, frame rate, and Bitrate. As soon as it is done, click the Save button.
- To access the general settings, click the gear icon in the top-right corner of the screen.
- Open the Recordings by clicking on it. The instant play recording will be saved to the folder you specify in the Videos section.
- After that, return to the main menu and select the Keyboard shortcuts option from the drop-down menu.
- To save an immediate replay, go to the Record section and assign a shortcut key to the relevant key on your keyboard.
- Congratulations, everything has been completed. You may now capture gameplay clips by using the shortcut key.
As you can see, Nvidia gives you a lot of flexibility when it comes to personalizing your graphics card, and while this approach may appear complicated at first, it is actually rather simple. Now that Nvidia has been dealt with, let’s move on to AMD.
For AMD Graphics Card
When it comes to making clips on a PC, the Radeon programme is equally as good as the Nvidia software. On the other hand, the process on AMD is a lot easier.
- Use the Radeon Overlay by pressing Alt + R.
- Look for the gear icon in the Radeon Overlay at the upper-right corner of the window. Then press the button.
- Go to the Recording & Streaming section now.
- This feature is available in the Media section, so be sure to check it out!
- For now, we’ll just set the Instant Replay Duration to whichever long you want it to be.
- Once you’ve done that, navigate to the Hotkeys tab.
- Set the keyboard shortcut for the Save Instant Replay option in the Media Hotkeys section. Otherwise, if you’re happy with the default key binding, you may keep it as is. As a matter of course, CTRL + SHIFT + S serves as the default key binding.
- In order to generate clips on PC, we needed to activate the instant replay option, which we have now done.
Just in these simple steps, you can create clips on PC with the AMD Radeon Software.
Video
FAQS
How do you clip last minute on PC?
ShadowPlay will record the past five minutes of your gaming session and store it to your Videos folder when you hit the Alt+F10 keyboard shortcut. You can start recording a clip in Manual mode by pressing Alt+F9 on your keyboard, and you can stop recording a clip by pressing Alt+F9 again.
Is Nvidia recording good?
A fantastic feature for low- to mid-range PCs, Nvidia’s ShadowPlay is simple and reliable. When utilizing an alternative to ShadowPlay on a budget system, we recommend removing the programme to prevent GFE from operating in the background and slowing things down even further. ‘
-

 Anime4 years ago
One Piece Chapter 945 Spoilers, Release Date and Everything you Need to Know
-
Gaming3 years ago
Warzone 1 has been brought back online, but essential components and maps are still absent
-

 Technology7 years ago
Google and Levi’s Commuter Jacquard Smart Jacket Alerts You If You Forget Your Phone
-

 Gaming3 years ago
How to Make a Conduit in Minecraft


