Guide
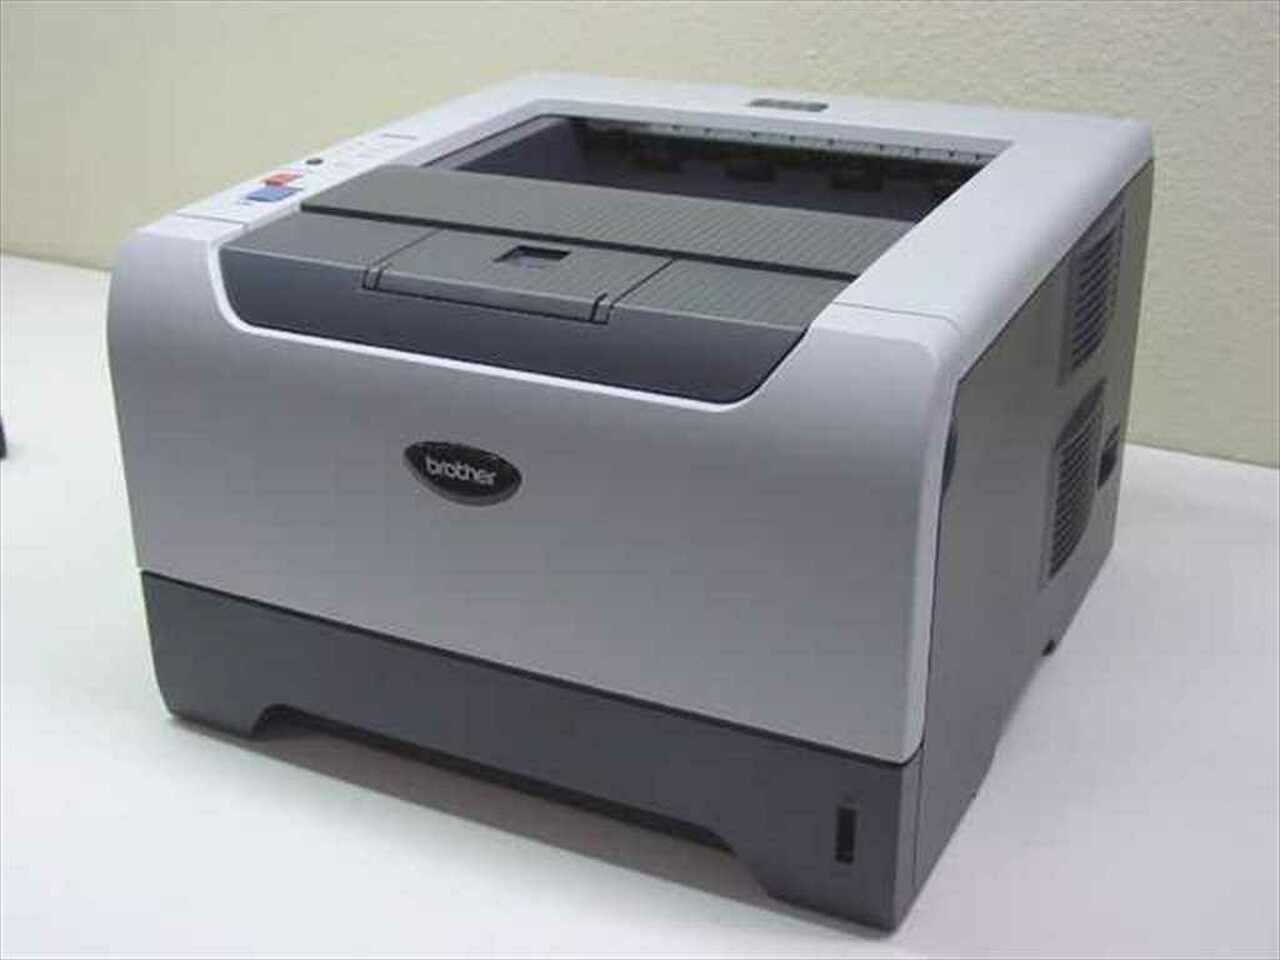
How to Clean Your Laser Printer
It is reasonable to anticipate that laser printers will be challenging to clean and maintain given the extensive amount of high-tech wizardry that lies behind their mechanisms. However, in comparison to inkjet printers, whose internal components are frequently covered in filthy ink residue, laser printers are surprisingly simple to clean, provided that the appropriate instruments and supplies are used.
In this foolproof step-by-step guide, we will demonstrate how to clean a laser printer in a way that is both safe and effective, and we will also offer some guidance on the kinds of tools that will be necessary for you to complete the task successfully.
Read Also: How to Reset a HP Printer?
How to Clean Your Laser Printer
Open up your printer and begin to work as soon as you have all of the necessary tools at your disposal. Before you proceed with that, we would like to bring to your attention the fact that in the event that you feel uneasy about handling any of the internal components, you should make sure to get in touch with an experienced printer technician or another person who has prior experience and have them finish the cleaning for you. First and foremost, a word of caution.
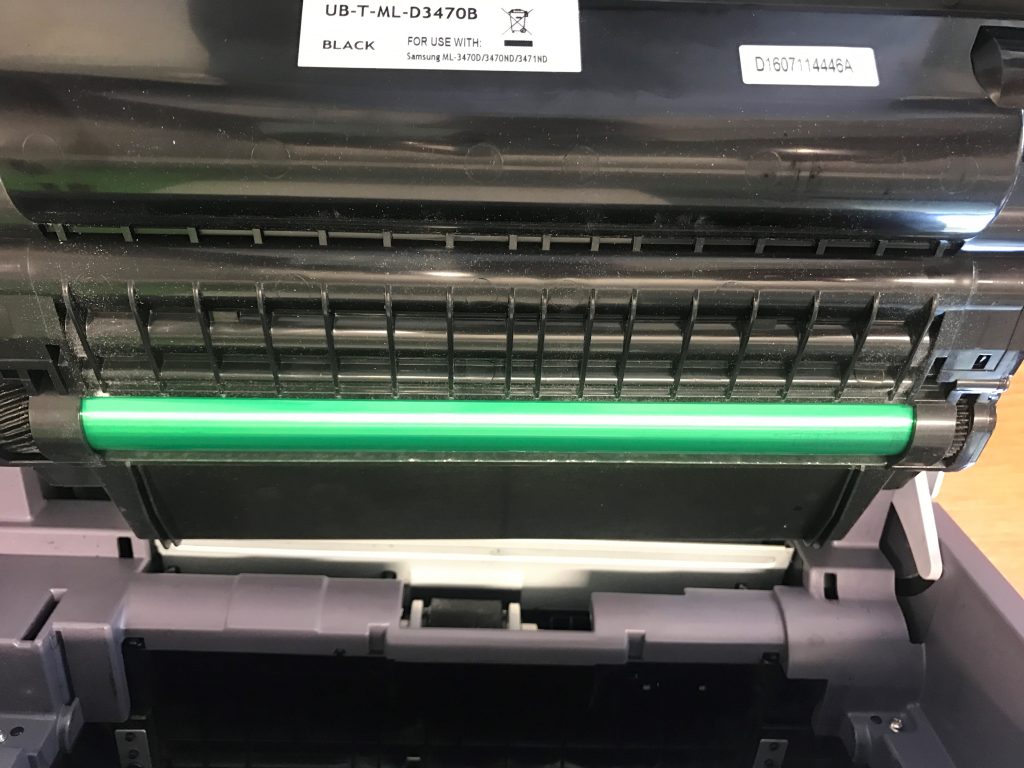
There are a few spots within your printer that you should not contact with your fingertips, and when cleaning debris from those areas, you should be as careful as possible. This is because certain sections are easily harmed, and if they were damaged, they would need to be replaced. Among these is the toner drum unit, which is frequently a component of the toner cartridge but may also exist as a standalone unit in some cases. This component will have the appearance of a green cylinder and be covered by a plastic cover that is referred to as the toner hopper.
Here’s what the drum looks like:
Step 1: Switch Off, Cool Down
Hold your horses before you start searching the documents in your printer and don’t be in such a hurry. In order to avoid getting electrocuted, you should first turn the printer off at the mains, and then, if you’ve just used the machine, you should wait for it to cool down. If you haven’t recently used the machine, you can skip this step. When turned on, laser printers quickly reach dangerously high temperatures; hence, it is essential to allow sufficient time for them to cool down.
Step 2: Removing and Cleaning the Toner Cartridge
After the printer has had time to cool down, you can access the toner cartridge by opening the rear or front panel and following the instructions in the manual that came with the printer. First, using a square piece of toner cloth, remove any extra toner from the cartridge, and then, using a second piece of toner cloth, set the cartridge to the side.
Step 3: Remove Excess Toner from Internal Components
Reach inside the machine and remove any and all excess toner from the internal surfaces using a square of toner cloth (or a toner vacuum if you’ve acquired one). Around the cartridge housing, as well as on other components that may be difficult to access, there is a good chance that toner will accumulate over time. When cleaning the interior of the device, it is important to exercise as much caution as is humanly feasible because certain components are delicate and expensive to replace if they are broken.
Step 4: Swab Surfaces with Isopropyl Alcohol
If you want to make sure that the component you’re cleaning is safe and sterile, use some isopropyl alcohol to saturate a cotton swab and then wipe it over the component you’re cleaning. This works well for cleaning intricate components like cables and wires. This chemical, which is 99 percent pure, will eliminate debris from interior parts while leaving no trace of residue behind. To prevent any long-term damage from being caused by scratches, take care to only rub components with the utmost minimum amount of pressure feasible.
Step 5: Reassemble
When you are certain that you have removed all of the toner from within the machine in a safe manner, it is necessary to replace the toner cartridge together with the bottle that came with it. Before carrying out any cartridge realignment tests as suggested by the manufacturer, ensure that the cartridge has been properly inserted into the machine and that it has been shut down. If necessary, consult the user handbook for guidance. Producing a few of test prints is another step that should be taken to confirm that everything is functioning as it should. You have completed the task.
Video

Roblox Username Generator – Create a Cool & Unique Username in Seconds

Grow a Garden Recipes in Roblox: Guide to Cook (Donuts, Sushi, Pie, Pizza & More!)

Job Opportunities in Dubai – 2026

Mr Bit at the SBC Awards Europe 2025: The Bulgarian Brand Setting New Standards in the European Gaming Industry

Dennis Rodman Net Worth 2026 – Everything You Need to Know

Bloxburg Neighborhood Codes 2026
Grow a Garden Recipes in Roblox: Guide to Cook (Donuts, Sushi, Pie, Pizza & More!)
Job Opportunities in Dubai – 2026
Dennis Rodman Net Worth 2026 – Everything You Need to Know


