Guide
How to Connect a PS3 Controller to a PC
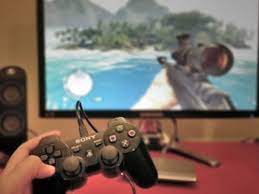
The PlayStation 3’s crown has been usurped by the PlayStation 4, and it won’t be long until everyone is talking about the PlayStation 5. That is not, however, a good enough excuse to get rid of your PS3 console or give up on your controllers just yet. If you are a gamer who enjoys playing on their personal computer, the controllers for your PS3 will still be of great value to you.
We’ll lead you through the process step-by-step, so make sure you have your controller, the computer you want to connect it to, and a mini-USB cord.
Read Also: How to Change NAT Type on a PC?
Part 1: Update Windows drivers and .NET Framework
Step 1: Launching the Command Prompt will allow you to examine the drivers that are presently installed on your computer. After it has been opened. After typing driverquery, make sure to hit the Enter button.
Step 2: Examine the list and verify that the following components have been installed on your computer:
- Microsoft .NET Framework 4.5
- Microsoft Visual C++ 2010 Redistributable Package
- Microsoft Visual C++ 2013 Runtime
- DirectX Runtime
- Xbox 360 Controller driver – for Windows 7 and older only
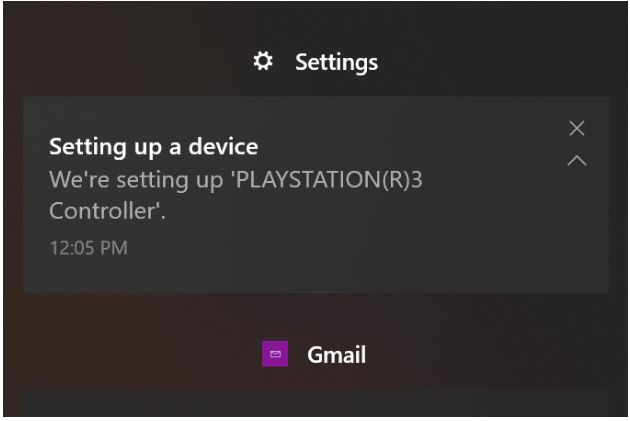
Step 3: Using a Mini USB cable, connect the controller for your PlayStation 3 to your personal computer (aka Mini Type-B). On the side that attaches to the computer, they typically have a USB-A connector, although you can purchase cables on Amazon that have USB-C connectors. The Micro USB connector is utilized on the PS4 controller, mobile devices, and a variety of other devices. Mini USB is an older and larger standard than the Micro USB connector.
After you have connected the wire, Windows should start installing the initial drivers automatically.
Part 2: Download and install ScpToolkit and drivers
Step 1: Navigate to the official ScpToolkit download thread and look for the green download link. Click on that link to begin downloading the most recent stable release. You will find the installer, which is called ScpToolkit Setup.exe, along with the source code archived in several formats. If you wish to play around with the code, you’ll need to extract the files first using 7-Zip or another programme of the same kind.
Step 2: The second step is to find the downloaded installer and run it with administrative privileges.
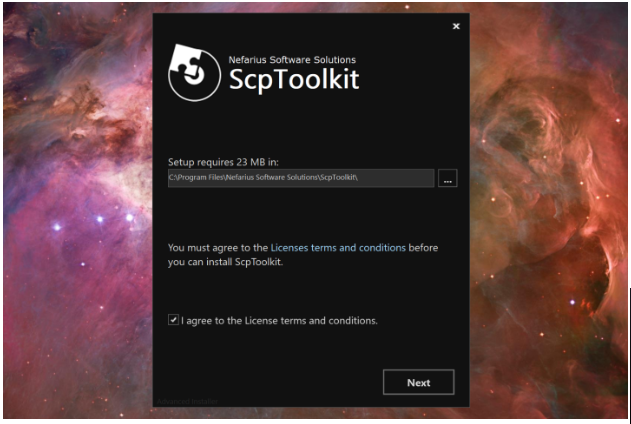
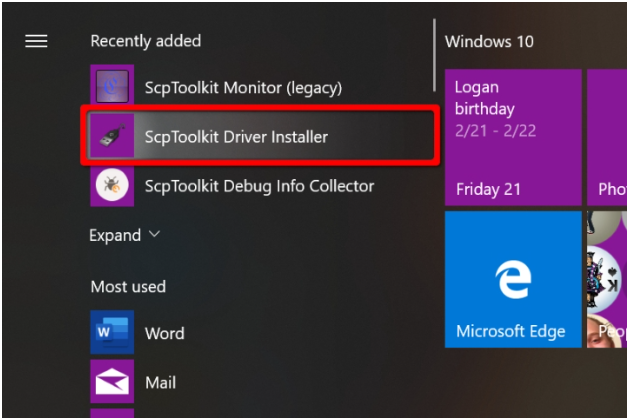
Step 3: After the installation is complete, the ScpToolkit will inform you that a second driver installer needs to be launched. If you do not see this prompt, search for “Scp” and choose the ScpToolkit Driver Installer from the results. It’s possible that you’ll find it in Windows 10 at the very top of the Start Menu, under the section labelled Recently Added.
Step 4: Ensure that the boxes pertaining to the ScpToolkit Driver Installer are checked, including the one pertaining to the Force Driver Installation option.
Step 5: Select the DualShock 3 controllers that you want to install by selecting the boxed arrow next to the selection. Locate your DualShock 3 controller inside the resulting drop-down menu, and then choose it. Select those options as well if you intend to utilize a DualShock 4 or a Bluetooth dongle in addition to enabling wireless gameplay with the game.
Step 6: Click the Install button when you are ready to proceed to the next step. The installation and configuration of any relevant files is handled automatically. Do not get alarmed if you notice a large number of pop-up windows appearing on your screen; this is quite normal. You are set to go once you see the notice that says the Dualshock 3 USB Driver has been installed.
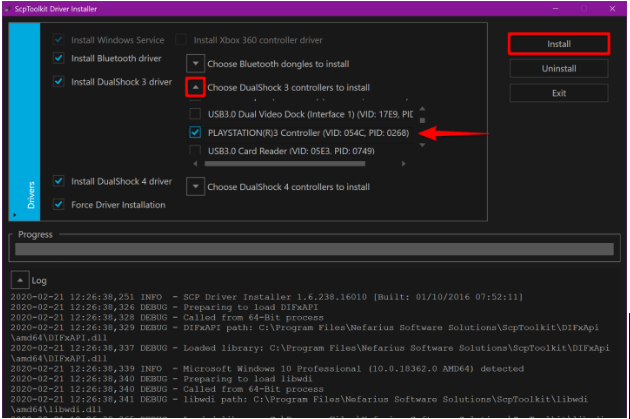
Step 7: When the installation is finished, proceed to the seventh step and click the Exit button.
The DualShock 3 is now “plug-and-play,” which means that you may connect it to your console at any time and it should begin functioning immediately.
Something to keep in mind is that because you are technically using the Xbox 360 drivers to connect with the PS3 controller, games will most likely display an Xbox control scheme. This is because you are utilizing the Xbox 360 drivers. Instead of “pressing X,” you should be pressing the Square button whenever a game instructs you to do so.
Part 3: Create a profile and tweak settings
You can fine-tune your PS3 controller by using one of the many applications that are available with the ScpToolkit, if that is something that interests you.
Step 1: The “unstable” ScpToolkit Profile Manager will not be installed automatically when you first run the setup programme. To obtain this feature, you will need to re-run the installer and select the appropriate option to “alter” your existing installation. A desktop shortcut and the ScpToolkit Profile Manager will subsequently be added to the ScpToolkit folder that is located in the Start Menu.
After you have successfully completed that step, you will be able to customise button mappings and rapidly switch between different configurations. In addition, you can map commands for the keyboard and mouse.
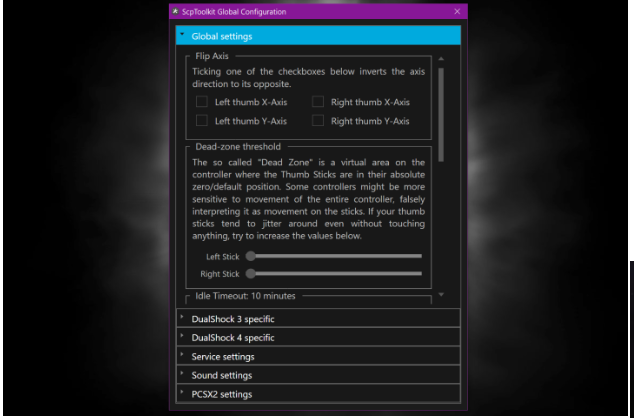
Step 2: Locate the shortcut to the ScpToolkit Settings Manager that has been placed on your desktop, and then double-click it. You can also perform this within the folder that is called ScpToolkit, which can be found on the Start menu. After you have performed a double click, you will have the ability to make adjustments to your thumbstick sensitivity, rumble, controller latency, and LED display, in addition to a wide range of other sophisticated choices.


