Apple
How to Draw on An iPad using Procreate
The drawing app Procreate has a lot of power hidden away under the hood, but it’s easy to get started drawing on your iPad because the app is relatively easy to use. It has a straightforward layout, an easy-to-understand tool set, and simple gestures that allow you to use the stylus as well as your fingers. Using the drawing app Procreate on an iPad, here’s how you get started.
Read Also: How to AirPlay from an iPhone or iPad to Roku from Spotify
How to Draw on An iPad using Procreate
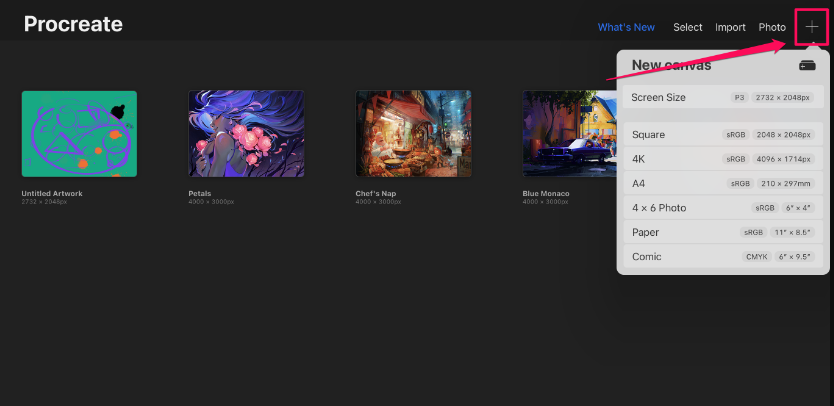
Create a canvas
1. Launch the app known as Procreate.
2. You will begin in the Gallery, which is where you can view all of your previously uploaded photos.
3. Select the canvas size you want to work with by tapping the addition sign (+) in the top right corner of the screen.
Draw with brushes
You may change the thickness, intensity, and opacity of your brush strokes in Procreate by adjusting the amount of pressure you apply to the Apple Pencil. Procreate is designed around the concept of drawing with brushes.
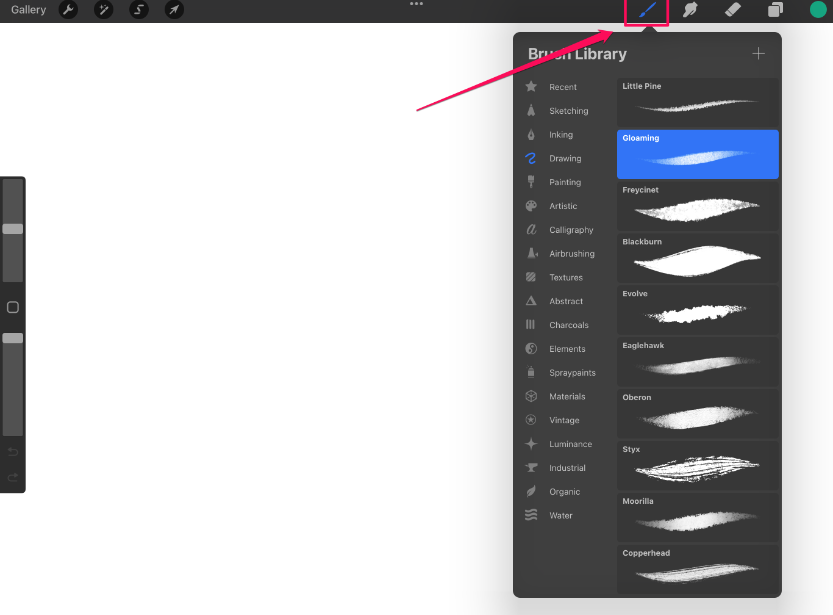
1. Select the Brush tool by tapping its icon towards the top of the screen. You need to look in the dropdown menu for the Brush Library.
2. Select the brush that you would like to use. There are approximately 200 options available, which have been categorized for your convenience.
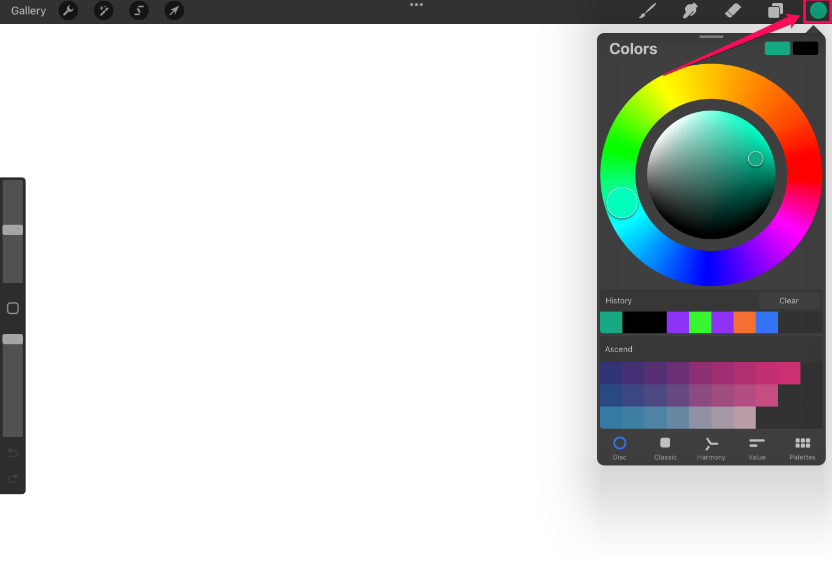
3. Select the Color icon from the menu. You will see the dropdown menu labelled Colors.
4. Utilizing the colour wheel, select the colour that you would like to utilise. You can also choose a colour in a different manner by using the tabs that are located at the bottom of the dropdown menu.
5. Using the slider on the upper left of the screen, adjust the brush’s thickness to your liking.
6. Using the bottom slider on the left, adjust the amount of opacity the brush has.

You may now begin to draw on your canvas whenever you like. Adjusting the amount of pressure you apply with the Pencil will have the same effect on the thickness and strength of the stroke that it would have if you were sketching or painting on a real canvas.
The following are some other fundamentals of drawing:
- The Eraser can be used in the same manner as the Brush can be used. To erase something from the screen, tap the eraser icon, select an eraser type, and then adjust its size and opacity using the sliders. Finally, draw on the screen to remove the unwanted content.
- To undo something, tap the screen with two fingers.
- Redo can be accomplished by tapping the screen with three fingers.
Draw with shapes
Hand-drawn sketches can be converted into structured shapes that can have their dimensions modified and their orientation changed.
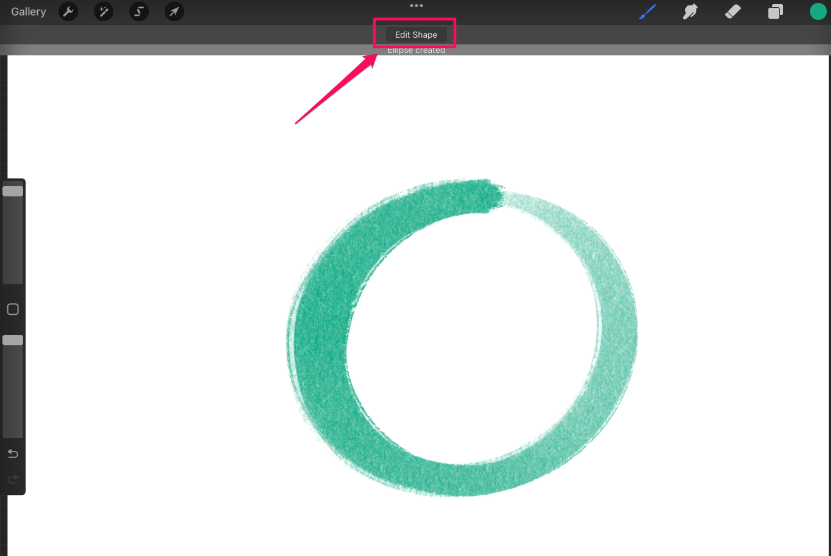
1. Draw a circle (it does not need to be especially accurate), and when you reach the end of the shape, keep your hand on the pencil and press down firmly for a few seconds without lifting it. After a few seconds have passed, a notification that reads “Ellipse generated” should appear at the top of the screen, along with a button labelled “Edit Shape.”
2. Select the Edit Shape option.
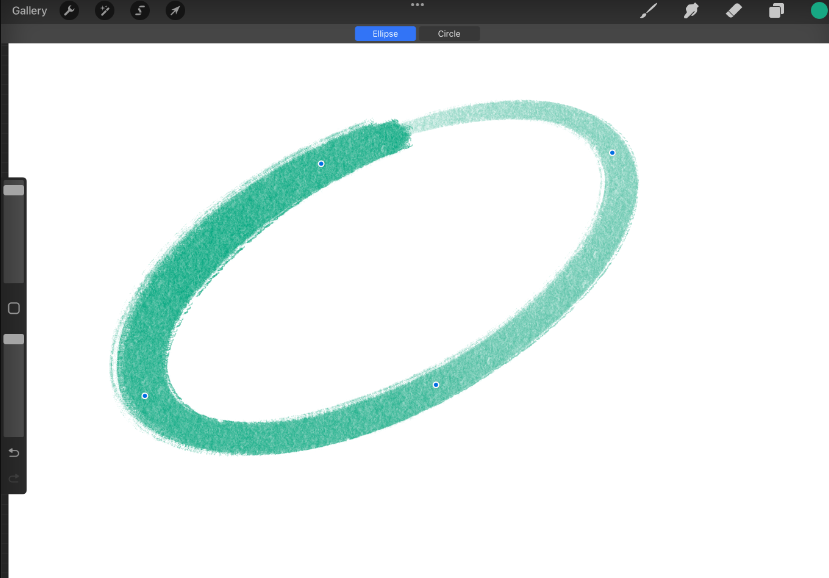
3. At this point, you have a number of choices available to you, including Ellipse, Circle, and possibly Polyline (depending on how you drew the circle). Tap the Circle button if you want the ellipse you’re working on to be completely round. As long as the shape you want to modify is selected, you are free to make as many changes to your selection as you wish.
4. You want to also check to make sure that your ellipse has several control points. To modify the contours, dimensions, and rotation of your shape, simply tap and drag any of its points.
5. Tap and drag outside of the shape on the screen to move it around the screen. You may do this anywhere on the screen that is not the shape.
6. When you are content with all aspects of the shape, including its size and position, tap once more on the screen outside of the shape. The control points will vanish, and the shape will be permanently incorporated into the picture.
Color in your drawing
You have the option of colouring in various parts of your image. Any space that you intend to fill needs to have its perimeter clearly delineated. If you try to fill in a circle that has been created with chalk, for instance, the colour will “bleed out” through the chalk and fill more of the image than you intended it to fill.
1. Select the Color icon from the menu.
2. Select the colour you wish to use for the fill from the dropdown menu labelled Colors.
3. Select the Color icon from the toolbar, then tap and drag it to the area of the picture that you wish to fill.

FAQs
Can you use Procreate with a normal iPad?
Does Apple’s standard iPad support the Procreate app? (not related to air or pro) Yes, it is possible to use Procreate on the most fundamental version of the iPad (the “plain” model, as opposed to the Air or Pro versions).
Do you need a pen to draw on Procreate?
The answer, in a word, is yes. You are not required to use Apple Pencil or any other compatible stylus in order to draw in Procreate. On the other hand, both the technical possibilities and the drawing features available to you as well as the creative options available to you will be restricted. For a variety of reasons, it is recommended that you utilise a pen when operating this application.
Is Procreate a monthly fee?
Access to Procreate for an entire lifetime may be purchased for for $9.99 at the time of this writing. There are no hidden costs, add-ons, or monthly subscriptions included. You can purchase additional brushes and colour palettes to use with Procreate, but even with just this one purchase, you’ll have access to the app’s complete feature set and be able to utilise it to its maximum potential.
What is the cheapest iPad that works with Procreate?
The iPad 10.2-inch is the model that offers the best value in terms of price when it comes to Procreate. It is compatible with the Apple Pencil (1st version) and was created with cost efficiency in mind during the design process.

How to Make Rope in Terraria: The Complete Guide

The Best Online Games in the World – Gaming Industry

WWE 2K26: The Ultimate Guide — Tips & Tricks

The Complete Guide to Kerry Eurodyne in Cyberpunk 2077


