Guide
How to Format an SD Card in a Trail Camera
Over the past couple of years, we have devoted a significant amount of effort to producing articles about the use of SD automobiles to conceal trail cameras in their vehicles. We’ve covered everything from typical SD card difficulties to how to pick an SD card as well as the proper way to store, erase, and view images from an SD card in this article. The common thread running across all of those articles is the need of taking excellent care of your SD card, which is effectively the lifeblood of your trail camera. However, there are a lot of inquiries that come in regarding how to actually format the SD card in your trail camera, which is why we created this guide.
For proper trail camera maintenance, it is vital to format an SD card in accordance with the camera you are using. You can only erase trail camera photographs using this method since it produces files straight from your camera and prevents your camera from sharing firmware to other devices.
Some trail camera manufacturers utilize significantly various methods of formatting cards, and deleting photographs; the language of formatting is not standard across all trail camera brands and styles. You may learn how to format an SD card in each manner by breaking down some of the most popular trail camera manufacturers.
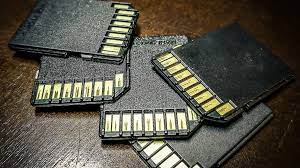
When formatting an SD card, all of the photographs on the SD Card will be wiped clean. To prevent this from happening, be sure to save all of your images to your computer.
Read Also: How to Install a Second SSD
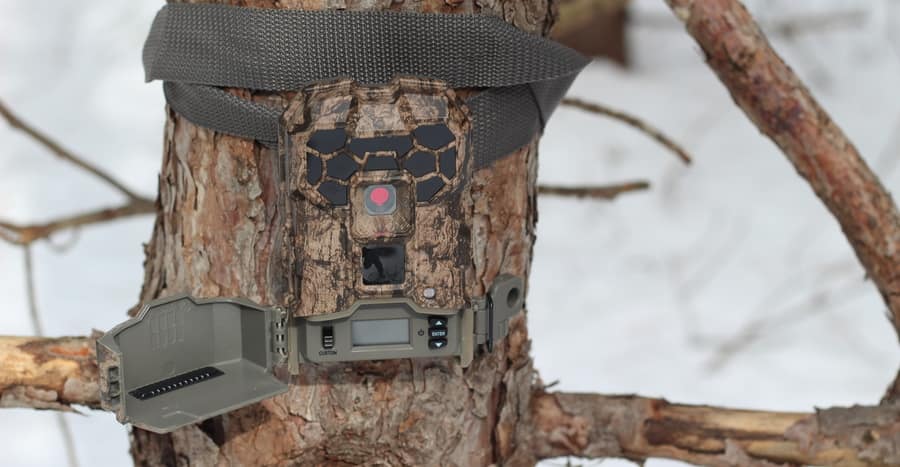
Formatting a Moultrie Trail Camera
Trail cameras from Moultrie do not have a “format” option. If you erase images from the camera’s SD card, it will automatically format it, according to its owner’s handbook. More than one series of cameras are available from Moultrie. SD card formatting instructions for each trail camera series are included below.
A Series
The A Series of Moultrie cameras is an acronym for “all-purpose” cameras. The A-series camera is geared for newcomers, with an easy-to-understand set-up process.
An A Series camera may be formatted by following these instructions.
- Set the camera to SETUP mode by dragging the mode choice slider to the left.
- dEL Y may be found by using the navigation buttons (the up and down triangles). This stands for “Delete all.”” Yes.
- Press the “OK” button. This will erase all of your images from your SD card.
M Series
Trail cameras in the M Series are referred to as “management cameras.” In general, these cameras have a faster trigger speed, sharper night photos, and are less prone to motion blur.
Moultrie M-Series Camera Formatting Instructions
- The camera’s mode selection slider may be used to set the camera to Custom Start.
- Click on the Menu icon.
- Using the arrow keys to go up and down the menu, select Memory Configuration & Settings
- To begin, press the Enter key.
- Use the left and right arrows to navigate until you get the following message: Removing all images from the system
- To begin, press the Enter key.
- By clicking on the up and down arrows, you may change the selection from “No” to “Yes.”
- When you press Enter, your SD card will be formatted and all of your images will be deleted.
P Series
These cameras are part of a panorama collection by Moultrie. As a result of the interchangeable lenses and flash emitters on these cameras, you may get wider-angle shots.
To format a Moultrie P series digital camera, follow these instructions:
- Take a look at the camera’s mode selector slider and pick Custom Start.
- The Menu button may be accessed by clicking on it.
- Navigation (up/down buttons): Use the navigation until you see Optional Memory Capacity
- Press the Enter key to continue.
- Use the left and right arrows to move through the menus until you see the following: Get Rid of All Pictures
- Press the Enter key to continue.
- Using the up and down arrows, change the selection from ‘NO’ to ‘YES’.
- Your SD card will be formatted and all of your images will be deleted if you press the Enter key.
S Series
Among Moultrie’s top-of-the-line cameras is the S series. Video recording is 1080p, and there is an on-screen display of two inches.
Changing the settings on a Moultrie S series camera
- The camera’s mode selection slider may be used to set the camera to Custom Start.
- Click on the Menu icon.
- Navigation buttons can be used till the screen reads: Basic Preferences
- Select Enter
- Navigation buttons can be pressed until the screen reads: Memory configurations can be changed.
- Select Enter
- Use the arrow keys to navigate until you get the following message: Removing all images from the system
Select Yes and press Enter. In addition to formatting your SD card, this will also remove all of the photographs stored on it.
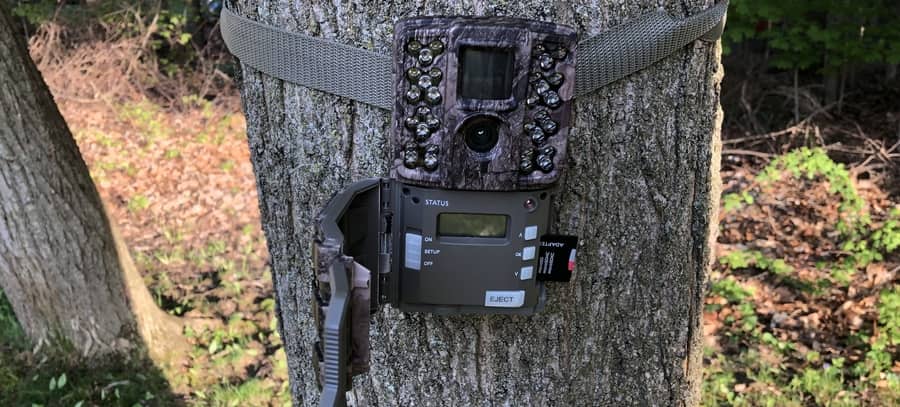
Formatting a Stealth Trail Camera
Stealth trail cameras are available in a number of various configurations to pick from. Each model is identified by a prefix letter or combination of letters that designates the particular series of camera it belongs to.
G, ZX , and RX series
- Switch to the Custom Setting option.
- The Menu button may be accessed by pressing it.
- Navigate to the top of the display menu by pressing the Navigation arrow. Format Card – Enter Format Card Format
- As soon as the word “No” begins to flicker, push the navigation arrow up once again.
- To continue, hit the Enter key. When you use this method, your SD card will be formatted and any images on it will be deleted.
P Series
- Select the Custom Setting mode by moving the mode selection switch.
- Scroll up and down the menu until you locate the one that says Delete the SD Card.
- As soon as you press the Enter key, you’
- This option is going to light up. It is possible to change the selection to Yes by using the up and down arrows.
- Delete images by pressing Enter. Your SD card will also be formatted.
Q Series
- In order to access the Custom option on the display screen, press one of the navigation buttons up or down.
- As soon as you press the Enter key, you’
- Now, you’ll be in control of your own personalization options. As soon as you get to the Advanced choices, press and hold Enter to go there.
- To delete the SD card, use the up and down arrows on the navigation bar.
- As soon as you press the Enter key, you’
- The choice will be flashing. The up and down arrows can be used to go to the Yes option. Delete and format the SD card using this command.
Formatting a Spypoint Trail Camera
Spypoint trail cameras are noted for their high-quality cellphone cameras and lightning-fast trigger rates.. However, no one has ever accused them of making the process of formatting SD cards too difficult.. One of the more involved techniques to format an SD card we’ve encountered.
- The Menu Highlight View may be accessed by using the up and down arrow buttons.
- A thumbnail view of all the images on the SD card is displayed when this mode is activated on the device.
- To see a thumbnail in a larger size, click OK.
- Once the photo is in full-screen mode, press the OK button again to see the various options. available
- Select Format by using the up and down arrows and pressing the OK button. The SD card will be formatted and any images on it will be deleted.

Vampire Crawlers Coin Farming Guide

Forza Horizon 6 Performance: Why 60 FPS Is Still the Console Standard

Yoshi and the Mysterious Book (2026) – Full Completion Guide, Rewards & Secret Ending

How to Get Free Pets in Adopt Me: A Guide for Players

Roblox Username Generator – Create a Cool & Unique Username in Seconds
How to Get Free Pets in Adopt Me: A Guide for Players

Grow a Garden Recipes in Roblox: Guide to Cook (Donuts, Sushi, Pie, Pizza & More!)
Roblox Username Generator – Create a Cool & Unique Username in Seconds
Yoshi and the Mysterious Book (2026) – Full Completion Guide, Rewards & Secret Ending


