Guide
How to Screen Record on iphone 13 Pro and Max
How to Screen Record on iPhone 12 and Pro Max Without Jailbreak? If you are an iPhone users, you will probably know that recording the screen of your iOS device requires a Mac or PC computer running some special software. But there is no need for them anymore because with this tutorial, we’re going to show you how to completely do it right from your iOS device itself using just a couple of free apps that can help you stream and capture anything shown on your touchscreen while recording at the same time.
Just follow the steps below to see how easy it is
STEP 1: The first thing you need to do is install “Empire” on your iPhone by following the link given here Once it has been installed, launch this app once which will bring up its main screen as shown below. Here you can see all of your available apps along with the disk space your device has.
As you can see, this app doesn’t take more than 2MB of storage space so that shouldn’t be a big issue for most people. Now go ahead and tap on the Camera+ button located at the bottom right corner to load up its interface where it will ask you for some permissions before taking over your camera viewfinder so just grant them to complete the process.
STEP 2: Now that Camera+ app has been launched, you can see its interface shown in the screenshot below which is completely similar to your default iOS camera app. However, it comes with some extra features so let’s not waste any time here and tap on the small gear icon located at the bottom left corner which will bring up its settings page where you need to scroll down until you find “Empire” option along with an accompanying button right next to it.
Simply tap on this button but make sure that everything else is disabled or turned off because you don’t want them running in the background when recording your iPhone screen! Once done, go back two times in order to exit the settings and now you should be seeing your Camera+ app on the screen with a prompt asking for permission to access the built-in video recorder along with another prompt stating that you need to give camera access in order to use it so just tap on OK.
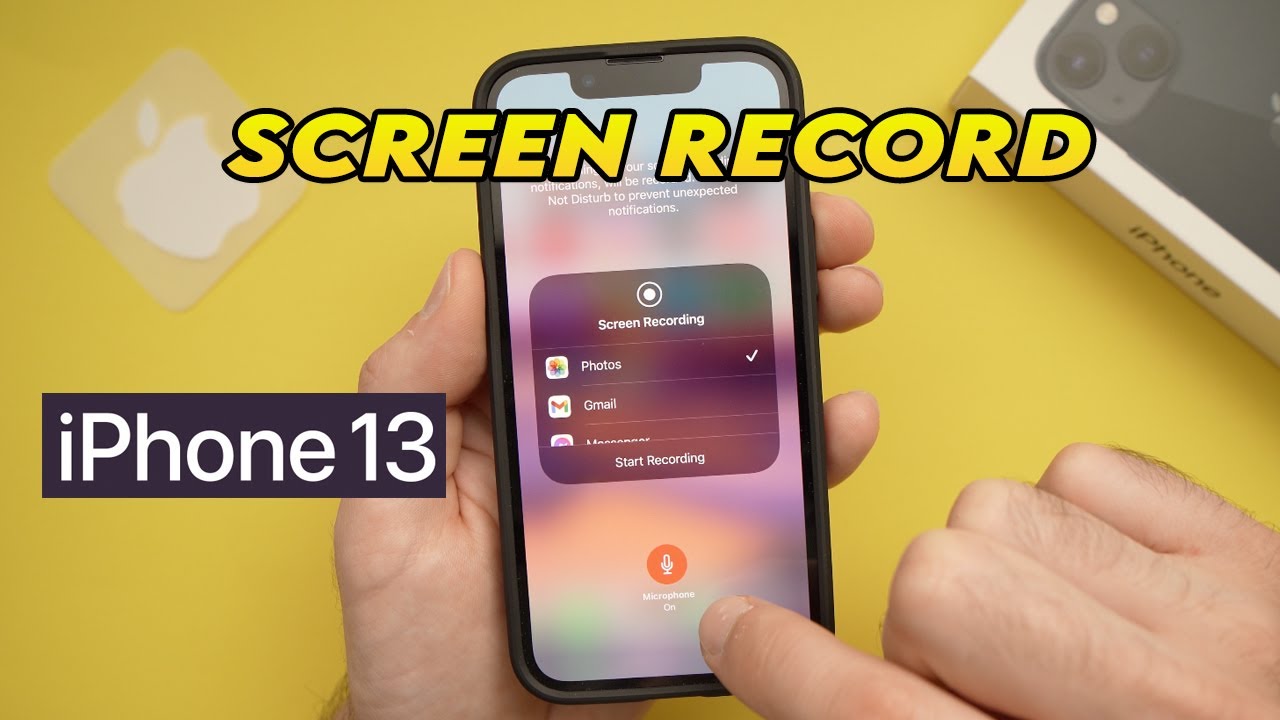
STEP 3: To start recording your iOS device’s screen, simply tap on the big red button located right at the top of this interface which will automatically take over your screen using “Empire” app which is live in the background. This will give you an overlay shown below where there are some options displayed including volume up/down buttons which can help when recording certain apps like games because they tend to cover up much of the content when you move around them while recording on your screen.
You can also enable this option by tapping on the small downward arrow-shaped icon located at the top right corner of this overlay, however, we recommend you NOT to do so as it will require some extra customization and whatnot which we’ll must cover in another separate tutorial! For now, let’s just tap on that red “Start Recording” button again to save our current recording session.
STEP 4: As soon as you tap on that aforementioned red button, you should start seeing a timer displayed over the screen along with several overlay icons indicating that Camera+ app is currently capturing your iOS device’s display which will occupy the full width of the screen.
Once you want to finish recording then you can finish and access the captured or recorded video any time from your phone gallery.

How to Make Rope in Terraria: The Complete Guide

The Best Online Games in the World – Gaming Industry

WWE 2K26: The Ultimate Guide — Tips & Tricks

The Complete Guide to Kerry Eurodyne in Cyberpunk 2077

50+ Funny Pokemon Jokes for Kids That Will Make Them Giggle All Day
How to Make Rope in Terraria: The Complete Guide

Hogwarts Legacy Review: The Ultimate Wizarding World RPG Experience

Phantasmal Flames Card List: Every Card, Every Rarity, Fully Explained

How to Get a PS2 BIOS for PCSX2: The Complete Step-by-Step Guide


