Guide
How to Set Up a Blink Outdoor Camera
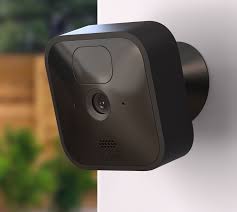
When it comes to protecting your home from potential burglars, the Blink Outdoor Camera is a fantastic option to consider. It supports streaming and quality at a resolution of 1080p, and its floodlight camera can produce as much as 700 lumens of illumination. The only negative is that it can be rather challenging to set up, but we have provided you with a step-by-step guide that explains how to do so in great detail.
Read Also: How to Allow Camera on Snapchat
How to Set up the Blink Sync Module
Setting up the Blink Sync Module, which is in charge of delivering orders and network details to your Blink devices, is the initial step in connecting any Blink device to your house. Blink Sync Modules can be purchased separately.
Step 1: First, open the Blink app and look for the plus sign in the upper right corner of the screen.

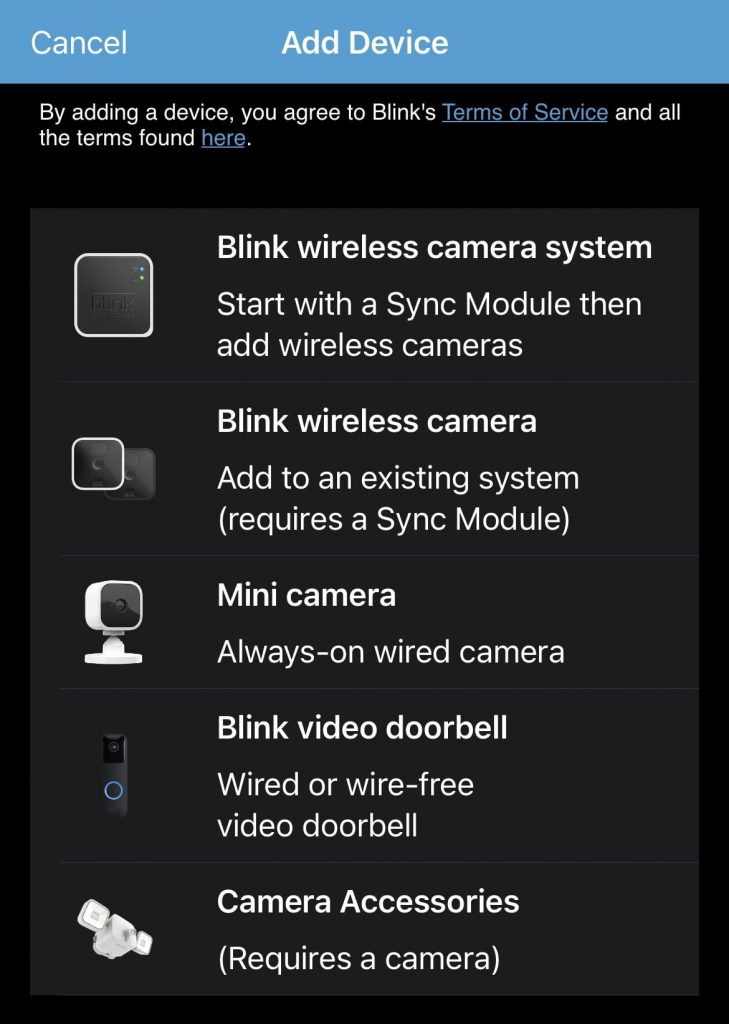
Step 2: Tap the Blink Wireless Camera System as the second step.
Step 3: Either manually enter the serial number or scan the QR code that is located on the reverse side of your Sync Module. (You may be asked to grant Blink access to the camera on your mobile device.)
Step 4: After naming your Blink system, tap the Done button to complete the setup.
Step 5: Hold your breath and wait for the blue light on the Sync Module to begin flashing while the green light stays lit. Once this is complete, select the Discover Device option.
Step 6: The Sync Module will create a new Wi-Fi network with an identifier that starts with BLINK-XXXX. Tap* Join*. It’s possible that you’ll need to reset the Sync Module if it’s not functioning properly.
Step 7: Once the Sync Module has successfully joined the network, you will be presented with a list of available 2.4GHz networks in the vicinity. Tap the icon for your network and input the password.
Step 8: If the previous steps were completed without error, you will be notified that a new Sync Module has been added to the system. Tap Done.
How to Add Cameras to your System
After you have completed the installation of the Blink Sync Module, which is likely the most difficult step in the procedure, it is time to attach the camera.
Step 1: First, if the camera is brand new, you will need to remove the back panel’s screws and then place the batteries inside the camera. To detach the backplate, use the tool that came with the device; however, if you can’t find that tool, you can use a butter knife in its place.
Step 2: After that, pick the Blink Wireless Camera by tapping the plus sign located in the upper-right hand corner of the Blink app.

Step 3: Open the camera’s battery compartment and scan the QR code that is located there. Take note: the backplate should be prepared. As soon as the camera reads the code, it will start looking for something. In order for the contacts to interact, you will need to attach the backplate and then screw it into position while ensuring that it is orientated appropriately. If the camera is powered on, it will flash red.
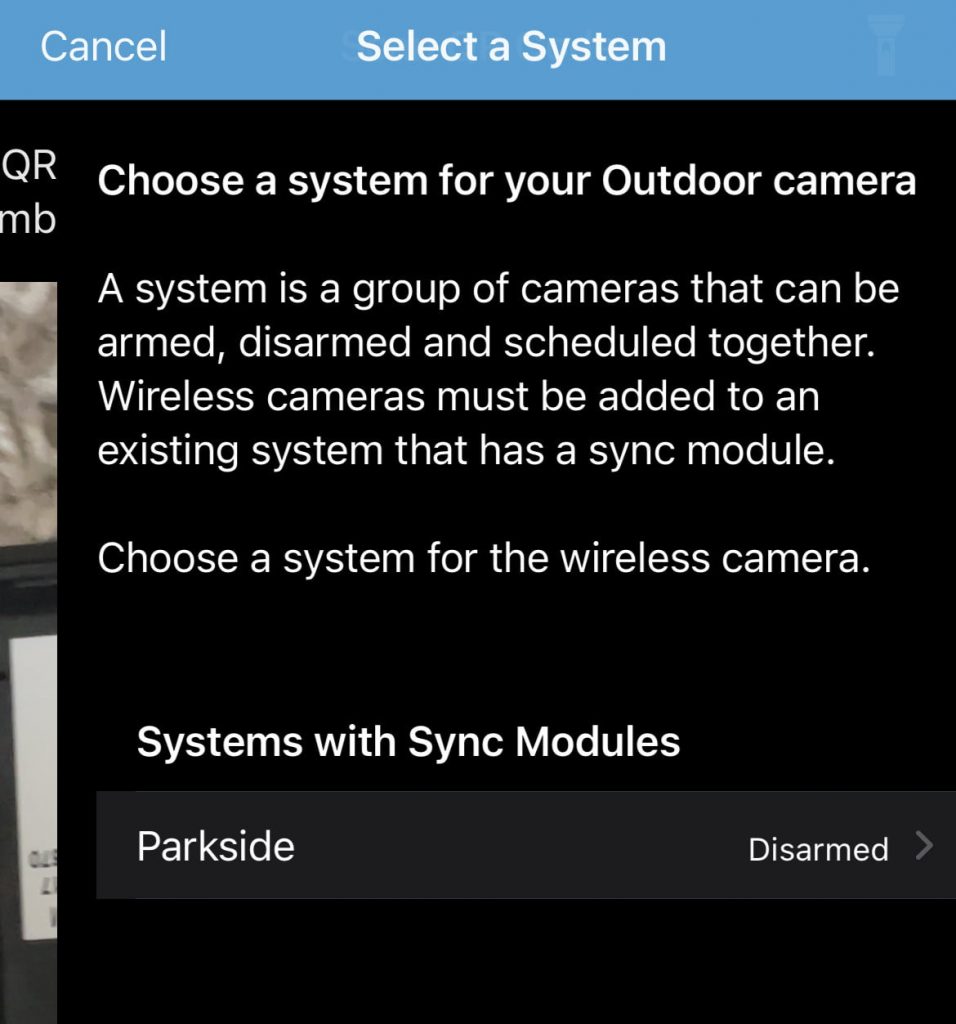
Step 4: The fourth step is to choose a system for the camera.
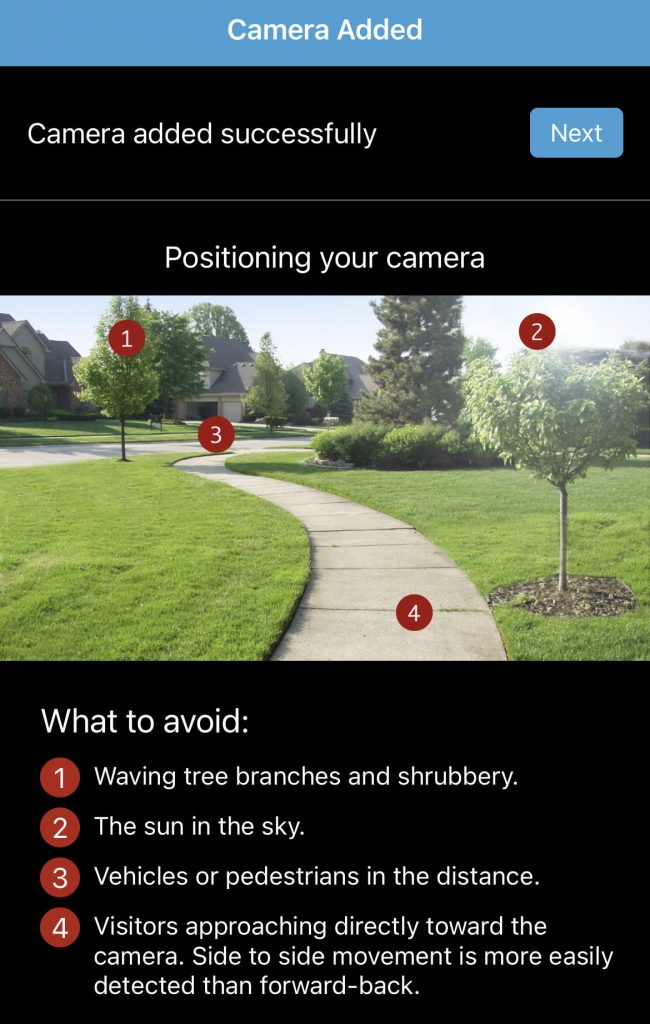
Step 5: If the camera is located and successfully installed, a notification will appear at the top of the screen stating, “Camera added successfully.” To proceed, tap Next.
Mounting hardware is included with the purchase of a Blink Outdoor Camera. If you have vinyl siding, you can screw it into place, although we found that the no-drill method worked just as well. If you have wood siding, you will need to drill holes. To secure the camera, you need to put the mount beneath one of the tiles, make sure it has a good fit, and then secure it.
There is no difference in the method, even if the mount needs to be secured with screws. After securing the camera to the wall bracket with the included screws (and the hollow-wall anchors, if necessary), slide it onto the bracket.
Video

Vampire Crawlers Coin Farming Guide

Forza Horizon 6 Performance: Why 60 FPS Is Still the Console Standard

Yoshi and the Mysterious Book (2026) – Full Completion Guide, Rewards & Secret Ending

How to Get Free Pets in Adopt Me: A Guide for Players

Roblox Username Generator – Create a Cool & Unique Username in Seconds
How to Get Free Pets in Adopt Me: A Guide for Players
Yoshi and the Mysterious Book (2026) – Full Completion Guide, Rewards & Secret Ending
Vampire Crawlers Coin Farming Guide


