Guide
How to Stream to Twitch on Xbox One
It is explained in this article how to stream on Twitch using an Xbox One. In addition to the Xbox One S and the Xbox One X, these instructions apply to all other Xbox One models.
Read Also: How to Host on Twitch
How to Connect Your Twitch and Xbox Accounts
A first-time connection with your computer is required in order for your Xbox One broadcasts to be received by your Twitch account once they have been broadcast. It is not essential to link your Twitch account to your Xbox One again until you replace your console or make any changes to your Twitch accounts after the first time you linked them together.
1. Create an account on the official Twitch website by navigating to it using your computer’s web browser and entering your information.
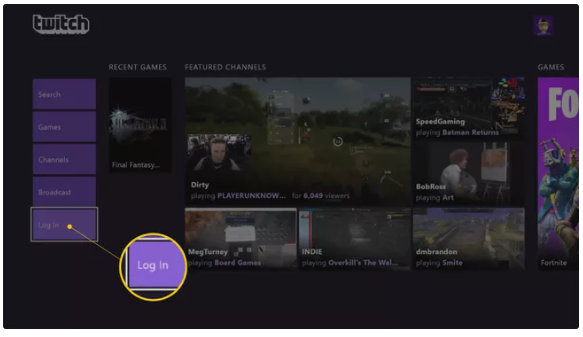
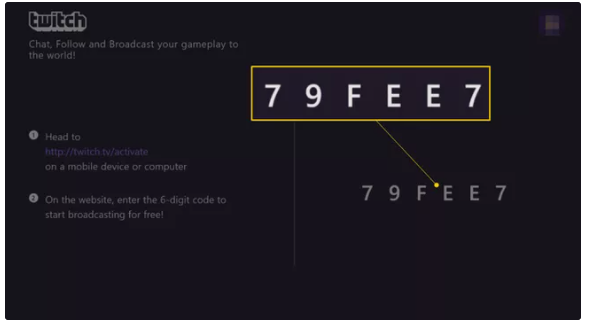
2. On your Xbox One, launch the Twitch application and select the Log In option to sign in. The app will provide you with a six-digit number to enter.
3. Using the same web browser that you used to connect into Twitch, go to the Twitch activation webpage on your computer and input the code that was issued to you by the app.
Starting Your First Twitch Stream & Testing
When streaming from the Xbox One for the first time, you’ll need to do some basic tests to ensure everything works properly and the audio and picture quality is optimal. Here’s how to set it up.
1. So, you want to stream an Xbox One game? You can’t stream to Twitch without a game running. It’s fine to open it and leave it at the title screen. You don’t even have to start the game.
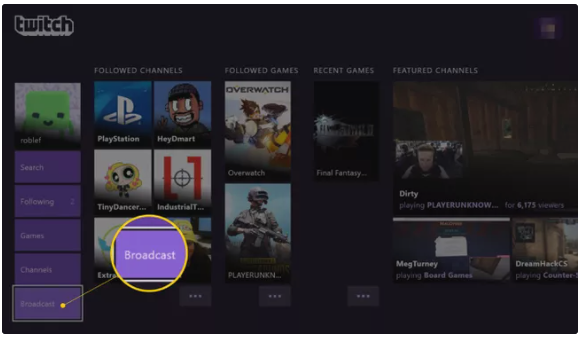
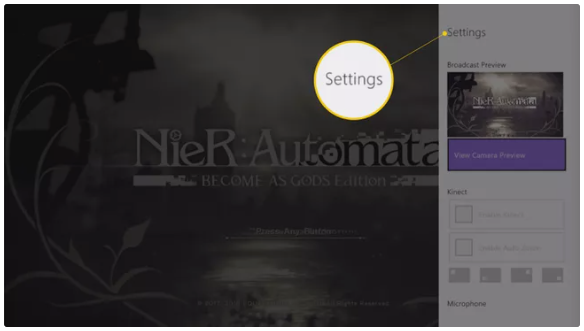
2. Open the Twitch app on your Xbox One dashboard. To reopen your Xbox One game, click the Broadcast button in the lower left corner of the screen.
3. Modify the title of your Twitch broadcast. It can be anything. Your stream will be called this on the Twitch website and apps.
4. Setup. A little window at the top of the Twitch tab should show a preview of your Twitch broadcast.
5. The Kinect preview appears in your stream window if your Xbox One is linked to a Kinect. You can turn it off by unchecking the Enable Kinect box. Click on the layout box onscreen to reposition the Kinect camera within your stream.
6. While streaming, Auto Zoom focuses the Kinect on your face. If you disable it, the Kinect will show all it can see, which is probably the whole room. This option keeps the spotlight on you while streaming.
7. Check the Enable Microphone box. This allows the Kinect or your controller’s mic to pick up your voice when broadcasting.
8. Party Discussion refers to other users’ sounds in a group chat or online match. If you only want your voice broadcasted, uncheck the Broadcast Party Chat option. If you want to share all audio, tick this box.
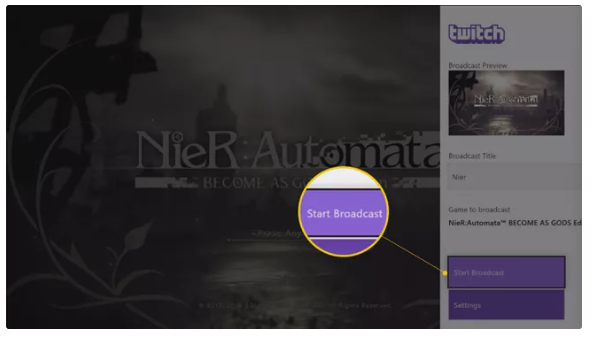
9. The final step in stream setup is choosing the broadcast resolution. In general, the higher the visual quality, the faster the internet. Select Get fresh recommendation from the Quality drop-down option. This programme will automatically detect the best quality for your current internet speed.
10. After adjusting all of your settings, hit the B button on your controller to return to the main Twitch broadcast screen and click Start Broadcast.
Video

Vampire Crawlers Coin Farming Guide

Forza Horizon 6 Performance: Why 60 FPS Is Still the Console Standard

Yoshi and the Mysterious Book (2026) – Full Completion Guide, Rewards & Secret Ending

How to Get Free Pets in Adopt Me: A Guide for Players

Roblox Username Generator – Create a Cool & Unique Username in Seconds
How to Get Free Pets in Adopt Me: A Guide for Players
Yoshi and the Mysterious Book (2026) – Full Completion Guide, Rewards & Secret Ending
Vampire Crawlers Coin Farming Guide


