Apple
How to Switch Your Apple Watch Bands
An Apple Watch is a fashion statement in and of itself. It demonstrates that you are up to date with the newest technologies. It also demonstrates your fashion savvy, but with interchangeable watch bands, you can amp up the glam factor even more.
Changing the band on your watch is simple, and we’ll guide you through the procedure. We even provide assistance if you are having difficulties during the procedure. Choosing the band that most suits your sense of style, on the other hand, is entirely up to you!
Read Also: How to Turn Off Your Apple Watch
Prep the Surface

Prepare a soft microfiber cover on a firm table before you begin working on your watch, as indicated in the illustration above. This stops you from accidently scratching the beautiful watch face on your wrist.
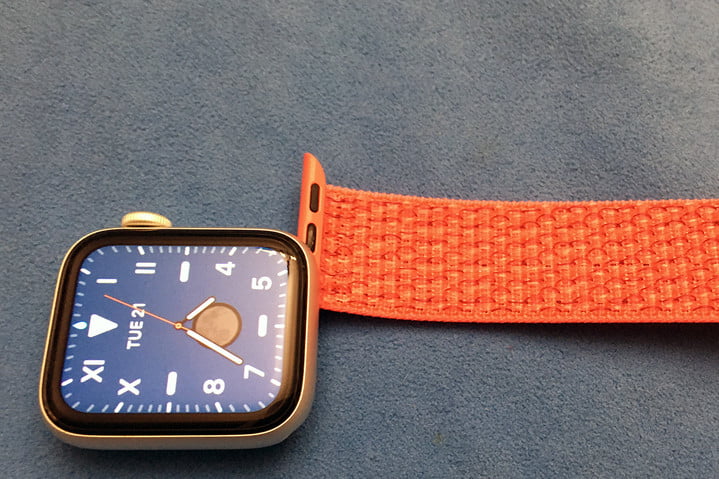
Release the Old Band
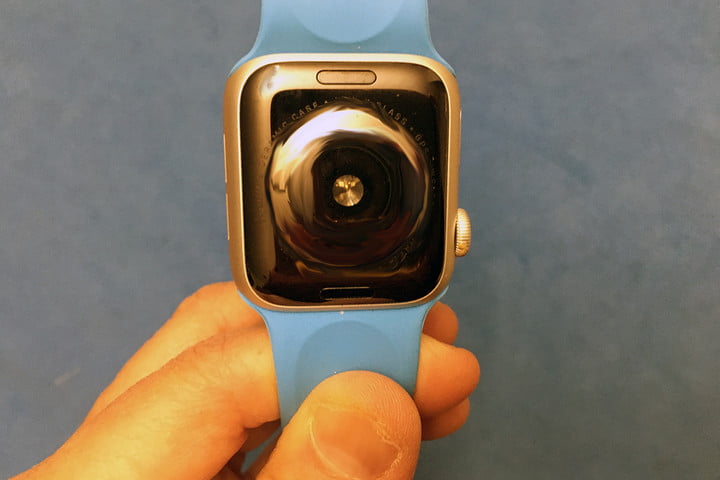
Step 1: The first step is to turn the watch over so that you can see two thin, elongated oval release buttons, one at the top of the watch and one at the bottom. Keep the watch firmly in your palm before moving on, or set it face down on the soft cloth surface before continuing on.
Step 2: To remove the band from the watch body, hold down either the right or left release button while shifting the band to the right or left, as illustrated in the image above.
Step 3: Rinse and repeat the process for the second watchband.
To remove the band when it becomes stuck, keep pressing down on the button and trying again. Some bands are simple to remove, while others can be exceedingly difficult to remove, especially if there is a buildup of muck on the band.
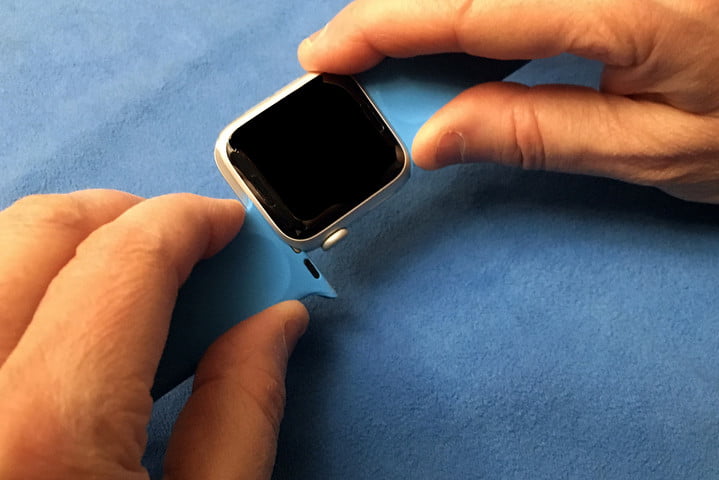
At the end of the process, your Apple Watch should look something like the limbless model shown below.
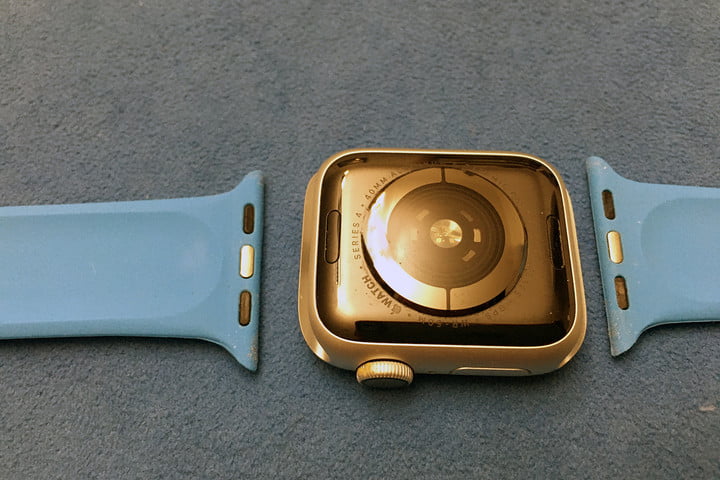
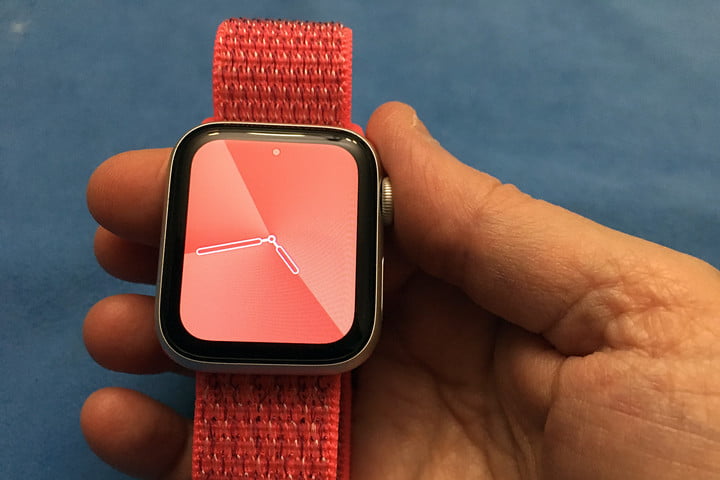
Add the New Band
The new band has a little piece of plastic in the centre, which you can see if you look closely. When you insert the band into the watch, this component slides into a little lock on either side of the watch body, which secures the band in place.
After that, slip the new band into position until you hear a click, which indicates that the seating has been properly secured. To learn how to do it correctly, though, continue reading this article!
Step 1: First and foremost, you must understand how to properly position the new band. Some bands contain a loop or other feature that, if not properly fastened, can cause the band to be flipped upside down or placed on backwards. Ensure that both sides of a loop band are in line with the face of your watch when you’re attaching one.
Step 2: Insert your new watch band into the notch on the side of your wristwatch. A clicking sound will indicate that it has been successfully attached. Try to carefully twist the band from side to side to verify that it is completely connected, but avoid pressing the release button while doing so. Your band’s position should remain constant at all times.
Step 3: Repeat the previous procedures on the other side of the body.
One of the most crucial tasks before putting on your Apple Watch is to double-check that your new band is securely connected to your device. If you don’t make certain that the band is secure, your watch might fall off and shatter or go misplaced. Even after you’ve double-checked the band and secured it on your wrist, give it a gentle wiggle to ensure that it’s securely attached.
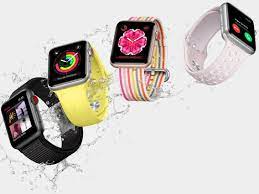
Don’t be concerned if your accessories are an important element of your overall look. Apple offers a beautiful range of bands that are available in a variety of vibrant and subtle colours, patterns, styles, and materials. A variety of watch and strap combinations are available to complement your clothing, a particular event, or the season, allowing you to personalize your Apple Watch. Keep in mind that the method you modify them might differ from one design to the next, so be sure to thoroughly go about the mechanics behind each design to find out what works best for you before proceeding.
Video

Vampire Crawlers Coin Farming Guide

Forza Horizon 6 Performance: Why 60 FPS Is Still the Console Standard

Yoshi and the Mysterious Book (2026) – Full Completion Guide, Rewards & Secret Ending

How to Get Free Pets in Adopt Me: A Guide for Players

Roblox Username Generator – Create a Cool & Unique Username in Seconds

Bloxburg Neighborhood Codes 2026

Grow a Garden Recipes in Roblox: Guide to Cook (Donuts, Sushi, Pie, Pizza & More!)
How to Get Free Pets in Adopt Me: A Guide for Players

Job Opportunities in Dubai – 2026


