Gaming
How to Take A Screenshot on PS4
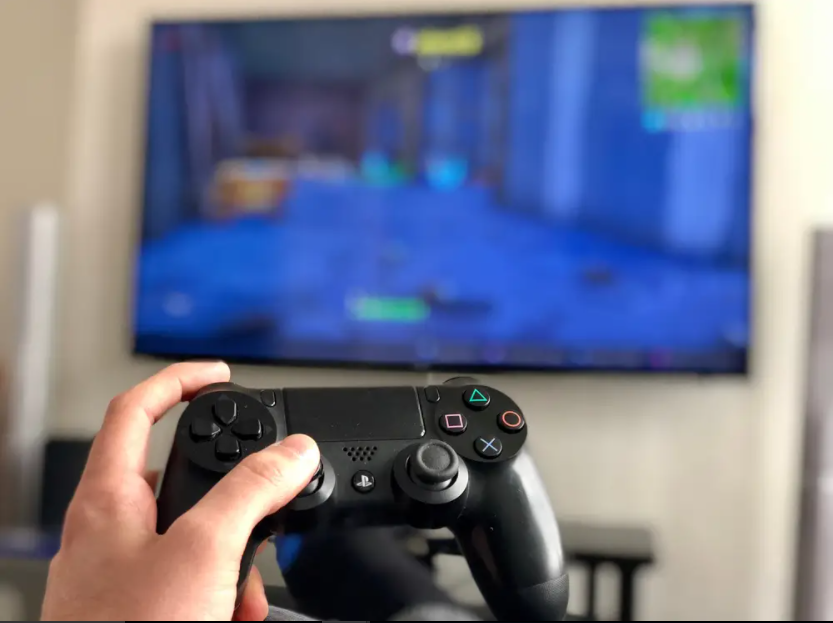
What are you going to say to your pals after you finally overcome the gruelling bosses in Bloodborne or secure a first-place finish in Warzone? Or perhaps you’re a harried game journalist with a tight deadline who’s in desperate need of visual materials. It doesn’t matter why you need to snap a screenshot of your games on PlayStation 4, you’re in luck because current gaming relies on easy features built directly into the PS4 out of the box to capture and share your play. Using the PS4’s built-in camera, you can snap a screenshot.
Read Also: How to Fix Joystick Drift on PS5
How to Take A Screenshot on PS4
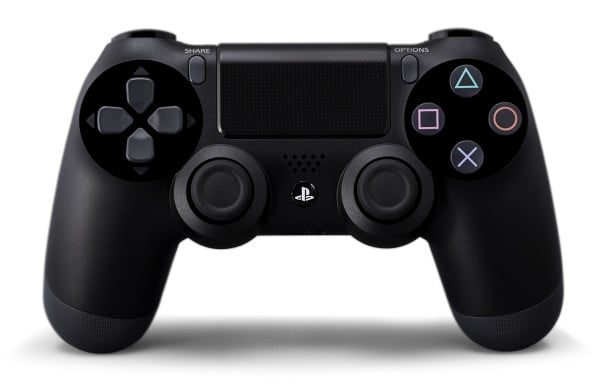
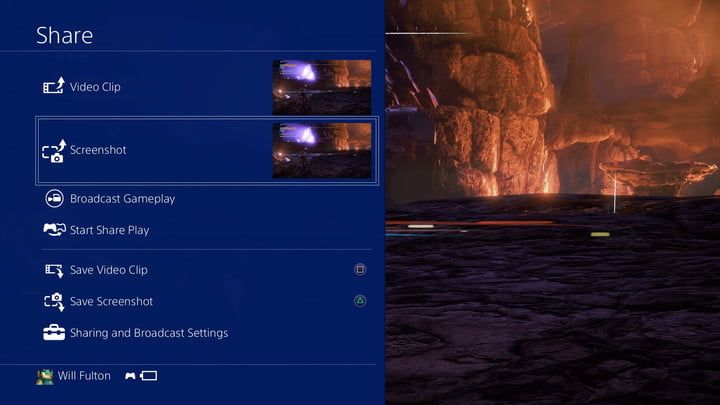
Taking a screenshot is the simplest part of the process. You may use the Share button on your DualShock controller to take screenshots and videos at any moment, whether you’re playing a game or browsing the menus. As soon as you touch the Share button, a snapshot of what was on your screen at the time is taken and stored in your clipboard. Alternatively, you may pause the activity and open the Share menu by pressing and immediately releasing the Share button. From there, you may save a screenshot by pressing Triangle or share a snapshot to your PSN activity stream and social media by selecting Share Screenshot (highlighted below).
How to Sharing a screenshot
To share a photograph from the game right away, hit the Share button once to stop the game and bring up the overlay on the screen. You’ll be presented with a selection of channels via which you may share your material after selecting the Screenshot option and pressing the X key.
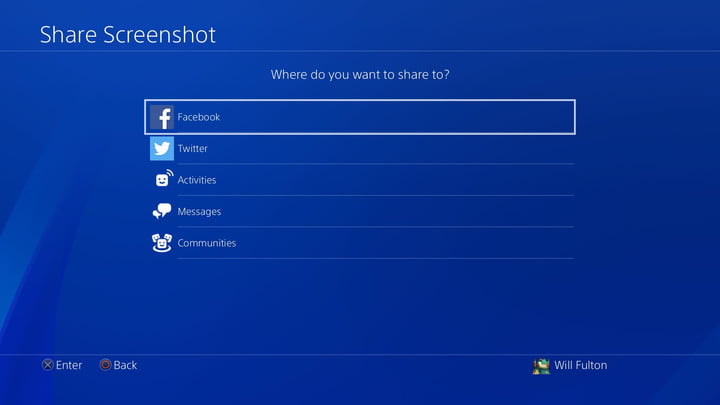
When you share a screenshot through an external social network such as Facebook or Twitter for the first time, you will be prompted to provide your login information. Other than that, you are free to post whatever you like in PlayStation’s own Activities stream, in direct messages to your pals, or in any Communities to which you are already a part.
How to Saving a Screenshot
When it comes to sharing screenshots after the fact, you may do so directly from the Capture Gallery, which can be accessed at any time by pressing the PS button and navigating through the Home menu in Windows 10.
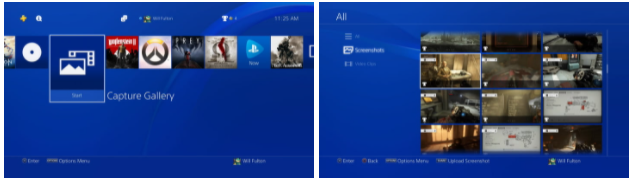
Your media files are automatically divided into screenshots and videos, and under each of those file types, you’ll find folders that categorize them according to the game in which they were captured. Locate the screenshot you’d want to share and click on the Share button to send it to others. When you do this, you should see the exact same selections that appeared previously for available channels appear on your screen.
Exporting to a USB device
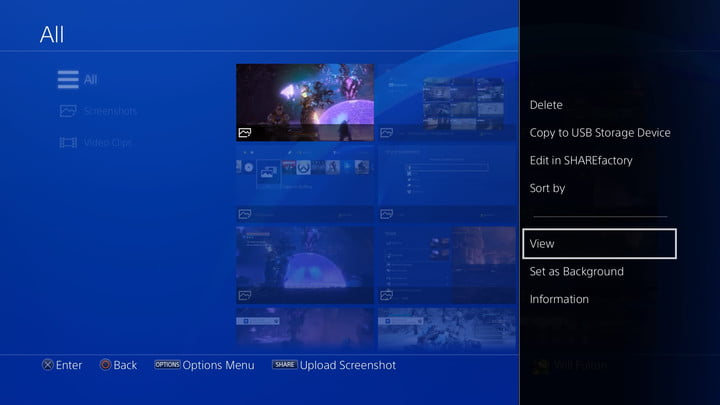
It is possible to store and export JPG images directly from a USB storage device if you simply require the original picture files in JPG format. In addition, we’d like to inform you that the PS4 will only handle devices that are exFAT or FAT32 formatted. Maintaining the connection between your computer and your USB device, navigate to the Capture Gallery from the Home menu. Locate the precise files that you wish to share and press the Options key to make them available. From here, you’ll see a menu appear on the right-hand side of the page, with the option “Copy to USB Storage Device” listed as one of the options. You may choose as many screenshots as you wish to export in bulk to your plugged-in device by selecting them with your pointer and pressing the X key. The export procedure is simple and quick, and your stuff will be organized on your hard drive under the directories PS4 > Share > Screenshots. Following that, they’ll be reorganized into groups based on games.
Video

Vampire Crawlers Coin Farming Guide

Forza Horizon 6 Performance: Why 60 FPS Is Still the Console Standard

Yoshi and the Mysterious Book (2026) – Full Completion Guide, Rewards & Secret Ending

How to Get Free Pets in Adopt Me: A Guide for Players

Roblox Username Generator – Create a Cool & Unique Username in Seconds
How to Get Free Pets in Adopt Me: A Guide for Players

Grow a Garden Recipes in Roblox: Guide to Cook (Donuts, Sushi, Pie, Pizza & More!)
Roblox Username Generator – Create a Cool & Unique Username in Seconds
Yoshi and the Mysterious Book (2026) – Full Completion Guide, Rewards & Secret Ending


