Guide
How To Use Camera On Chromebook – Complete Guide
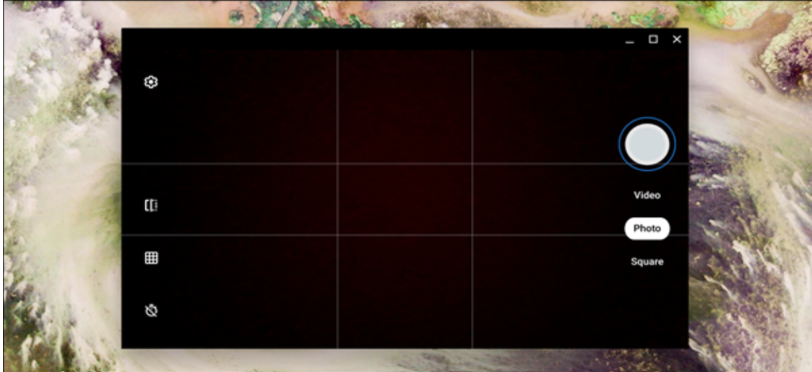
Your Chromebook has a built-in camera that you may use to take photos that you can share on social media or with friends and family. On a Chromebook, here’s how to capture a photo.
How to Take a Photo
Google has released Chrome OS 76 stable, which includes a slew of new features including Virtual Desks and a redesigned Camera app. Google repositioned the shutter button and camera mode, introduced a landscape mode, and made some much-needed shutter speed enhancements.
We’ll use the native Chromebook camera app for this lesson, but you may use any camera software from the Play Store if you want.
To begin, launch your Chromebook’s Camera app. It may be found in the launcher menu. Tap the “Search” button on the keyboard and search for “Camera.” Alternatively, check for the camera icon by clicking the “All Apps” option.
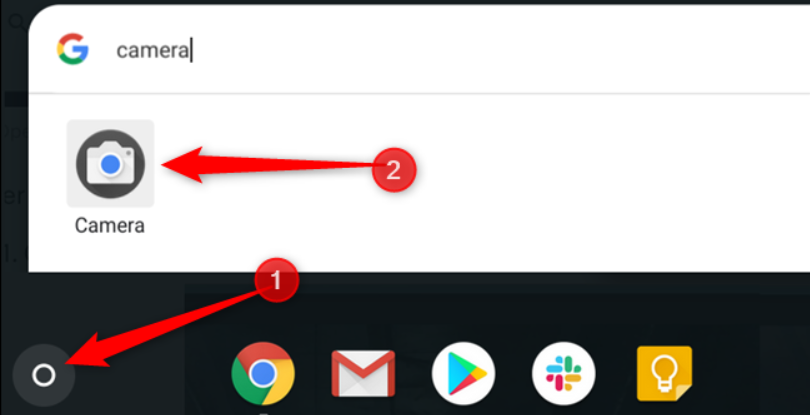
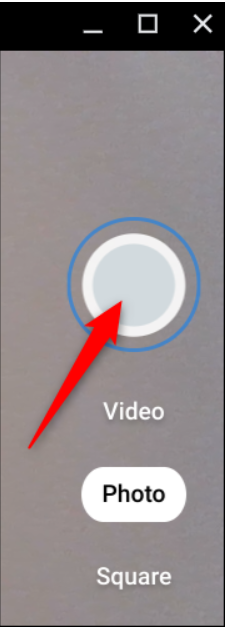
Once the app opens, click the shutter button, located on the right side, to snap a picture.
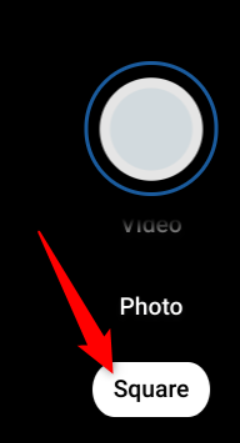
As a default, the shot is taken with the camera in the landscape position. However, if you press the “Square” button before pressing the shutter button, your images will be square in form and have the same proportions in both portrait and landscape orientations.
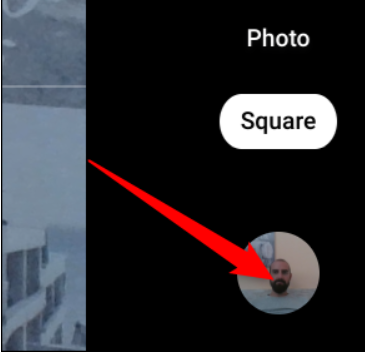
In the bottom-right corner of your screen, as soon as you press the shutter button, a thumbnail image of the most recent photo will show. More pictures may be taken by pressing the shutter button.
When using your Chromebook to take pictures, you may get even more help from the three extra icons located on the left side of the window. Any one of them will allow you to:
- In order to mirror a photograph, the camera’s viewpoint must be flipped from left to right.
- Make use of gridlines: Before you take a photo, draw a grid around it to assist you straighten it up.
- Timer: Use a delayed timer to take photographs.
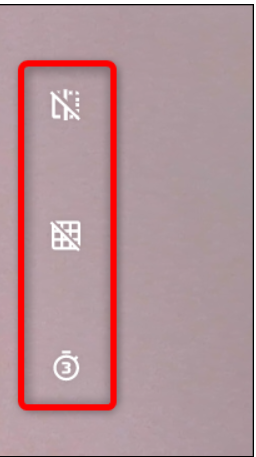
Note: If you have more than one camera installed on your Chromebook, or if you have connected an extra camera via USB, you will see a fourth icon that allows you to choose between the currently active cameras.
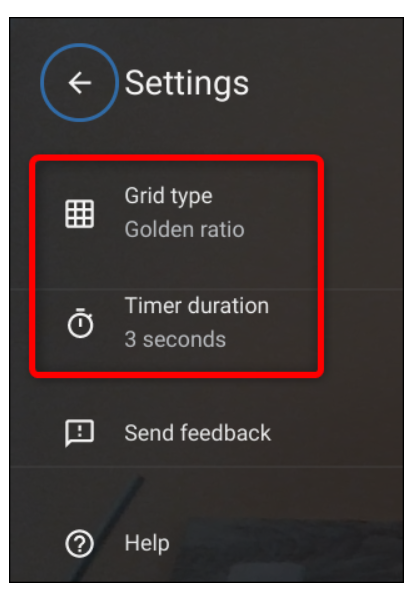
With a click on the gear icon, you may adjust the size of your camera grid and the duration of your timer. To access the Settings menu, use the ESC key.

How to Locate Your Photos
The photographs you’ve taken will be stored on your Chromebook, and you’ll need to locate them in order to see them as well as edit them and share them with your friends and family. In any case, you may do so straight from the Camera application or from inside the Files application. Here’s how to do it.
Using the Camera App
As previously noted, as soon as you take a picture, a thumbnail of the most recently taken image will display in the bottom-right corner of the screen, under the shutter symbol. To see the picture in the Gallery app, choose it from the thumbnail list.
You’ll see all of your photographs at the bottom of the window after the Gallery application has been launched. To see it in the viewing area, choose one from the list and click on it.

If you no longer want a photo, select it and then click the trash can icon at the top of the window.
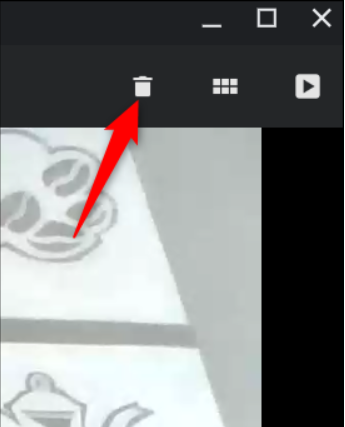
Click “Delete” to remove the file.
Using the Files App
To begin, launch the Files application on your Chromebook. You may discover it in the launcher by pressing the “Search” button on your keyboard and typing “Files” into the search box. Alternatively, choose “All Apps” from the drop-down menu and search for the icon.
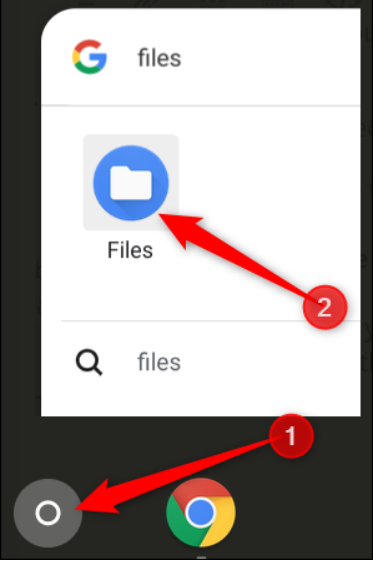
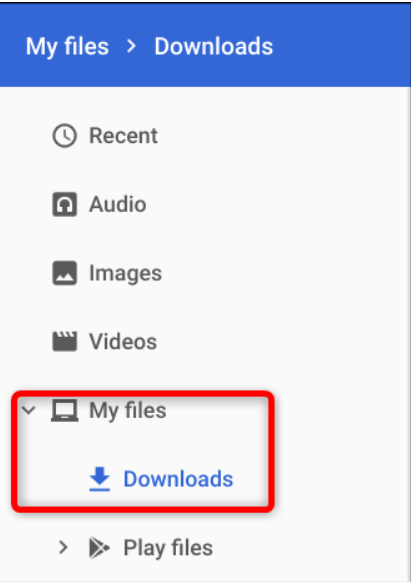
The default directory for saved photos can be found under My Files > Downloads on the left side of the Files app.
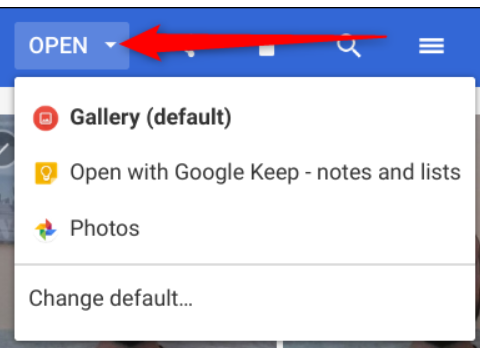
From here, choose a picture and then, from the drop-down menu at the top of the window, pick what to do next. Then choose “Open” to determine which application will open the photo, the “Share” symbol to email it to a friend, or the “Trash can” icon to remove it from your Chromebook.

After you click “Open,” you can also choose “Change Default” if you want your photographs to open in a different app than Gallery when they are accessed by the camera.
FEATURED Video
Tips
If you’re using a Chromebook provided by a school or organisation, the administrator of that account may have disabled your camera. If you’re an administrator for the Workspace, go to https://admin.google.com/, sign in, and then go to Devices > Chrome > Settings > Users & browsers > Hardware > Video input and Video input authorised URLs (if you have access to this feature).


