Reviews
DJI Mavic Air 2 Review: A Wonderful Drone with Splendid Mix of Performance and Affordability
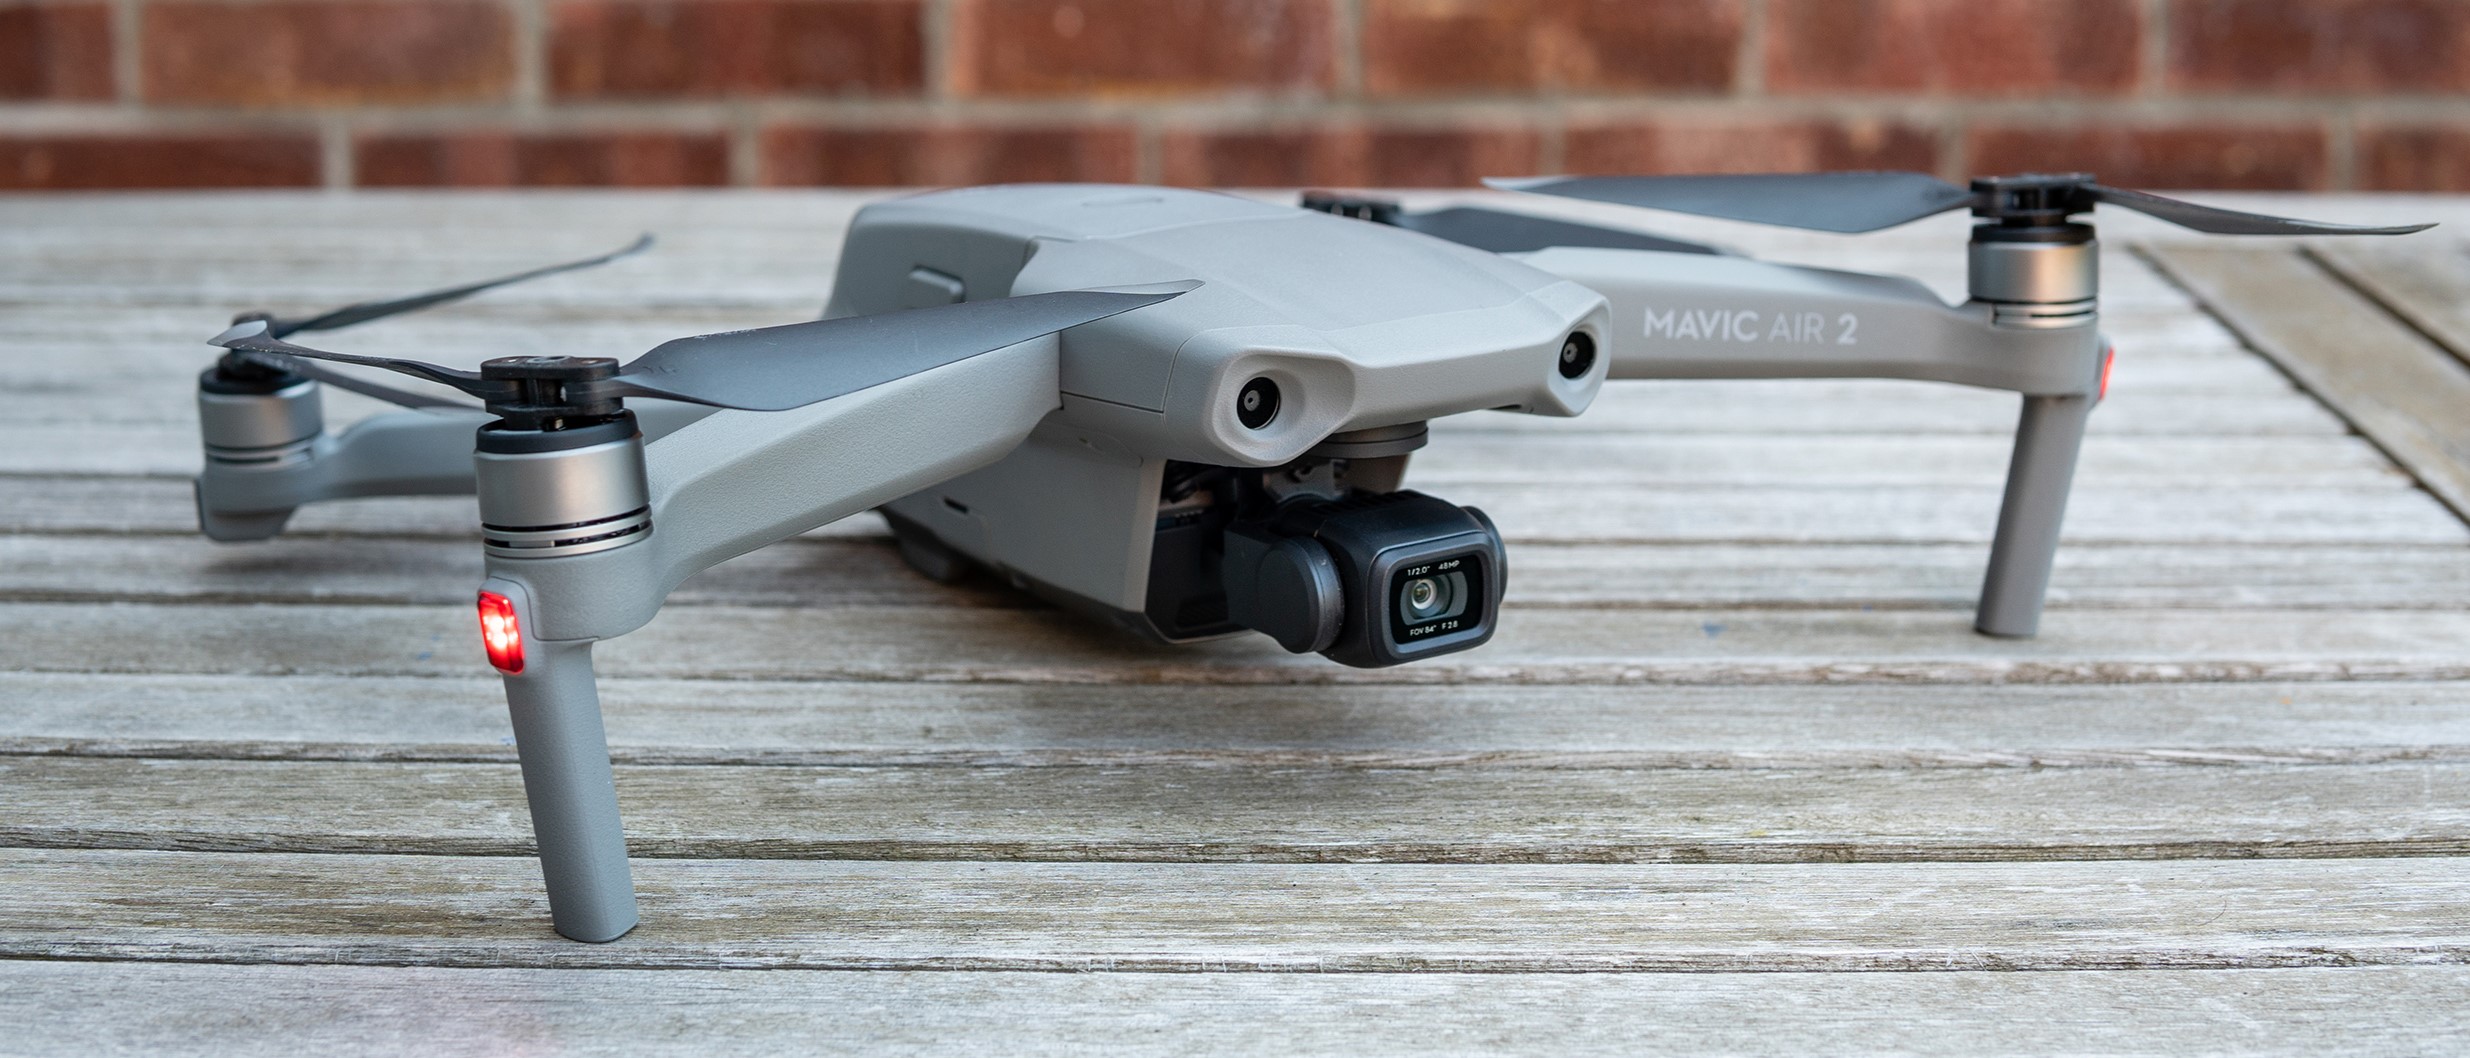
Mavic Air 2 is the successor to the Mavic Air which was released in 2018. It sits between the Mavic Mini and Mavic 2 Pro but is closer to the Pro version with reference to look, dimensions, weight, and performance. The Mavic Mini performs worthily for a camera drone in its price point but lacks in many features that a more advanced drone includes. On the other hand, higher-end drones are too expensive to afford by budget-conscious consumers.
With the release of Mavic Air 2, DJI hits the balance between price and performance. Conspicuously, it’s the first Mavic drone that is armed with 4K/60p video at 120 Mbps, 48MP stills, 8K HyperLapse, and AirSense.
There’s a lot more to this, so let’s take a look…
Mavic Air 2 Pricing and availability
The Mavic Air 2 is designed to keep the consumers with a budget in mind, but not dropping down too many features. With the price tag of $799, it is more or less, double the price of Mavic Mini $399, but still half of that DJI’s flagship Mavic Air 2 Pro $1599. While the predecessor Mavic Air originally priced at $900 but currently selling for $699.
The Mavic Air 2 also comes with DJI’s Fly More combo for $988 that includes a case, charging hub, 2 extra batteries, and ND filters.
Mavic Air 2 Design
The Mavic Air 2 is a minute larger than its predecessor, the Mavic Air. When folded down, the Mavic Air 2 is 180x97x84 mm and 1.3 pounds, and small enough to accommodate in the gear carrier of most of the photographers. The size gets larger when the wings are drawn-out but it still looks pretty little.
While the Mavic Air 2 is over 250 grams, which means a registration would be required with aviation authorities in many countries — in the US, the fee is a nominal $5. If you live outside the US, check your local laws about drones.
Flight Time
DJI claims the Mavic Air 2 for 34 minutes of flight on a fully charged battery, a noteworthy increase over original Mavic Air with 21 minutes. However, in normal winds, you’ll have no issue flying for half an hour in a single charge.
Obstacle Detection and Avoidance
There’re various built-in features to get better safety when flying. The Mavic Air 2 comes armed with obstacle avoidance sensors on the front, rear, and bottom to let pilots know when they are too close to an object. This feature is required to be turned on from the DJI Fly APP — DJI calls it APAS (Advanced Pilot Assistance System) 3.0. When used, the Mavic Air 2 will promptly make an alternate path on any side of an obstacle, to avoid a collision. The bottom of the drone also includes an auxiliary light which helps to land in tough conditions such as low-light surroundings.
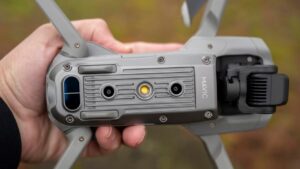
There are no skyward-facing obstacle sensors, neither on its sides like the Mavic 2 Pro, so you’ll need to take some care flying it.
DJI’s Geosystem
The Air 2 is also armed with DJI’s Geosystem, which checks drones to enter in banned areas like airports. This feature is very helpful for those unaware of drone laws. Geo zones, along with ADS-B, can be activated or deactivated from the DJI’s Fly app.
AirSense
Mavic Air 2 is also intended to include AirSense technology. It runs a signaling protocol called ADS-B to warn you if there is some manned plane or helicopter around your drone. Their location would be displayed on the controller’s screen.
Firstly, you shouldn’t fly your drone above 400 feet, nor close to the airport areas. Secondly, if still you encounter situations where you’re in the same air with some manned aircraft, It’s your responsibility as a drone operator to give away space to the passing aircraft.
OcuSync 2.0 Transmission Technology
The Mavic Air 2 uses DJI’s proprietary OcuSync 2.0 transmission technology to transport footage to your smartphone screen. It supports two 2.4GHz and 5.8GHz frequency bands and selects one of them with strong signal strength. And anti-interference technology stops uninvited signals to get the video feed clear. This is a big enhancement from the original Mavic Air, which uses a Wi-Fi transmission technology. DJI claims OcuSync 2.0 of 10km footage transmission range, however, we lost signals on longer distances, maybe due to some unfavorable wind, but they were perfect within 6km of range, that is still awesome.
Storage
The Air 2 comes with 8GB of internal storage — enough to embrace around 15 minutes of 4K video. A microSD card slot, which supports up to 256GB, is located below the battery portal. Captured footage can be accessed through the micro USB portal on the opposite side of the card slot. A couple of cables, to connect with a Laptop, comes packed in the box.
Remote Controller
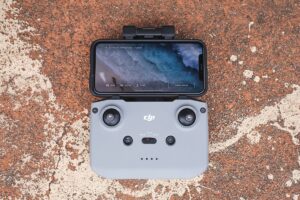
There is a complete change in the design of the controller with its bigger and boxier size than other remotes in the Mavic series. The key change is to mount a smartphone on top instead of the bottom like previous Mavic models.
The controller connects your phone with a short cable on the top and uses USB-C port to be charged. USB-C and micro USB cables are also packed in the box. The control sticks stow at the base. The left stick sets elevation and rotates the drone about its central axis to set the direction, once done, the right stick is used to drive.
On the front, there are Power and Return to Home buttons. On the top-left, you will see a programmable Fn button, while the button on the top-right is used to switch between video and photo mode.
Remote operators can easily toggle between Tripod, Normal, and Sport flight modes. The mode switch is featured in the center of the controller. Sport mode is used to fly faster, but obstacle detection would not work in this mode. On the contrary, the Tripod setting would move your drone slowly. Most likely you’ll like Normal mode most of the time.
The controller also features some basic camera controls. The control wheel on the left shoulder allows you to tilt the camera down or up, while the button on the right shoulder is used to capture a photo or record a video. The video can be recorded form the Fly App.
The DJI Fly App
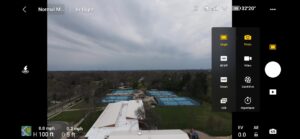
There is no display screen on the controller, so, if you want to see the camera view, you would need to mount and connect your smartphone with the controller. Mavic Air 2 uses the DJI Fly app. Since its release alongside the Mavic Mini, DJI Fly has got frequent software and interface updates. When a new user chooses a feature for the first time, video tutorials and detailed instructions pop up to guide the new users. It’s available for Android and iOS platforms.
One of the updates is that, instead of displaying the battery symbol, it shows the exact battery life that the drone has before the landing. On the right side of the app, there are Photo and Video menus located. The top icon is used to get the Photo mode. You can choose between the Single, 48MP, SmartPhoto, and Auto Exposure Bracketing (AEB) options. It also lets you select Auto or Manual Mode. You can switch from the camera lens to Google Maps view of the area in which you’re flying with a tap on the screen.
The Mavic Air 2 is also equipped with FocusTrack with three new modes to capture cinematic footage with a subject locked in the frame.
ActiveTrack 3.0 — It allows the operator to select a subject for Mavic Air 2 to automatically follow, helping to easily record convincing content. 4K 30fps is the max resolution when using ActiveTrack.
Point of Interest 3.0 — you can set an automated flight path around a particular subject. The updated version betters surface recognition like people, vehicles, and more.
Spotlight 2.0 — It locks a subject in the frame while the user has the free operation of the drone’s movement. This feature is found in professional DJI models like the Inspire 2.
The Fly App also includes editing options with some completely automated templates. But the output of this editing is limited to only 1080p. If you want the result in 4K, you’ll need something different app.
This App creates the flight logs that let you replay the footage and show speed, height, location, and battery life of the drone.
Quad Bayer Camera
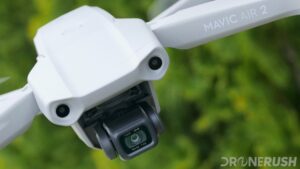
The camera features a 1/2″ Quad Bayer sensor screwed on a 3-axis gimbal. This gimbal can tilt upward up to 24º, alongside the ordinary movements. The Air 2’s camera can shoot at either 12MP or 48MP in DNG or JPG format. The dual-resolution ability emanates from a Quad Bayer sensor design. This camera possesses a 24mm fixed-aperture F2.8 lens with an 84º FOV.
There are also some automatic shooting modes, called SmartPhoto. This feature is available at only 12MP, not at 48MP. If you’re planning on using the drone in automatic mode, you can take advantage of them to get better shots. These include:
HDR scenes — The camera automatically takes 7 diverse exposures and mingles them for a better vibrant image.
Hyperlight — Images captured in low-light environments, particularly on drones, are more likely to be coarse and comprise vagueness. Hyperlight takes several pictures and gets a clearer image out of there blend.
Scene detection — It uses scene detection to optimize settings. This mode lets the drone to identify 5 key elements of a photograph — grass, sunsets, snow, trees, and blue skies. It optimizes the tone, clarity, and color setting after analyzing these things.
The Air 2’s camera also films video, though without a sound. It holds 4K UHD resolution at up to 60fps with a strong quality and 120Mbps compression rate. Resolution can be dropped down to 1080p if required, and 2.7K option is also there. When recording in 1080p a faster framerate, up to 240fps, can be achieved for slow-motion playback and speed ramping.
Does the Mavic Air 2 worth the investment?
For anybody who expects to do more than off-the-cuff flying, the Mavic Air 2 is an incomparable package, and — it is now the clear pick in the drone market. Its launch effectually demotes every other comparably priced drone to being superior in overall performance. However, in specific areas, its competitors might have a slight edge. Such as The Mavic 2 Zoom features optical zoom, the Mavic 2 Pro has a bigger one-inch image sensor, the Parrot Anafi can tilt its camera skyward, and the PowerEgg X is good in the rain. The Mavic Air 2, however, defeats or broadly meets each of these drones — and other challengers — on footage quality, speed, battery life, range, functionality and build class. In terms of value, that’s difficult to disagree with; most use cases are beyond doubt better performed by this drone than any other.
For the cost less than $1,000, the image and video features are top-notch. To evidently better results, you need to step up to a model with a one-inch sensor, the Mavic 2 Pro, but it’s double the Air 2’s cost, and not everyone would want such an increase in price to pay for just this feature.
But for most of us, the Mavic Air 2 is definitely the drone to pick up. It evades the connectivity and wind-resistance issues we faced with the elementary level Mavic Mini and has a much better camera all around.
Given that, the question arises “Does the Mavic Air 2 worth the investment?” And, despite, We’d still like to see DJI strengthen the imaging features in its Fly app, our answer should be a resounding “Yes”. In our minds, the best drones are the ones that deliver outstanding performance at a reasonable price point. And, the DJI Mavic Air 2 absolutely nails this concept.
Pros
- Compact design for carrying around
- Capable for HD/240p and 4K/60p video
- Excellent flying time with 30+ minutes
- Hits the balance between price and performance
- Obstacle Detection and Avoidance
- Great DJI Fly App
Cons
- No obstacle avoidance system on sides and top of the drone
- In-App editing results are limited to 1080p
[su_button url=”https://amzn.to/3lKBD8O” size=”6″ center=”yes” icon=”icon: amazon” text_shadow=”0px 0px 0px #cbe437″]View On Amazon[/su_button]


