Guide
How To Add Reaction Roles On Discord
When it comes to Discord, roles are quite valuable, but they may be made much more effective by the usage of response roles. Here’s a step-by-step instruction on how to add response roles to Discord servers.
The role functionality in Discord makes server administration much more straightforward. It is strongly advised that all administrators and moderators make use of roles in order to keep servers secure and controlled. Ordinary users would appreciate the usage of roles since they will be able to identify VIPs or server employees from other members. If you are in charge of a server that has thousands of active users and hundreds of new members every day, you are well aware that giving responsibilities to each new member would be a time-consuming and inconvenient task to do.
However, there are bots available that allow users to designate their own responsibilities by utilizing Discord replies, which is a welcome feature. That will be explained in detail in this post, as well as which bots you may employ and how to incorporate them into your server.
Reaction Roles
First, let’s go through the basics of how this function works and why it could be valuable before we get into the specifics of how you might utilize it.
In many moderated systems, new users are restricted in terms of what they can and cannot do until an administrator or moderator assigns them to a role that matches their abilities. This might take minutes or even hours, depending on whether or not any moderators are available at the time of posting. Utilizing response roles will allow you to make your server more inviting and efficient, while also skipping over this portion of the procedure entirely.
When a user connects to your server, they will be welcomed by a message, to which they will have the option to respond. This is explained in detail in the message, as well as the various responsibilities that can be allocated. Users who respond with the proper emoji will immediately be assigned to one of the roles specified by the bot.
How To Add Reaction Roles
The first step is to include the bot in your server’s configuration. MEE6 was the software utilized in this guide.
1. Log in to the MEE6 website using your Discord account by using the link below.

2. Select your server from the drop-down menu and click Authorize. Double-check that the Manage Roles permission is enabled.
3. Return to Discord so that you may begin the process of generating the necessary position or roles.
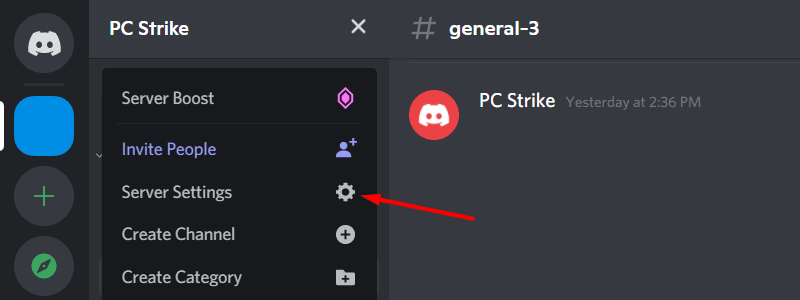
4. Select Server Settings from the drop-down menu after clicking on the server’s name to expand the menu.
5. Select the Roles tab and then click on the Create Role button. You are now able to begin personalizing the roles.
6. Create a role name so that you can remember which roles to assign to the bot. In addition, you need select an acceptable colour and grant the required rights. Set up as many roles as you desire on your server, and then delete them.
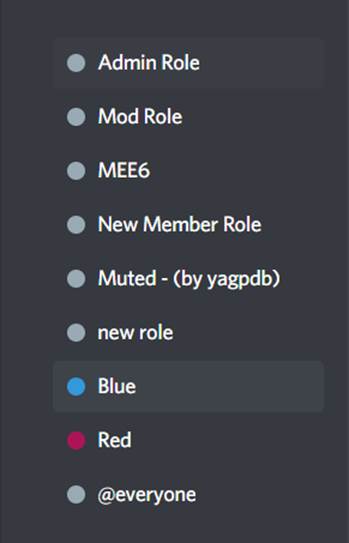
7. Ascertain that MEE6’s role is given precedence over the newly formed ones. For example, in the figure below, the response roles Blue and Red are located below the role of the bot (MEE6).
8. Return to the MEE6 dashboard at this point. We chose this bot for reaction jobs because it includes an online dashboard that makes managing the bot more easier than it otherwise would be.
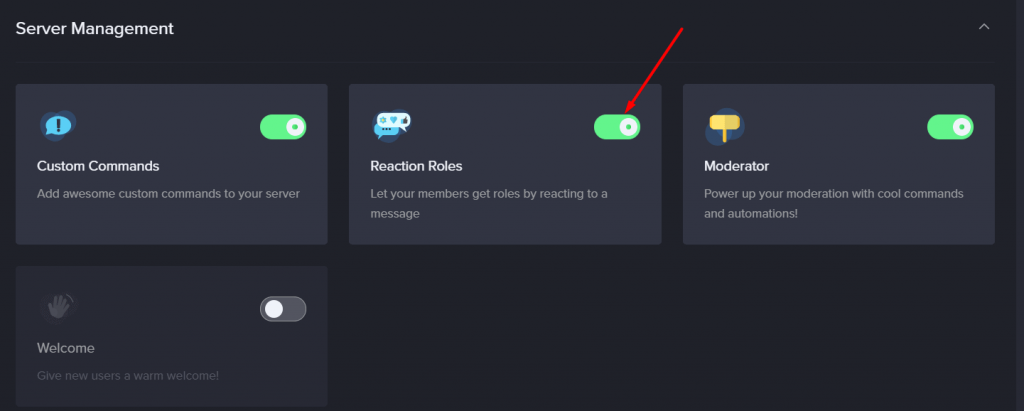
9. Enable Reaction Roles in the Server Management section.

Roblox Username Generator – Create a Cool & Unique Username in Seconds

Grow a Garden Recipes in Roblox: Guide to Cook (Donuts, Sushi, Pie, Pizza & More!)

Job Opportunities in Dubai – 2026

Mr Bit at the SBC Awards Europe 2025: The Bulgarian Brand Setting New Standards in the European Gaming Industry

Dennis Rodman Net Worth 2026 – Everything You Need to Know

Bloxburg Neighborhood Codes 2026
Grow a Garden Recipes in Roblox: Guide to Cook (Donuts, Sushi, Pie, Pizza & More!)
Job Opportunities in Dubai – 2026
Dennis Rodman Net Worth 2026 – Everything You Need to Know


