Guide
How to Clean Your Headphones

Headsets and headphones enhance the gaming experience by increasing immersion, and they are crucial parts of gaming equipment. They are necessary in that they soak perspiration and get dirty after hours of use for days on end, despite their importance.
Having cleaned your phone, keypad, and mouse (and maybe even your headphones), how do you deal with your headphones? Cleaning out any ear wax and cleaning your headphones is not only beneficial for your personal hygiene, but it may also improve the sound quality of your headphones.
Read Also: How To Connect Bluetooth Headphones To Ps4
Why Clean Your Headphones?
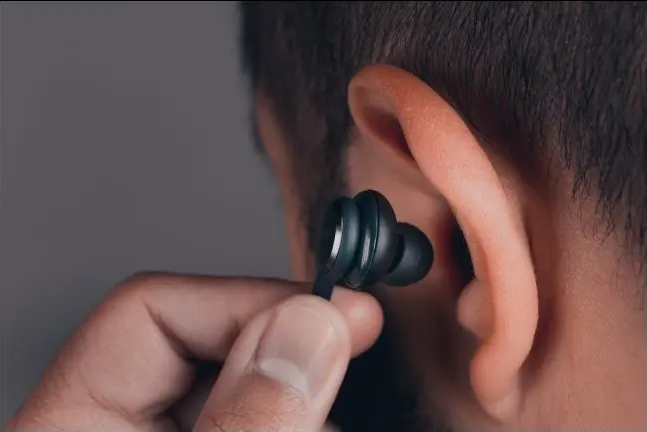
Regardless of whether you use over-the-ear or in-ear headphones, you should clean them on a regular basis for reasons of hygiene and maintenance. This is especially true if you workout while listening to music on your headphones, as so many of us do.
Sweat might accumulate in the ear cups, causing them to smell terrible. Ear wax can block drivers, reducing not just the loudness, but also the quality of the sound. In addition to visible dirt, there’s dirt that can’t be seen, such as germs and other organisms that may make you sick. Simply put, clean headphones are more hygienic.
Changing the position of your headphones while at the gym allows you to transmit everything you’ve touched to the headphones themselves. Viruses, such as SARS-Cov-2, which causes COVID-19, have been observed to survive on plastic and other hard surfaces for up to three days, according to research. If you touch a contaminated earbud, you could spread the virus to other surfaces, or become infected with it if you touch your mouth, nose, or eyes.
People can spread bacteria within their ears if they share headphones, as evidenced by studies showing that they accelerate the growth of bacteria. Whatever your earbuds have come into contact with is something you should consider before putting them in your ear.
One of the most prevalent germs that may be transmitted from your ear to your earphones is a staphylococcus type. An ear infection can be caused by an excess of this kind of bacteria. It’s best to clean your earphones to avoid this problem.
Cleaning Over-the-Ear Headphones
Over-the-ear headphones may be cleaned in a variety of ways. Many headphones are intended to be easily cleaned, with detachable ear cups and wires that can be unplugged on both ends.
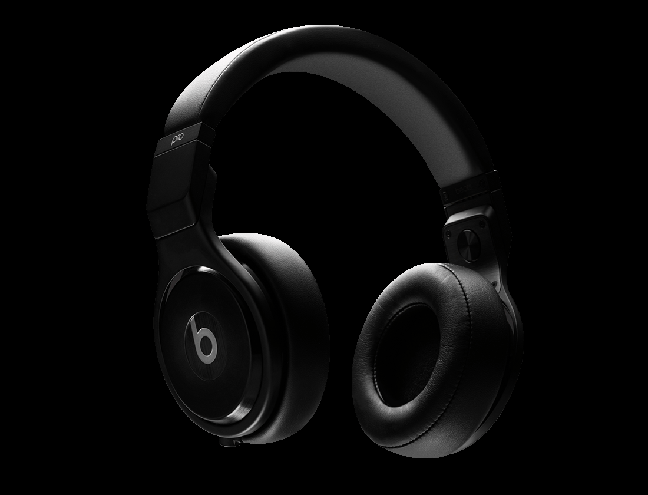
You’ll have to be careful not to harm other brands when cleaning them. Consult the manufacturer’s cleaning instructions if you have access to them. Cleaning instructions are available from a variety of manufacturers, including Apple, Beats, and Bose, to name a few.
You’ll need the following items to thoroughly clean your headphones:
- A soft damp cloth
- Isopropyl (rubbing) alcohol that contains 70 percent alcohol or higher
- Cotton balls or Q-tips
- A paper towel, tissue, or clean cloth
Make an unobtrusive test patch first if you’re worried about ruining your headphones’ fabric. In the amount you’ll be using, rubbing alcohol is unlikely to permanently harm leather or PVC (faux-leather). You don’t have to worry if your headphones are made of plastic or metal.
Follow these steps to clean your over-the-ear headphones:
1. Remove the ear cups from the headphones if feasible so that you may access the mesh underneath more readily.
2. Wipe down the ear cups and the headphone unit with a gentle moist cloth to remove any stubborn dirt or grime.
3. Remove as much dirt as possible to avoid introducing germs and other toxins into the system.
4. Rub alcohol should be applied to a clean paper towel or cloth. Clean the ear cups and the rest of the headphones from top to bottom.
5. When you’re done cleaning, use a dampened cotton ball or Q-tip to dampen the area. The ear cups (in areas like fabric folds) and the main headphone unit should be sprayed with an anti-static spray.
6. Clean the headphones carefully with a towel or cloth and rubbing alcohol after extending them to their maximum size. Ensure that all buttons, dials, and remotes are free of dust and dirt. Get extra practice at the region where you grab the headphones when putting on and taking them off.
7. Use an alcohol-soaked Q-tip to clean the mesh on the speakers. Take care not to overlook any areas.
8. Remember to use alcohol to clean the mesh and movable arm on your headphones if they feature a microphone (like a gaming headset).
9. Finally, use a paper towel and some rubbing alcohol to clean any wires, as well as the rubber grip at the jack.
Let the alcohol dry completely (it should evaporate quickly) before you reassemble and use your headphones again. If you let the isopropyl alcohol evaporate, it shouldn’t leave any streaky marks or residue.
Video

Vampire Crawlers Coin Farming Guide

Forza Horizon 6 Performance: Why 60 FPS Is Still the Console Standard

Yoshi and the Mysterious Book (2026) – Full Completion Guide, Rewards & Secret Ending

How to Get Free Pets in Adopt Me: A Guide for Players

Roblox Username Generator – Create a Cool & Unique Username in Seconds
How to Get Free Pets in Adopt Me: A Guide for Players
Yoshi and the Mysterious Book (2026) – Full Completion Guide, Rewards & Secret Ending
Forza Horizon 6 Performance: Why 60 FPS Is Still the Console Standard


