Apple
How to Clear Your Browsing History on an iPad

Perhaps you’re using an iPad that has been provided to you by your school or employer, or perhaps you’ve simply done a fast search on your kid’s iPad (or on your parent’s device) that you’d prefer not to be a part of the next dinner table discussion.
Whatever your reasons for wishing to clean the history on your iPad, the process of deleting searches and website visits is quick and simple to complete.
When it comes to online browsing, deleting the history from your iPad on a regular basis might make the device perform quicker since a backlog of old cookies and other data can hinder downloading rates if the data is out of date.
Read Also: How to Block Youtube on iPad And iPhone
How to Clear Your Chrome Browsing History
Getting rid of surfing history with Safari, the browser for Apple’s iPhone and iPad, is a straightforward process, albeit not very intuitive. Fortunately, erasing the browsing history in Google Chrome is much simpler than clearing the history in Safari, since you can do it immediately from within the browser itself.
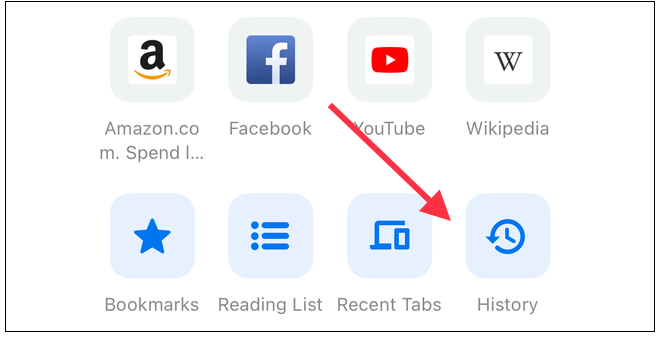
It’s as simple as hitting the history icon below the search bar on the start page of Google Chrome on iOS or iPadOS if you’re viewing the start page in the browser.
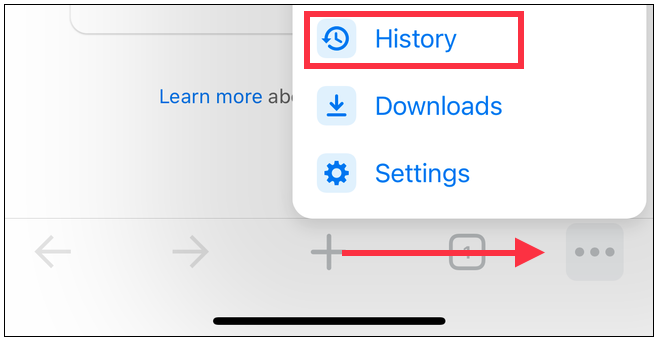
In any other case, click on the three dot icon in the bottom right corner of the browser and pick “History” from the drop-down menu that appears.
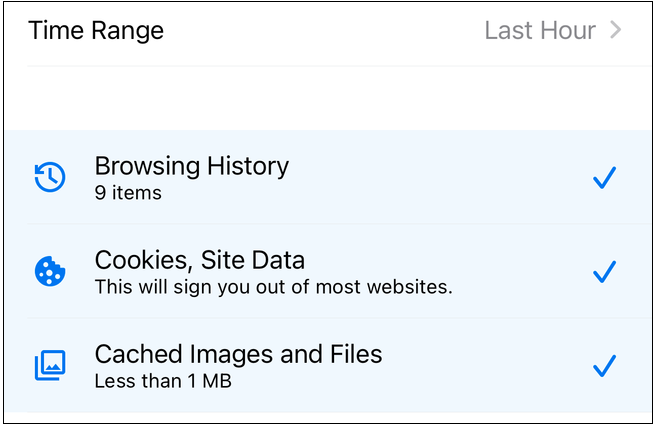
To begin cleaning your browsing history, scroll down to the bottom of the screen and select “Clear Browsing Data…” from the menu bar. Choose a time period from the drop-down menu at the top of the page. This includes anything from the last hour to your whole browsing history.
Once you’ve picked the time period you want to remove, look over the data you’re about to delete and make sure it’s accurate. By default, the following options are selected: browsing history, cookies and site data, and cached images and files. You can choose to pick or deselect any of these options as you see appropriate.
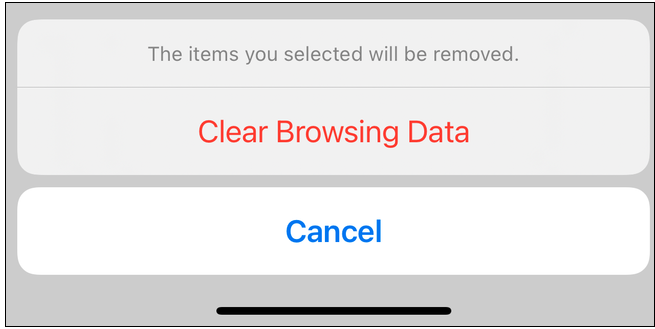
Once you’ve made your selections, scroll down to the bottom of the screen and press “Clear Browsing Data.” To complete the process of wiping your history, choose this option once again in the pop-up dialogue box at the bottom of the screen.
Keep in mind that deleting surfing history in Chrome for iPhone and iPad does not always result in the wiping of browsing history in the Chrome desktop browser.
Don’t Forget to Browse in Incognito Mode
If you find yourself erasing your browsing history on a regular basis, it’s possible that you’re not taking advantage of private browsing, also known as Incognito Mode in Google Chrome.
Incognito Mode is a distinct browsing session for which the browser does not store a history of the pages visited. The moment you close a tab or return to normal surfing, Chrome erases all evidence of the websites you were currently visiting.
The fact that Incognito Mode is accessible in Google Chrome for iOS and iPadOS is something you may not have realized was a possibility. It’s also quite simple to use. You can use Incognito Mode for Google search on your iPhone or iPad by following our instructions here. You’ll never have to worry about erasing your browsing history again.
Video

Vampire Crawlers Coin Farming Guide

Forza Horizon 6 Performance: Why 60 FPS Is Still the Console Standard

Yoshi and the Mysterious Book (2026) – Full Completion Guide, Rewards & Secret Ending

How to Get Free Pets in Adopt Me: A Guide for Players

Roblox Username Generator – Create a Cool & Unique Username in Seconds
How to Get Free Pets in Adopt Me: A Guide for Players
Yoshi and the Mysterious Book (2026) – Full Completion Guide, Rewards & Secret Ending
Vampire Crawlers Coin Farming Guide


