How to Customize Bullet Points in Google Docs on PC

It is now much simpler to create (or even collaborate on) a wide variety of written projects thanks to the widespread adoption and accessibility of the Google Suite. These projects can range from something as straightforward as a newsletter to something as involved as a comprehensive scientific review. On the other hand, it is essential to maintain some type of organization with regard to the information you are working with, regardless of whether it is written or not. For instance, in addition to a number of predefined options, Google Docs gives its customers the ability to personalize bullet points, which makes it simple to devise your own method to organize and monitor your tasks. In this post, we will demonstrate how to modify the bullet points that appear on your PC version of Google Docs. So let’s get started:
Read Also: How to Use Transcribe Audio on Google Docs
How to Customize Bullet Points in Google Docs on PC
Personalizing bullet points in Google Docs is possible using any of the numerous icons that are at your disposal; in fact, each and every one of them can be used. When you already have a bullet point, you can convert it to any one of these symbols at any time.
Follow these instructions on your personal computer to learn how:
1. Launch the docs.google.com website, log into the account you have with Google, and either create a new document or make changes to an existing one.
2. You can call attention to the bulleted list by clicking on it. If you do not already have a bulleted list, you can generate one by clicking the icon labelled “Bulleted List” that is located in the toolbar at the very top of the screen.
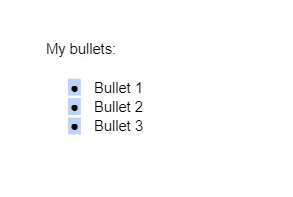
3. Use the context menu to access more bullet points by right-clicking any of the existing ones.
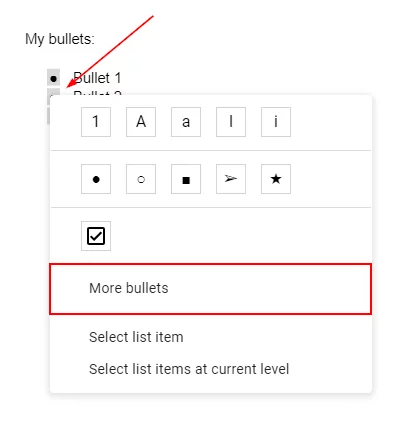
4. Choose the type of bullet you want to use from the drop-down menu that appears.
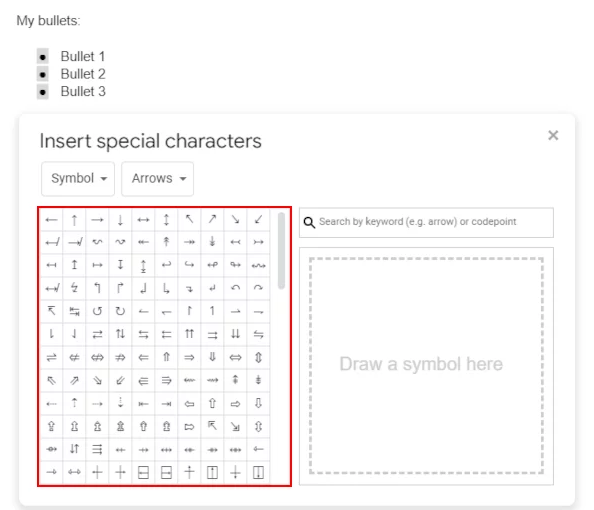
5. You don’t need to worry if you can’t locate the bullet that you’re looking for because you can use the search bar to discover the precise one, or you can even draw a sketch of the particular type of bullet that you’re trying to find.
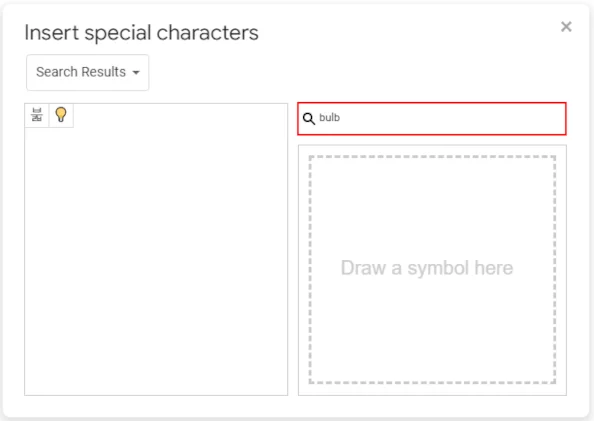
6. You can use the dropdown menus to filter for a category of bullet kinds even if you don’t have anything particular in mind to search for; all you need to do is enter the category name. There is a large variety of categories to choose from, which include everything from chess pieces to other languages.
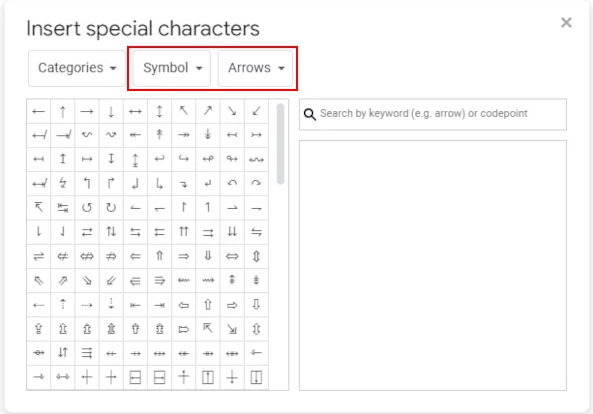
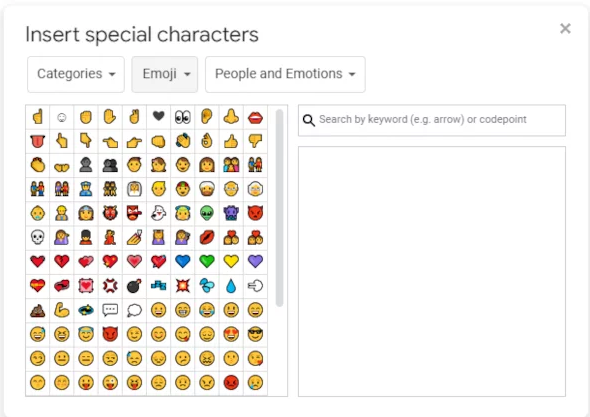
7. You can even use emojis as bullet points.
FAQs
How do I change bullet indentations?
Use the context menu to select Right-click, and then select Adjust List Indents. You can adjust the distance that the bullet indent is from the margin by clicking the arrows in the box labelled “Bullet position,” and you can also adjust the distance that separates the bullet from the text by clicking the arrows in the box labelled “Text indent.”
What menu should you click to customize the style of your bullet list?
Choose the text that you wish to format as a list, and then select it. On the Home tab, next to the Bullets command, you’ll see a drop-down arrow. Click on it. There will be a selection of different bullet styles available. Move the mouse pointer over the different types of bullets.
How do you change the indent on Google Docs?
You can indent the text or the paragraph by moving the insertion point to wherever you want the indentation to be (you can select one or more paragraphs). To move an indent marker, simply click on it and drag it. The blue guide line begins to expand from the Ruler whenever the marker is moved. When you get to the spot you want, let go of the mouse.
How do you add sub Bullets in Google Docs?
To begin, create a standard bulleted list by clicking the button labelled “bulleted list” that is located at the very top of the page. To create a second bullet point, use the enter key on your keyboard. Before you start entering anything, make sure you press the ‘Tab’ button on your keyboard. This will result in the bullet point being automatically indented, creating your sub bullet!
Where is the margin tool in Google Docs?
Proceed to the Edit section by clicking on the pencil icon located in the upper right hand corner of the screen. Make sure you select Page setup. Choose the setting that you would like to change.


