Guide
How To Cut Out An Image In Photoshop
Let’s have a look at how to clip a picture out in Photoshop. The information in this article will help you if you are unsure about where to begin or which procedure is the most effective for removing a backdrop from a photographic image.
In Photoshop, you may use a variety of tools to chop off a picture from its background. Depending on the picture you’re attempting to cut out, each tool will have its own set of advantages and disadvantages. The most effective way for cutting out a picture will be determined by how intricate the surrounding areas are around your topic.
Fortunately for you, cutting off a picture in Photoshop is a rather painless operation if you use the appropriate tool. Let’s get started and learn about the most effective methods of cutting off photographs and objects in Photoshop. Please note that if you are new to Photoshop, there is a fantastic resource for you at the end of this post.
Read Also: How to Add Fonts to Photoshop
How To Cut Out An Image In Photoshop
1.Cutting Out Images With The Quick Selection Tool

What is the Quick Selection Tool?
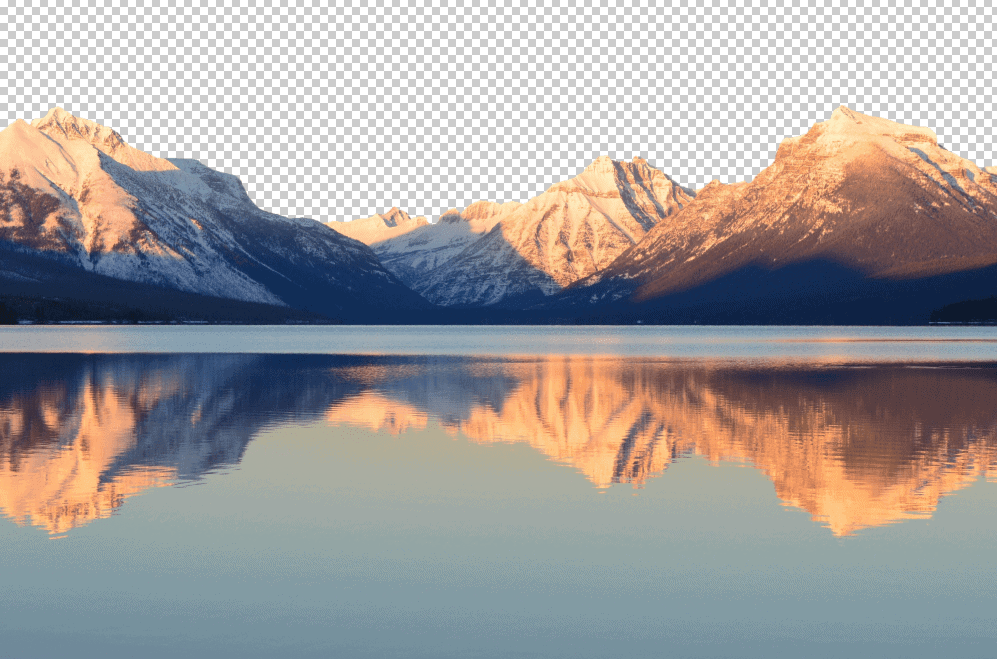
The Quick Selection tool in Photoshop is one of the quickest and most convenient ways to clip off a picture. This tool effectively allows you to paint a selection onto your image using a brush. When there is a definite boundary surrounding your topic, the Quick Selection Tool performs best.
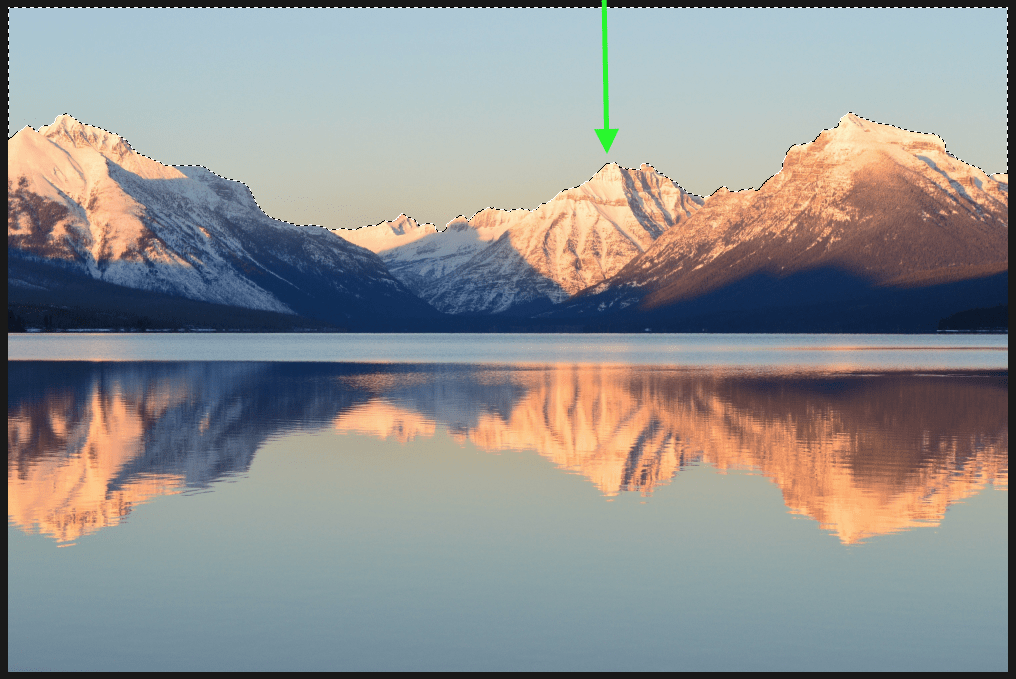
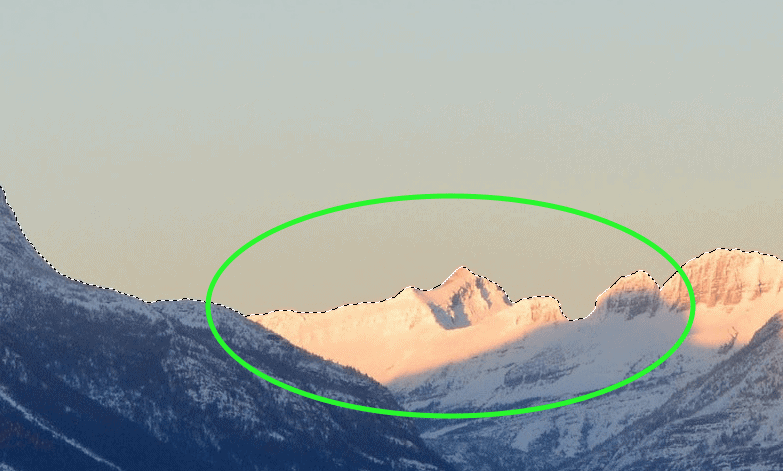
Mountains set against the sky, for example, may be considered a defined boundary. There is a distinct and visible edge that Photoshop may automatically choose and selects.
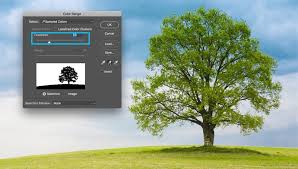
An example of an undefinable edge might be something like trying to carve out this tree against a cluttered backdrop. The Quick Selection tool would have a tough time distinguishing the distinctions between the tree trunk and a background with a similar appearance.
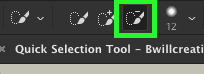
How To Access The Quick Selection Tool In Photoshop
The Quick Selection tool may be found at the top of your toolbar, accessible by pressing the Q key. Photoshop’s toolbar is located on the left-hand side of the screen on your computer. A paintbrush and a circular selection icon are used to symbolize the Quick Selection tool.
The Quick Selection tool may be accessed more quickly by pressing the W key on the keyboard shortcut.
When To Use The Quick Selection Tool In Photoshop
When cutting off specified items against clear backdrops, shapes, and vistas, the Quick Selection Tool performs the most effectively.
How To Cut Out An Image With The Quick Selection Tool
Step 1: Access The Quick Selection Tool
The Quick Selection tool may be used by hitting the W key on your keyboard. You may also access it from the toolbar.

Step 2: Ensure your Quick Selection toolbar settings are correct
You’ll notice that a settings bar will appear at the top of your screen once you’ve opened the Quick Selection feature. This is the section where you may customise how the tool works.
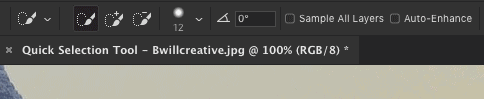
Make sure the symbol with the + sign is chosen in order to be able to add a new selection to your selection. Afterwards, you will have the ability to modify the brush parameters. For the most accurate results, I’ve found that a 50 percent hardness and a 1 percent spacing combination is the most effective.
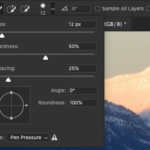
The most appropriate brush size will be determined by the region you are attempting to pick. To alter the brush size, press [or] on your keyboard after pressing the bracket keys. Another approach is to simply adjust the brush size slider in the upper toolbar, which is also available.
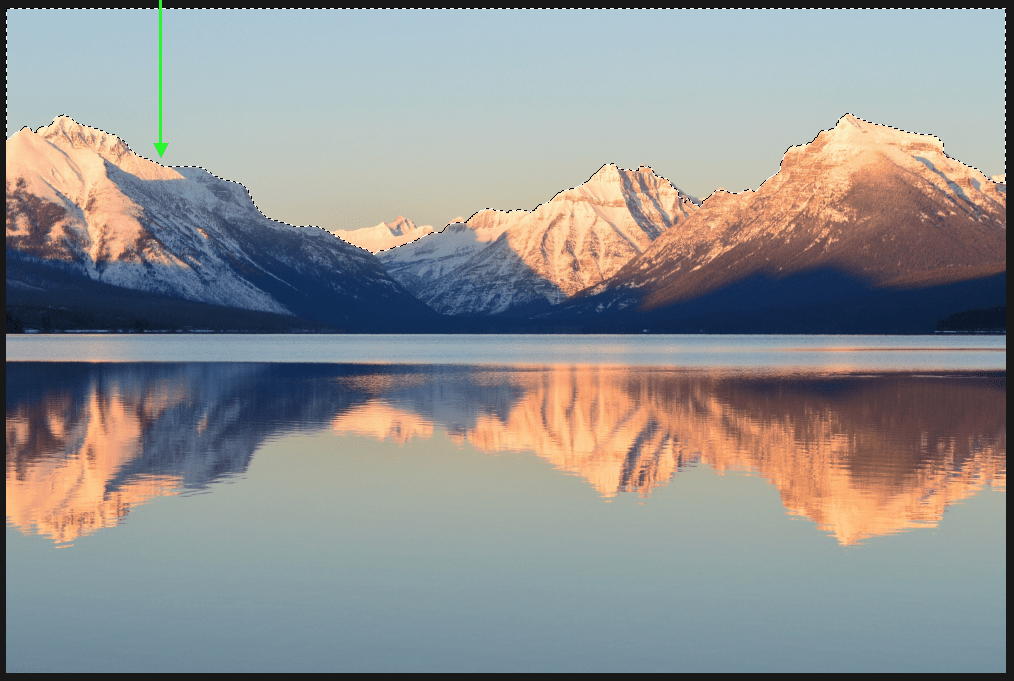
Step 3: Paint Your Selection Around Your Subject
It’s time to paint your selection now that you’ve got your Quick Selection tool settings in place. Follow the brush along the edge you want to pick, being careful not to overlap the brush with the edge you want to select. Continue to work your way around the entire subject until your pick looks like this:
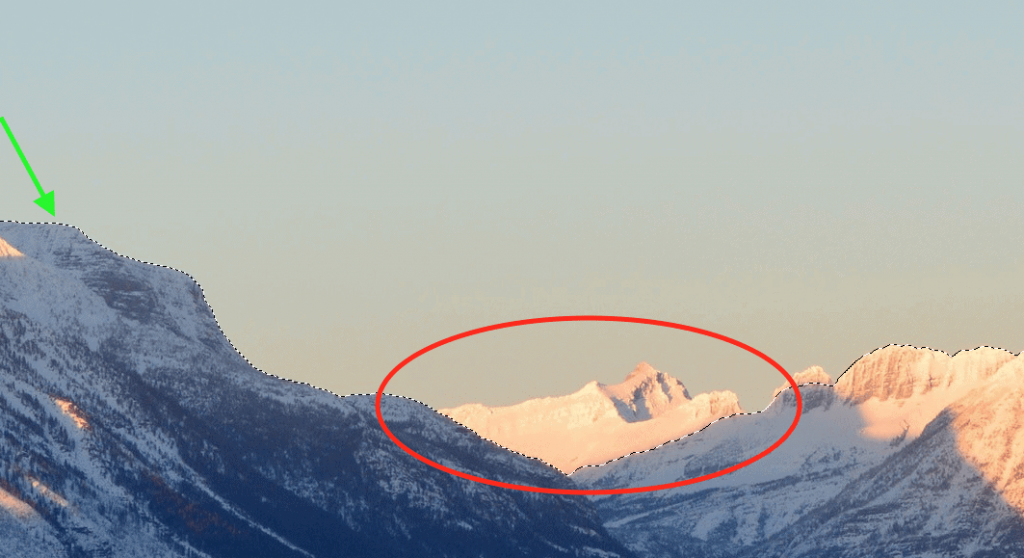
Step 4: Refining Your Selection
Despite the fact that the Quick Pick tool performs an excellent job, it is doubtful that the selection will be perfect on the first try. It is possible that you may need to eliminate some of the options in order to better match your subject.
To get rid of a selection produced using your Quick Selection tool, just hold down the OPTION (Mac) or ALT (PC) key while erasing portions of the selection with your mouse. Take note of how the symbol for my brush tool changes from a plus to a negative.
For those who dislike shortcuts, you can alternatively go to the tool settings bar and choose the icon with a minus symbol from there.
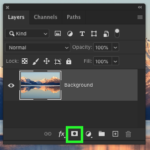
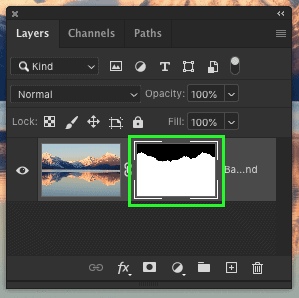
Step 5: Apply Selection Onto A Layer Mask
Once you’ve made your selection, it’s time to apply it to a layer mask in Photoshop or Illustrator. When you have your chosen layer selected and a selection active, pick the layer mask icon from the toolbar. When you make a selection, it will be immediately moved to this layer mask.
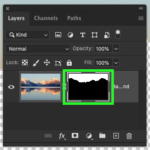
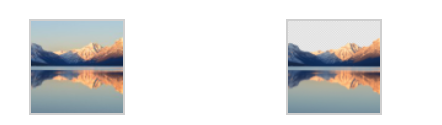
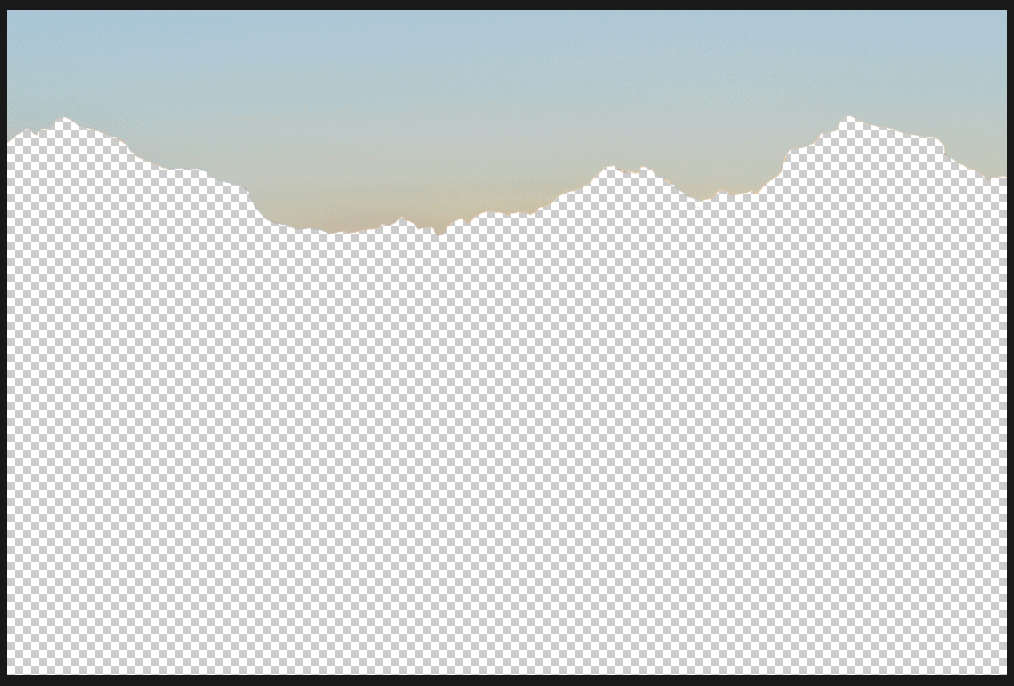
To invert your layer mask, click on it and hit COMMAND + I (for Mac) or CONTROL+I (for PC) while holding down the COMMAND key. This will give you the opposite outcome of what you were looking for.
In this case, the only thing that was visible on my layer mask was my sky. I inverted my layer mask in order to reveal the portion of my image that I wanted to remove.
Video

Vampire Crawlers Coin Farming Guide

Forza Horizon 6 Performance: Why 60 FPS Is Still the Console Standard

Yoshi and the Mysterious Book (2026) – Full Completion Guide, Rewards & Secret Ending

How to Get Free Pets in Adopt Me: A Guide for Players

Roblox Username Generator – Create a Cool & Unique Username in Seconds
How to Get Free Pets in Adopt Me: A Guide for Players
Yoshi and the Mysterious Book (2026) – Full Completion Guide, Rewards & Secret Ending
Vampire Crawlers Coin Farming Guide


