Guide
How to Set Up iMessage on Your Mac
Apple has invested a lot of time and effort over the years making it possible for users to send and receive text messages regardless of their location. You may send them from your iPhone, iPad, Apple Watch, and even your Mac if you have the appropriate permissions. There is an application known as Messages that is pre-installed on each and every Mac. Once you have logged into this app with your Apple ID, you will be able to send iMessages just as quickly as you would on any other device. The instructions below will walk you through the process of installing iMessages on your MacBook, iMac, or Mac mini.
Read Also: How to Turn Off VoiceOver on Your Mac
How to Set Up iMessage on Your Mac
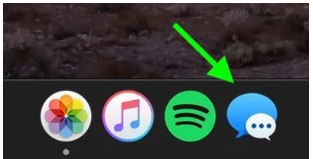
1. Start the Messages application on your Mac; it is located in the Applications folder on your computer. Additionally, it may be accessed from the Dock on more recent Macs.
2. You will be prompted to sign in at this point. Put in the same Apple ID that you use for Messages on your iPhone and other Apple devices if you want to use this feature.
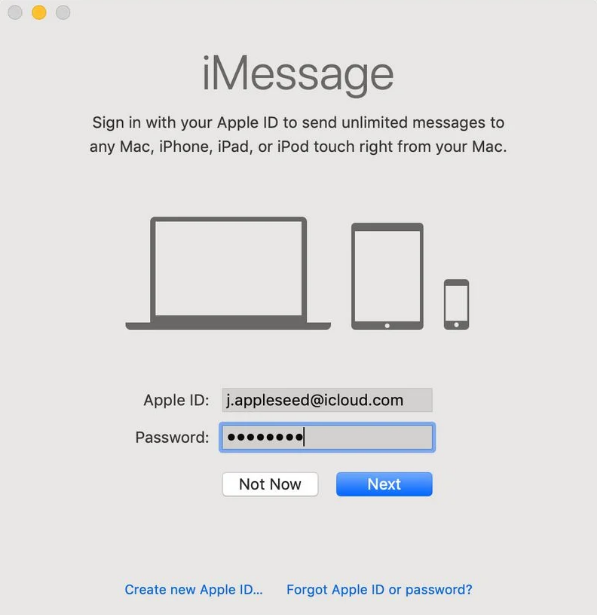
3. Please enter the verification code for your Apple ID if you have two-step or two-factor authentication switched on for your account.
4. Make your selection in the drop-down menu under Messages > Preferences…
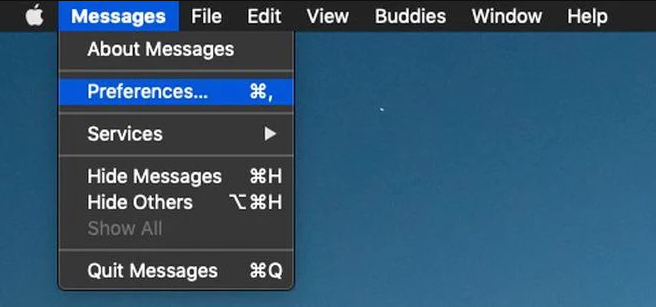
5. Choose the iMessage tab from the menu.
6. To enable messages in iCloud, make sure the box next to it is checked (this will keeps your messages in sync between your Mac and your iOS devices).
7. Check the boxes next to the telephone number(s) and email addresses at which you can be reached.
8. Choose the phone number or email address that you want people to see when you start a new conversation by using the dropdown menu that’s located under the heading “Start new conversations from.”
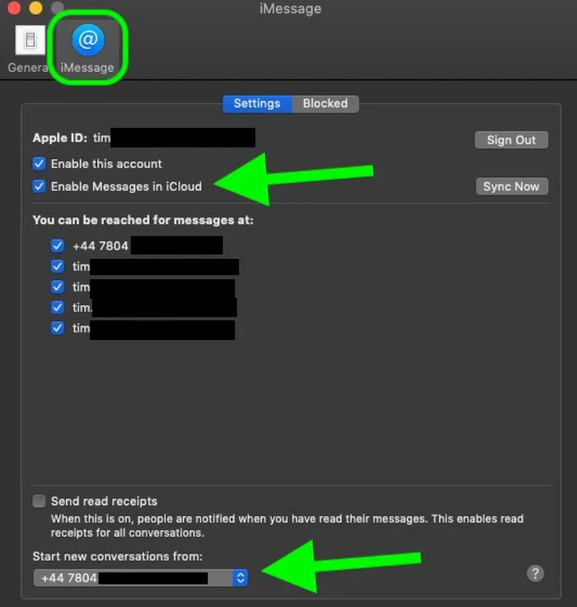
9. To exit the Messages preferences, select the red traffic light in the top-left corner of the window and then click “OK.”
This is the process for configuring iMessages on your Mac.
FAQs
Why can’t I set up iMessage on my Mac?
Check for any software from a third party. If you have a firewall, security software, a virtual private network (VPN), or any other third-party networking software installed, check to see that none of the network ports that are used by iMessage and FaceTime are being blocked by the programme. In the event that this is necessary, disable the software, and then make another attempt to use your iMessage account or FaceTime.
Why is iMessage not connecting to my number on Mac?
In the event that you are unable to view or choose your phone number while using Messages or FaceTime. Make sure that you are using the most recent version of the programme available for your Apple device or Mac. Check to see that you have set up your phone number on your iPhone in the correct manner by carefully following each step. It is recommended that you use the same Apple ID across all of your different devices.
Why isn’t my iMessage activating my number?
It is possible that activating iMessage and FaceTime will take up to a day’s worth of time. If the problem persists after a period of twenty-four hours, proceed as follows: Check to see that the operating system installed on your device is the most recent version of iOS or iPadOS. Contact your wireless service provider if you are using an iPhone to ensure that you are able to send and receive text messages (SMS).
Why can’t I activate iMessage with my phone number?
You can try resetting both iMessage and FaceTime if you find that they are both stuck on the “Waiting for activation” screen. You could also try rebooting your phone, updating your connection, or resetting your Apple ID to see if any of those things helps. Other things you might try include checking that the time and date on your device are accurate, upgrading it, or resetting it.
Is Messages on Mac the same as iMessage?
By utilising iMessage, Apple’s encrypted messaging service, you can send an unlimited number of messages to any Mac, iPhone, or iPad by using the Messages app.


