Apple
How to Set up Microsoft Office for iPad
For some Office users, the combo Microsoft Office software that connects Word, Excel, and PowerPoint is a game-changer since it streamlines their workflow. Here’s how to set up Microsoft Office on iPad in a few simple steps.
Read Also: How to Invert Colors on iPhone and iPad
How to Install Microsoft Office for iPad
Microsoft Office for iOS is available in a variety of configurations. Microsoft Office may be downloaded as a single package, which is addressed in this section. It is possible to download individual apps such as Word, PowerPoint, Excel and others as standalone programmes as well. Installing the Office all-in-one programme on an iPad is simple if you follow these steps.
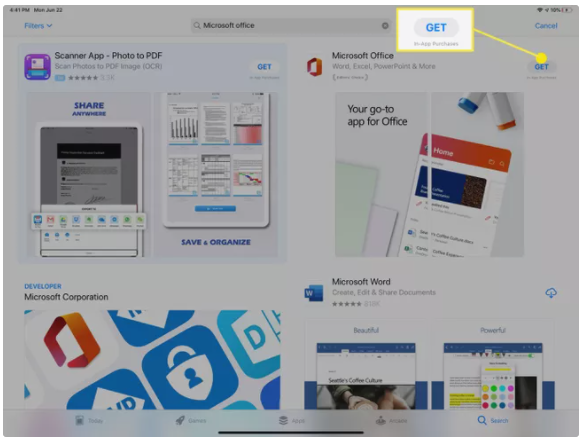
1. Microsoft Office may be found in the search results of the App Store if you search for it there. To download and install the app, select Get from the menu bar.
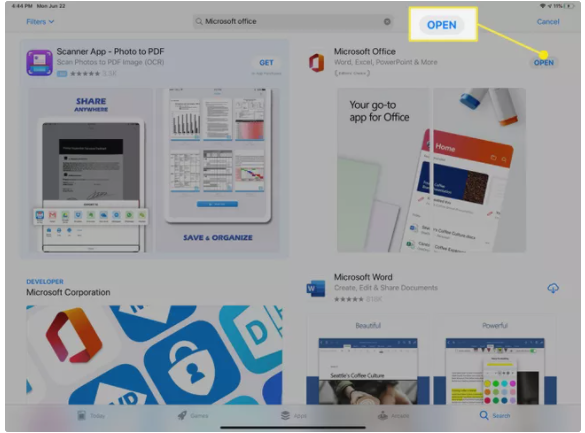
2. When it has completed downloading and installing, press the Open button.
3. You’ll be invited to sign in using your Microsoft account (if you don’t already have one, you can establish one), and you may be asked to allow the Office app certain access as well. Make sure to read them thoroughly so that you understand what you’re agreeing to.
How to Use Microsoft Office for iPad
The Microsoft Office app for iPad users provides a number of advantages, including the following:
- In comparison to the three standalone apps that are covered by the Office app, it takes up less space on the device.
- There are a couple of extra features that you won’t find in the standalone applications that are worth mentioning.
- It is possible to record directly into Microsoft Office from the iPad Voice Recorder.
When using the all-in-one Microsoft Office app on your iPad (rather than the individual apps), there are a few things you should be aware of before getting started.
The Microsoft Office Home Screen
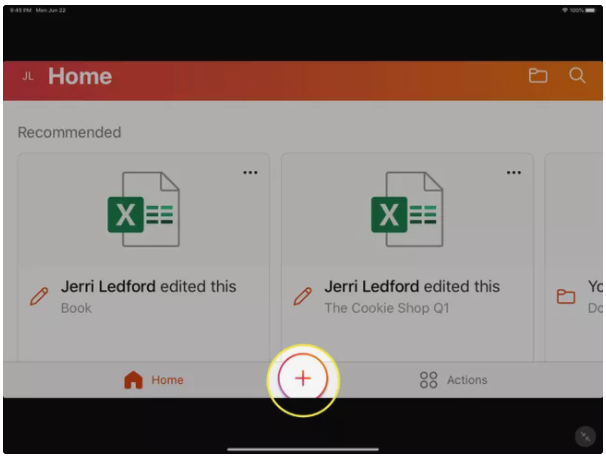
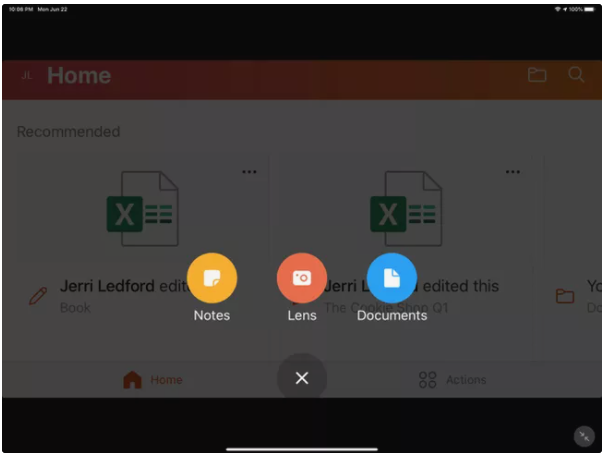
Selecting Recommended files from the Home screen brings up a list of files that you have recently accessed, or you may hit the New button in the lower centre of the screen to bring up a menu that enables you to select the sort of new document you want to create.
The options are:
- Notes: Let’s you type a new note (Sticky Note), which you can then save or share with others.
- Lens: Opens the camera so you can scan (or take a picture) of a document, photo, or whiteboard which you can then save as a Word document, PDF file, or image and share it with others.
- Documents: Opens a screen that allows you to choose from Scan text, Blank document, or Create from template for Word, Excel, or PowerPoint.
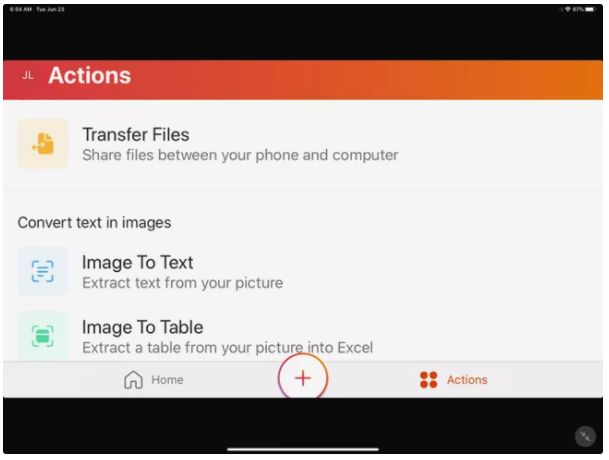
In addition, there is an Actions icon on the Home screen. Transfer Files, Image To Text, and Image To Table are just a few of the choices available in this section. With the latter two choices, you may scan an image or document and have any text included inside that picture or document converted to electronic text.
Working With Documents, Spreadsheets, and Presentations
As soon as you select an existing document, spreadsheet, or presentation to open or create, you’ll see that you have many of the same options that you would have if you were working with the standalone versions of these applications.
Documents
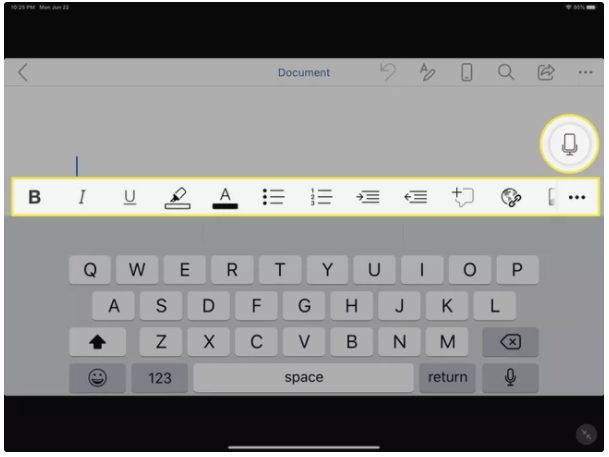
When dealing with documents, you’ll find your formatting choices in the same place you’d expect them. The menu also scrolls to the right or left, revealing new items as it does so. In addition, there is a huge microphone icon that floats on the right-hand side of the text. In this case, rather than trying to type using the onscreen keyboard, you may just dictate your thoughts. Tap this symbol to begin.
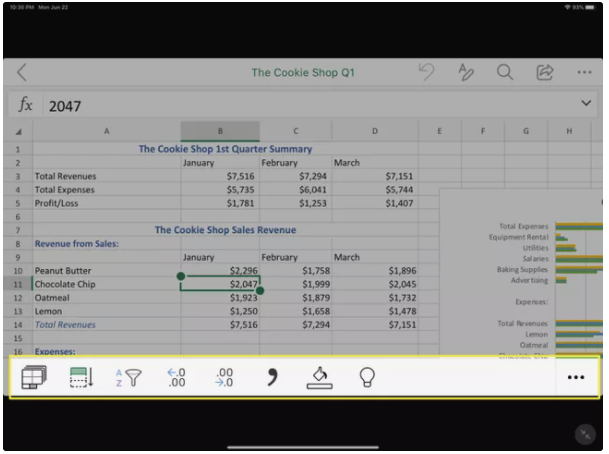
Spreadsheets
You can move through a workbook or sheet in spreadsheets in the same way that you would in Microsoft Excel. Enter your information using the onscreen keyboard or a wireless keyboard. Additionally, when you choose a column or row, context menus will appear.
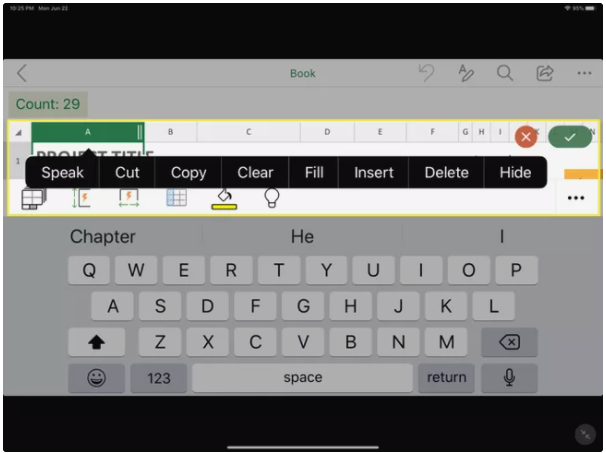
In addition, you have access to the same shortening, formatting, and formula capabilities that you would find in the individual Microsoft Excel application.
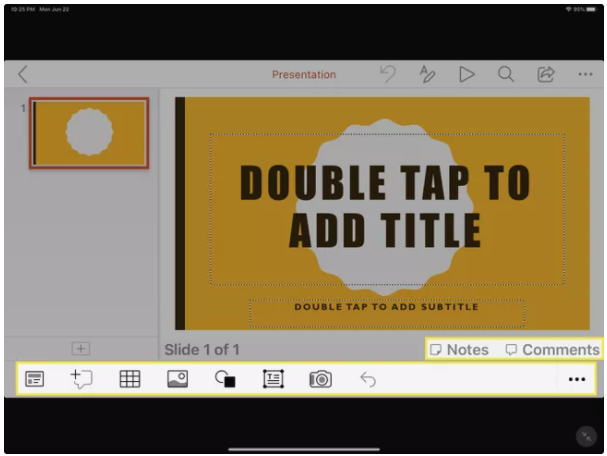
Presentations
When using the Office app for iOS, working with Presentation is quite similar to working with PowerPoint. You have the option of starting from scratch or using a template to construct your presentation. Also included are the same formatting capabilities that are accessible in the standalone PowerPoint application. You may add Notes and Comments to your presentation, and you can even automate it.
The Top Menu in Microsoft Office on the iPad
There’s one last menu you should become familiar with. It’s the menu that appears at the top of each of the apps—Documents, Spreadsheets, and Presentation. This menu is mostly standard across all three apps. You’ll find options there for:
- Undo: Let’s you undo the actions you’ve taken on the document.
- Text formatting: Opens a broad range of text formatting options including fonts, size, formats, spacing, and alignment.
- Search: Performs a Search or Search and Replace function.
- Share: Allows you to invite others to collaborate on the document using a link sent through email or messaging.
- More: This menu contains options for saving, printing, exporting, and history.
You’ll also notice that you have the option of viewing a document in Mobile View while viewing a document. This allows you to see how your document will appear on a mobile device before you create it. You’ll also notice a pen symbol at the bottom of a presentation, which you can tap to enable Ink annotations.
Video

Roblox Username Generator – Create a Cool & Unique Username in Seconds

Grow a Garden Recipes in Roblox: Guide to Cook (Donuts, Sushi, Pie, Pizza & More!)

Job Opportunities in Dubai – 2026

Mr Bit at the SBC Awards Europe 2025: The Bulgarian Brand Setting New Standards in the European Gaming Industry

Dennis Rodman Net Worth 2026 – Everything You Need to Know

Bloxburg Neighborhood Codes 2026
Grow a Garden Recipes in Roblox: Guide to Cook (Donuts, Sushi, Pie, Pizza & More!)
Job Opportunities in Dubai – 2026
Dennis Rodman Net Worth 2026 – Everything You Need to Know


