Guide
How To Test A Motherboard
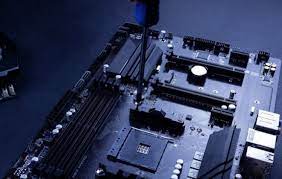
Learning how to test problems with the motherboard can be challenging. In a manner analogous to problems with the CPU, the system does not precisely point to the source of the problem. If a computer’s motherboard is malfunctioning, the machine will perform slowly, may randomly freeze up or restart, may not boot to the operating system, or may not start at all.
Besides that, the system has the ability to lock itself out or display the “blue screen of death” (BSOD). Sometimes the computer will give you a warning by displaying a very general error code, giving you an auditory signal, or flashing a red light on the screen. These signals can indicate that there are problems with the ports, expansion slots, memory modules, or other pieces of hardware, which would trigger comprehensive diagnostic examinations of the motherboard.
Read Also: How to Update Your Motherboard BIOS
How To Test Motherboards – Several Ways
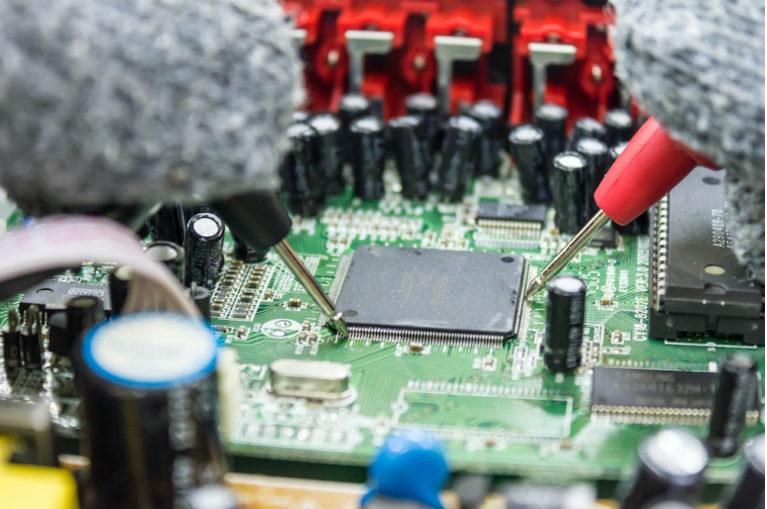
Because of the myriad of smaller components that are embedded in the motherboard and power supply, diagnosing faults with any component can be the most difficult aspect of fixing a computer. You are responsible for conducting the necessary research, even if technological advancements have made it possible to detect motherboard issues in a much more straightforward and user-friendly manner.
Take advantage of the following list and isolate each motherboard problem in no time.
1. Apply POST Diagnosis
When you switch on your computer, a process known as the Power-on Self-Test, or POST, is executed by the motherboard. If all goes according to plan, the POST will allow the automatic continuation and full starting of the computer.
In any other case, an issue with the motherboard can lead the POST to end up displaying the same troubleshooting indications as mentioned above.
2. Pay Attention to All Diagnostic Signals
A malfunction in the computer’s hardware may be the cause of a system shutdown, and the primary issue may lie in the motherboard. It’s possible that the beeping sounds, diagnostic LEDs, and error codes all correspond to specific directions for problem-solving and troubleshooting.
It is in your best interest to take note of these indications because they may provide you with a step-by-step solution to the problem.
3. Use BIOS/UEFI Diagnostics
All motherboard manufacturers include diagnostics applications for the Unified Extensible Firmware Interface (UEFI) in their product offerings. In the event that your motherboard is malfunctioning, there is a good risk that you will be unable to access the onboard BIOS or UEFI.
Using a UEFI software that is compatible with your system, which you can install on a bootable USB drive, is one approach to get around this limitation. Non-stop testing of motherboard issues is possible, as is diagnosing problems with RAM, displays, fans, and other computer components with this tool.
There are situations when the issue is just an out of date BIOS configuration. After entering the UEFI, check to see if there are any available updates to the BIOS, and then promptly download and install any updates. If there are no updates available, look for a button labelled “restore” or “reset” so that you can return the BIOS settings to ‘their original state.
4. Replace the CMOS Battery
If the computer won’t even boot into the BIOS, there’s a good probability that the CMOS battery has to be replaced. A CMOS chip, which is still present on some older motherboards, is responsible for storing boot settings to ensure that the computer starts up properly.
When the computer is turned down, the CMOS chip needs to be powered by a battery so that it may continue to operate and save the BIOS settings. If your computer is able to start up normally with the BIOS after the CMOS battery has been replaced, the issues with your motherboard may be resolved. You merely need to make sure that the date and time signals being sent to the system clock are right.
5. Reboot With Partial Components
When you suspect that there is a problem with the motherboard, you should also check each individual component of the computer to see if there are any problems with it. Another method of checking for motherboard problems is to reboot the computer just with the necessary components.
Remove any components that aren’t required, including as sound cards, modems, and any other peripheral devices. Next, remove the RAM and the CPU and then reinstall both of them. If there are any loose connections anywhere on the motherboard, check for them while reseating the fundamental components.
Detaching the hard drive is another option that can be utilized to take things to the next level. Even though you won’t be able to run your operating system without the primary boot drive, you will be able to see the entire BIOS configuration. If you have access to another computer that is functional, you can add an additional step to the process by exchanging the power supply unit (PSU) and graphics card from that computer with the components found on the malfunctioning PC.
After that, try turning on the problematic computer. If everything works as it should, the motherboard is fine; in this case, the problem most likely lies with one or more of the components that you removed or replaced. You are now able to put the components back into the motherboard one at a time in order to determine which one is causing the issue. Consider it a search for the outlier of the group.
Video

Vampire Crawlers Coin Farming Guide

Forza Horizon 6 Performance: Why 60 FPS Is Still the Console Standard

Yoshi and the Mysterious Book (2026) – Full Completion Guide, Rewards & Secret Ending

How to Get Free Pets in Adopt Me: A Guide for Players

Roblox Username Generator – Create a Cool & Unique Username in Seconds
How to Get Free Pets in Adopt Me: A Guide for Players
Yoshi and the Mysterious Book (2026) – Full Completion Guide, Rewards & Secret Ending
Forza Horizon 6 Performance: Why 60 FPS Is Still the Console Standard


