Guide
How To Turn Off Closed Caption On YouTube

A closed captioning system is a system that helps you to control the information being shown on your video, by obscuring it when you are not looking. Closed captioning systems are becoming more and more popular, as they can help to save your life. However, they also have a lot of potential for disaster. Here’s why:
When you close captioning systems are turned on, you are no longer viewer- CONTROLLING THIS INFORMATION. You are no longer the focus of what is being shown to you. The closed captioner knows everything about you, and they can control how this information is presented to you. They can also control when and how your eyes might flinch when you see something interesting.
Enabling and Disabling the Closed Captions
Here’s everything you need to do to enable or disable closed captions on the YouTube website:
- Open the YouTube video for which you want to add subtitles and hover your cursor over it to see the video choices. When the video is paused, they are constantly displayed on the screen.
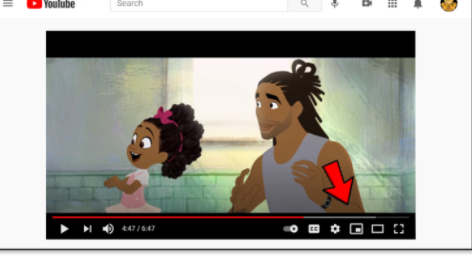
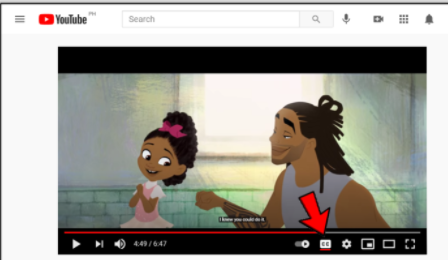
- To activate or disable closed captions, click the second button in the bottom-right corner of the video — the rectangular one with the letters “CC” within it – located at the bottom of the film. Additionally, when the option is activated, it is emphasised in red, making it difficult to overlook.
Additional Caption Settings
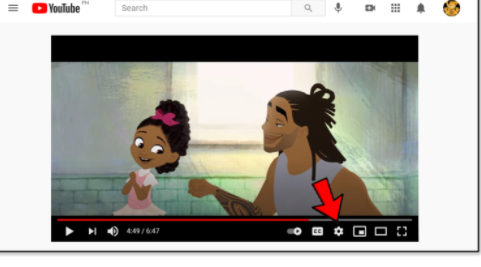
Did you know that you can easily access additional caption settings even when the video is playing? To do this:
- To access the gear button, which is the third button from the bottom-right corner of the movie, click on it.
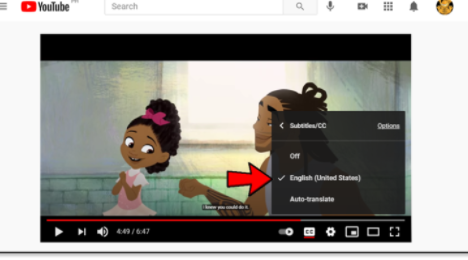
- Select “Subtitles/CC (1).”

Please keep in mind that the number in brackets indicates how many subtitles are currently available for the selected video. Seeing the number “(1)” indicates that there is just the automatically created subtitle present.
- When you choose this option, YouTube will provide a list of the subtitles that are currently available. In addition, it allows you to turn off closed captioning and turn on automatically created subtitles that have been translated using Google Translate. When you choose the latter option, you will also have the option of selecting the appropriate language. Finally, by selecting the “Options” option, you may alter the appearance of the captions.
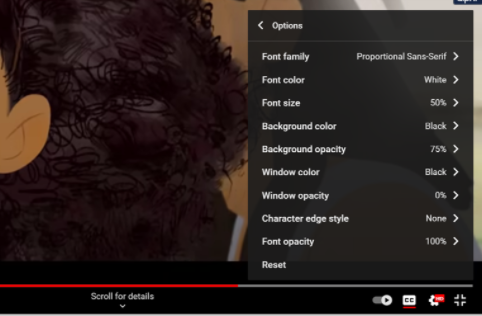
The “Options” submenu lets you alter the following:
- “Font family” changes the subtitle font. Instead of font names, you only get to see the font styles. Here’s where you can choose between serif, sans serif, and cursive fonts, among others.
- “Font color” changes the color of the letters. Besides the default white, you get to choose between red, green, blue, cyan, magenta, yellow, and black. The same options are available for all the other color settings.
- “Font size” changes the letters’ size. The smallest possible size is 50% of the default size, while the biggest is 400%. You can also increase and decrease the font size by pressing the + and – keys.
- The “Background color” sets the color of the area surrounding the letters.
- “Background opacity” defines the opacity of this same area. You can also remove the background by setting the opacity to 0%.
- “Window color” sets the color of the rectangular area which is the biggest allowed area for the letters to take at a time.
- “Window opacity” defines the opacity of this same area. It’s disabled by default, which is why you might not have heard of it.
- The “Character edge style” option allows you to choose some additional style options for your subtitles. You can choose between “Drop Shadow,” “Raised,” ”Depressed,” and “Outline.” The Raised and Depressed options add shadows to the bottom and top of the letters, respectively.
- “Font opacity” measures the visibility of the letters.
- The “Reset” option immediately sets all these settings to default.
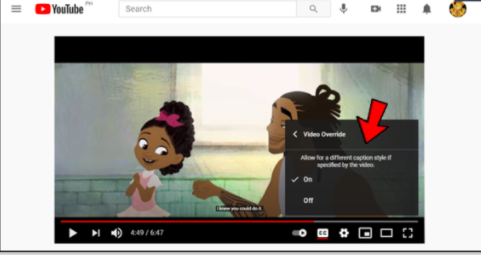
You may also activate the “Video Override” feature for each of these settings by selecting it from the drop-down menu in the bottom-right corner of their respective displays. This changes the video uploader’s recommended parameters to the ones that are currently in effect (if there are any).
People Also Asked: How To Lock YouTube Screen – The Easy Way
Enabling Caption Defaults
If you want to make sure that YouTube always enables the captions:
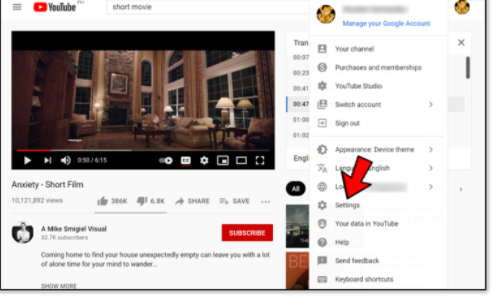
Go to the Account settings. To locate them, click on the profile icon in the top-right corner of the screen. It’s located either under the “Settings” option or the gear button.
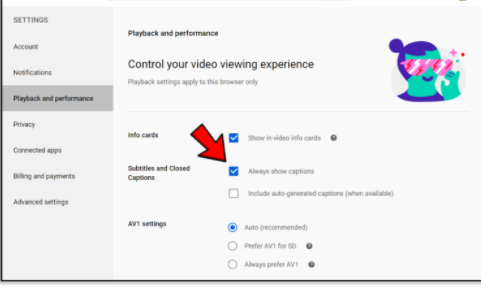
In the Settings menu, go from the “Account” tab to the “Playback and performance” tab.
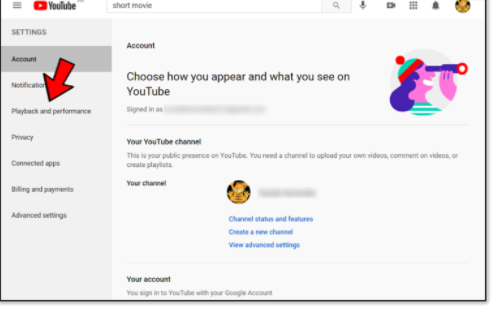
A total of two choices are available under the “Captions” section. The first always enables captions when there are any created by a YouTube user, and the second always enables captions when there are any created by an automated system.
Video
Enjoy the Show
YouTube has an outstanding selection of closed captioning options, and they are continually being refined and enhanced. They make it much easy to follow along with videos if you have hearing impairment. However, they have a variety of other applications and can assist anybody in keeping up with a difficult-to-follow film.
YouTube gives a number of options for you if you wish to stylize your subtitles. When watching videos on YouTube, which caption settings do you like to customise the most? In the event that you like viewing films in a language that you do not understand, how useful do you think the captioning is? Please share your thoughts and experiences with us in the comments section below.

Vampire Crawlers Coin Farming Guide

Forza Horizon 6 Performance: Why 60 FPS Is Still the Console Standard

Yoshi and the Mysterious Book (2026) – Full Completion Guide, Rewards & Secret Ending

How to Get Free Pets in Adopt Me: A Guide for Players

Roblox Username Generator – Create a Cool & Unique Username in Seconds
How to Get Free Pets in Adopt Me: A Guide for Players

Grow a Garden Recipes in Roblox: Guide to Cook (Donuts, Sushi, Pie, Pizza & More!)
Roblox Username Generator – Create a Cool & Unique Username in Seconds
Yoshi and the Mysterious Book (2026) – Full Completion Guide, Rewards & Secret Ending


