Guide
How to Use the Pen Tool in Photoshop

There are a variety of selection tools available in Photoshop, but the pen tool is the only one that provides a very clean and sharp selection without the use of blur lines or soft edges. This is because the pen tool makes use of “vector technology,” which is a technology that allows for very clean and sharp selection without the use of blur lines or soft edges.
So, if you want to cut any item with clean, sharp edges, you’ll need to know a little bit about the “Pen tool.” So let’s get this party started. Here is my image, and I want to use the “pen tool” to cut off the sunglasses in it. Here is my image.
Read Also: How to Convert Photos From HEIC to JPG
How to use Pen Tool in Photoshop
Photoshop CC is the tool of choice for many designers when it comes to creating new ideas. The Pen and Brush tools in this application are among the most powerful and user-friendly features of the entire package. While we’ll cover how to use the Pen tool in this Photoshop tutorial, there’s a different post that will cover how to utilize the Brush tool in Photoshop.
The Pen tool is a straightforward selection function that allows you to fill, stroke, or choose from whatever you’re drawing with one click. When it comes to Photoshop, it’s one of the fundamental tools you must understand before moving on to more complex capabilities or experimenting with Photoshop plugins. In this post, we’ll go over several tips and tricks for working with the Pen tool, as well as some suggestions for getting the most out of it.
Fill a path
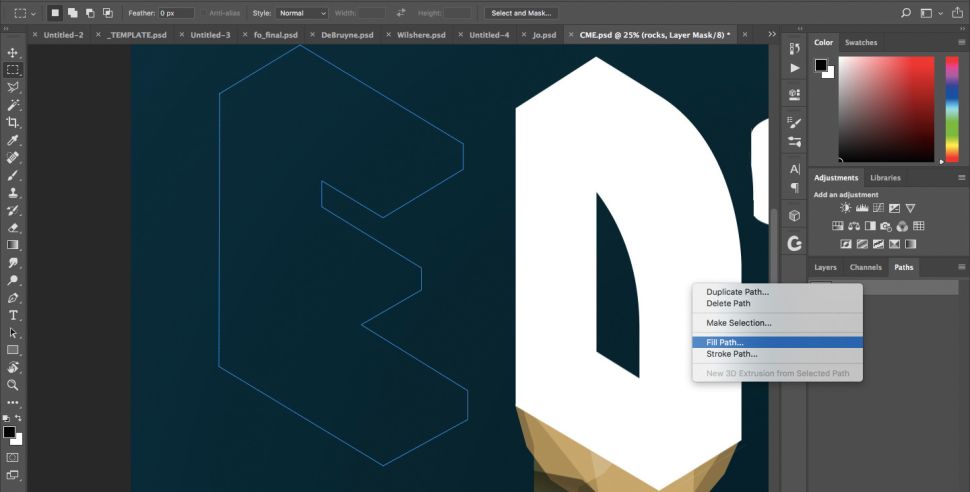
Using the keyboard shortcut P, choose the Pen tool. When you want to generate a selection, click two points to connect them, then drag a point to draw a curved line between them. To make changes to your lines, hold down the Alt/opt key and drag them. To construct a shape from your route in the Paths tab on the right, control-click or right-click it and select Fill Path from the context menu.
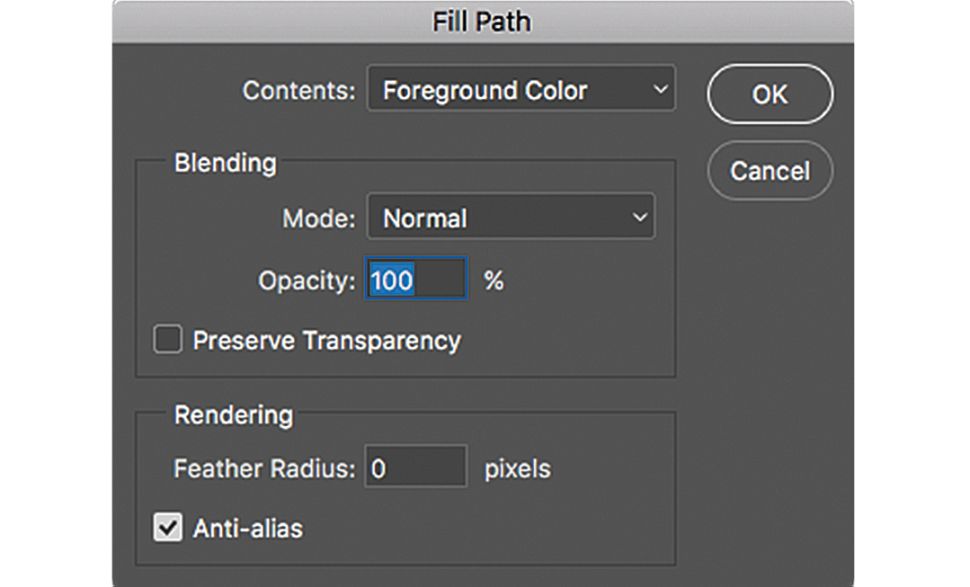
Change the Contents to either Foreground or Background, depending on which colour swatch you want to use as your background. If you want to fill with pixels from the rest of the image, you need use Content Aware.
What happens to the pixels when they interact with other pixels below is determined by the Blend mode and Opacity of the fill colour. For example, using Screen at 50% Opacity will give your object a modest lightening effect.
Feather Radius may be used to soften the edges of the form you’re filling by adjusting the value of the parameter. Leave this at 0px if you want to make a fully rigid shape.
Make a selection
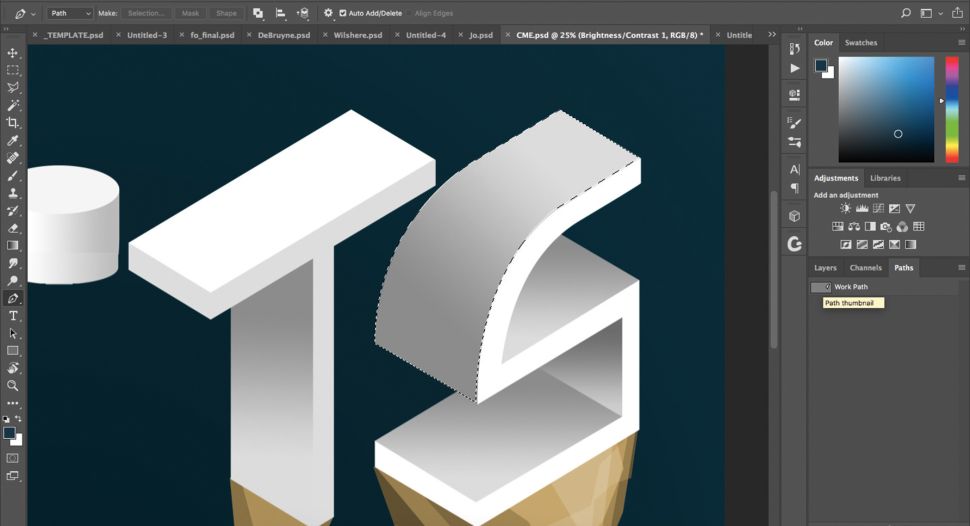
Apart from being an excellent sketching tool, the Pen may also be used as a convenient selecting tool. You have the option of selecting shapes to brush into. Once you’ve created a form, you may choose it by pressing cmd/Ctrl+clicking it, or by pressing Ctrl/right-clicking it and selecting Make Selection.
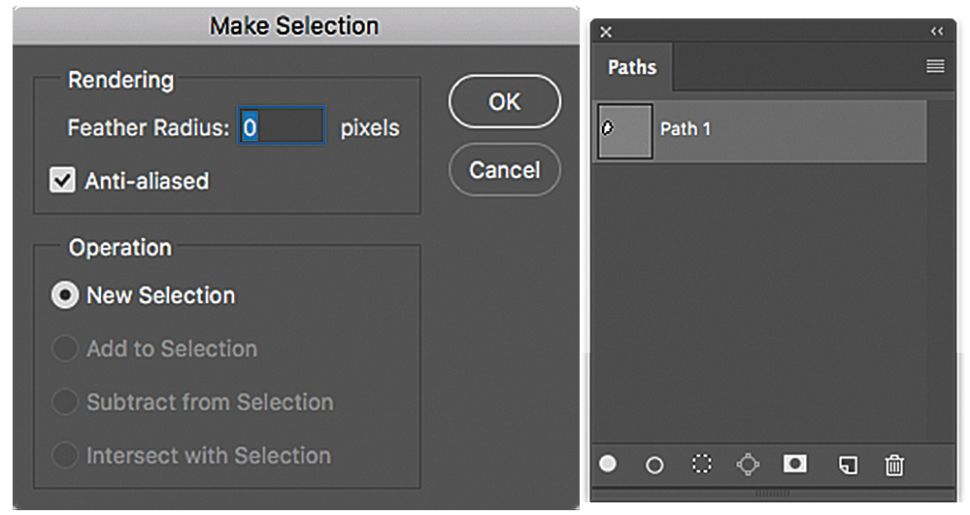
Create a new selection (as seen on the left in the figure above), or if pixels are chosen on your layer, you may either add (cmd/Ctrl+Shift+click) or subtract (cmd/Ctrl+Alt/Opt+click) a selection.
Double-click a path and give it a name to save it for use as a future selection in a different location (Paths palette shown on the right above). These pathways will be displayed as a list as you progress down the Paths page. To make a selection, pick it from the menu at the bottom of the palette by clicking on the dotted outline icon. As an alternative, utilize the Delete, Mask, and New icons in the Layers palette, just as you would in the previous step.
Stroke a path
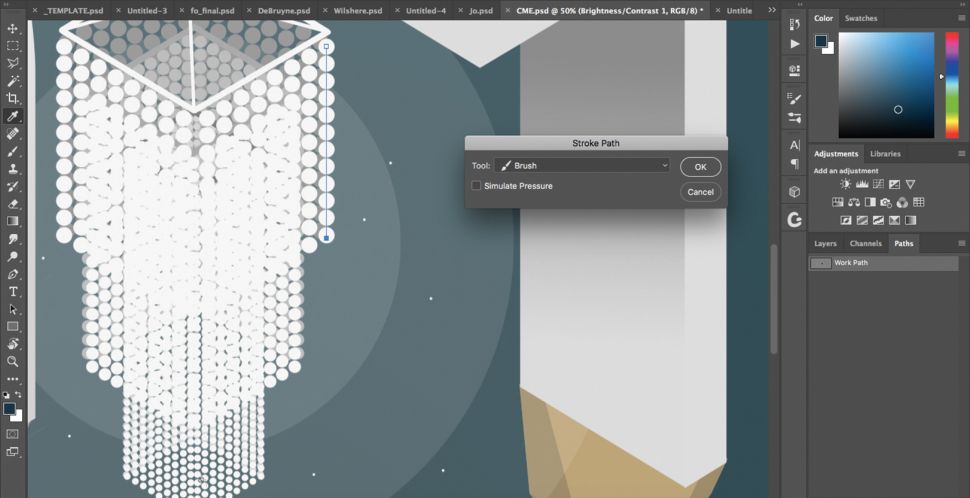
Ctrl/right-click a route and pick Stroke from the context menu to draw a line over it in whichever brush you have selected. When it came to this specific section of the chandelier, we utilized a scatter brush to ensure that the dots were equally spaced.
Change the tool you’re using to stroke the line by selecting it from the drop-down menu in the pop-up window that appears — for example, instead of using the brush file you’ve chosen, you could like to use a pencil instead.
With the Simulate Pressure checkbox selected, the pressure applied when generating a stroke with the Brush tool is replicated. As a result, your line will taper off at the conclusion of the stroke.

Instead of having to pick the colour of the Stroke and Fill of anything you draw with the Pen tool manually, you can use the toolbar at the top of the interface to make rapid decisions about the colour of your creation.
Video
FAQS
Why is my pen tool not working Photoshop?
The absence of the pen tool path indicates a problem with Photoshop’s display feedback, which may also impair the program’s other vector tools, such as the arrow tool. Some users have noted that turning off and then back on the Layer’s visibility was sufficient to resolve the problem. It is also possible to trigger the problem when you rename the work path.

Vampire Crawlers Coin Farming Guide

Forza Horizon 6 Performance: Why 60 FPS Is Still the Console Standard

Yoshi and the Mysterious Book (2026) – Full Completion Guide, Rewards & Secret Ending

How to Get Free Pets in Adopt Me: A Guide for Players

Roblox Username Generator – Create a Cool & Unique Username in Seconds
How to Get Free Pets in Adopt Me: A Guide for Players
Yoshi and the Mysterious Book (2026) – Full Completion Guide, Rewards & Secret Ending
Vampire Crawlers Coin Farming Guide


