Gaming
Star Wars Jedi: Survivor – How to Get Stims
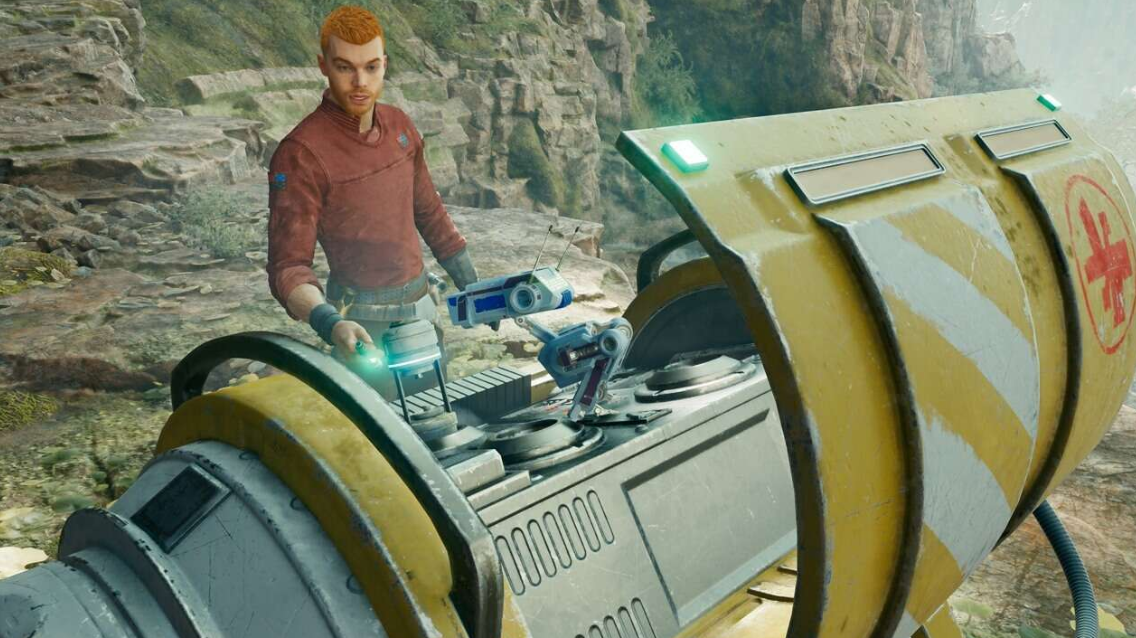
Star Wars Jedi: Survivor has players use Stims to heal Cal during battle, and by locating specific mechanisms, they can increase the maximum number of Stims Cal can carry from BD-1. Depending on the strength of the foe, this could quickly result in the hero’s demise, therefore having access to as many healing items as possible is always a smart idea. In this piece, we’ll go over the best strategies for acquiring Stims in Star Wars Jedi: Survivor.
Read Also: Star Wars Jedi: Survivor Mods Nexus
How to Find Max Stim Upgrades
There are a total of ten Stim Cannister Upgrades hidden across Coruscant, Koboh, Jedha, and the Shattered Moon for players to acquire. In order to access several of these, you must first have unlocked them using either the Force Lift or Force Slam powers.
The easiest way to find these improvements in Star Wars Jedi: Survivor is to use Meditation Points to quickly travel to locations in and surrounding these areas.
| Area | Stim Upgrade Location | Where to Find |
|---|---|---|
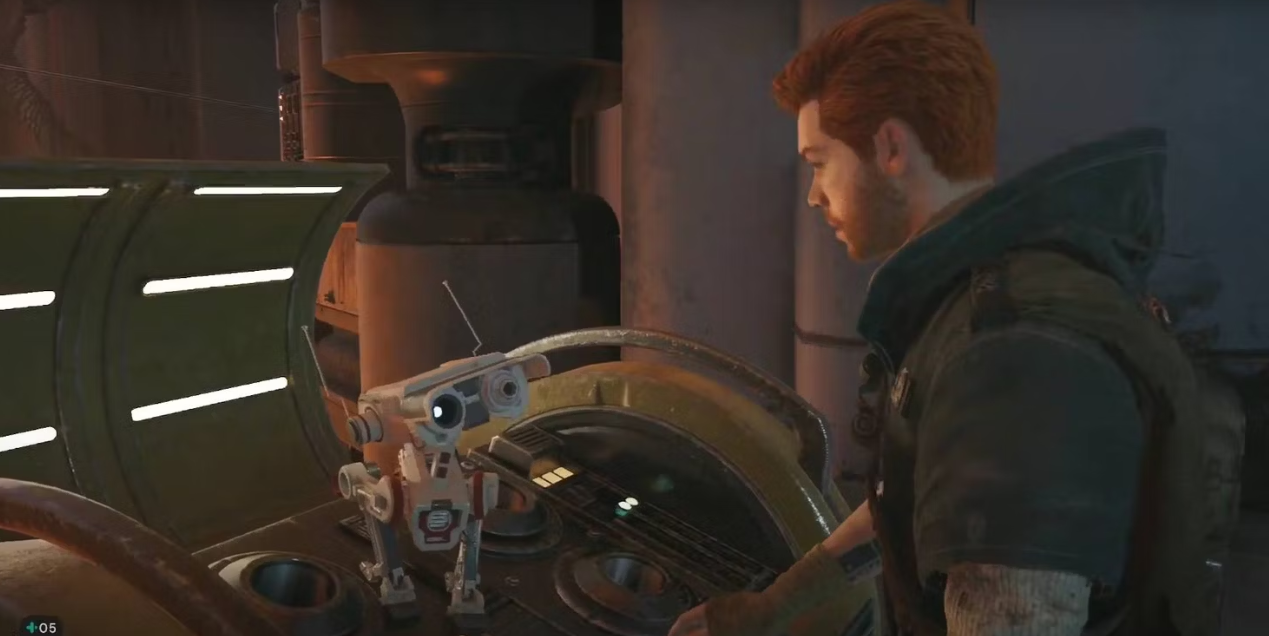
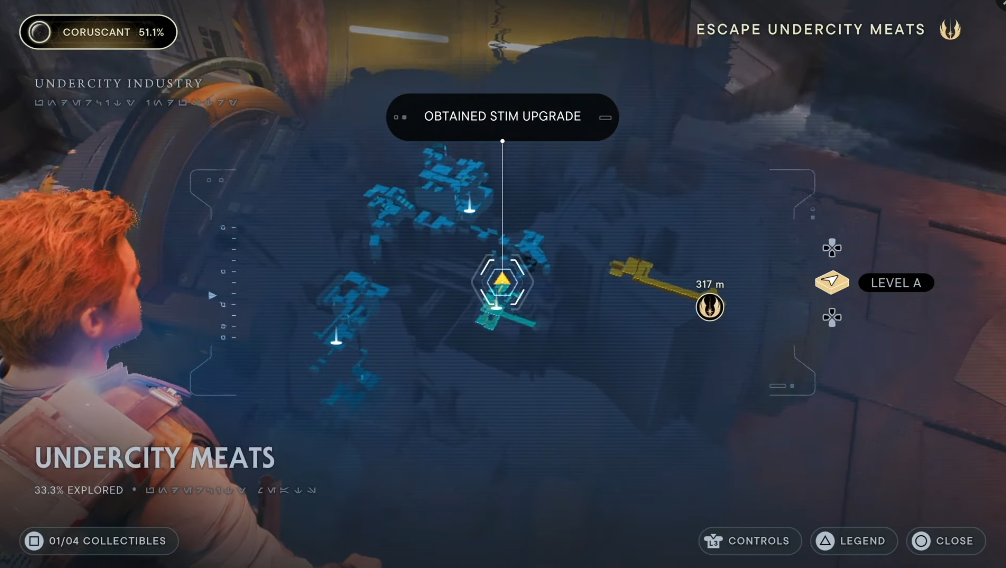
| Coruscant | Undercity Meats | Behind the droid above the wall forward from the Undercity Meats Meditation Point. |
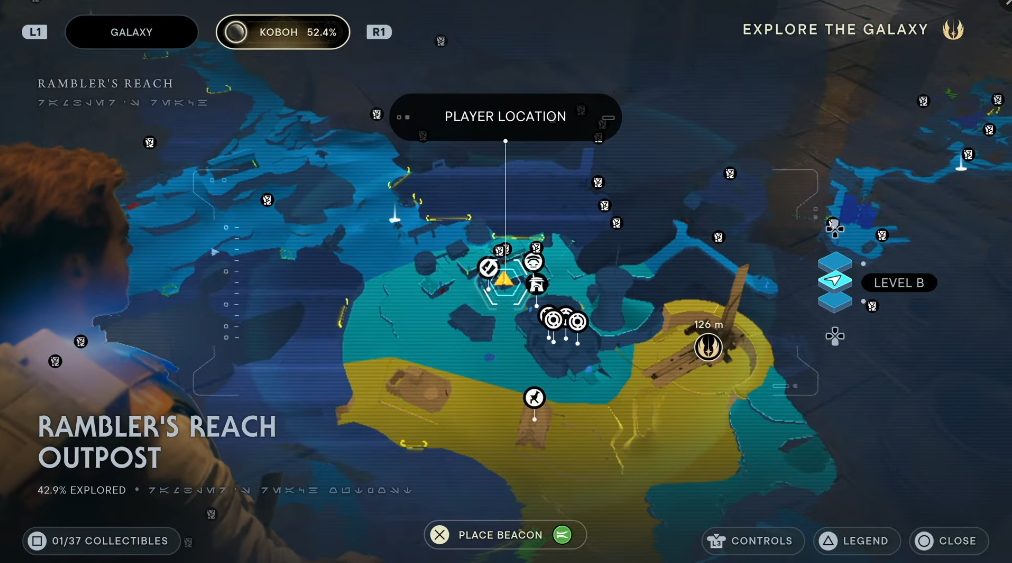
| Koboh | Doma’s Shop | In Rambler’s Reach, across from Pyloon’s Saloon, players can spend 10 Priorite at Doma’s Shop to buy the Mysterious Keycode, opening the door on the left to the Stim Upgrade. |
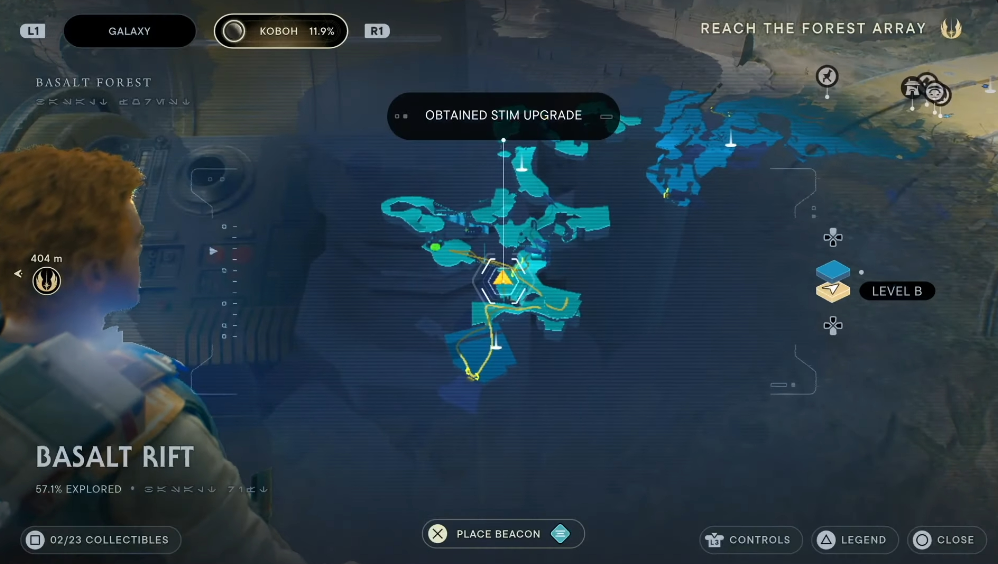
| Basalt Rift | On a curved path to the left in the Basalt Forest, past a Mogu enemy guarding the Stim Upgrade. | |
| Dredger Gorge | From the Derelict Dam, players can defeat the Gorocco Matriarch past the elevators after they’ve unlocked Force Lift and Force Slam. This enemy guards the Stim Upgrade. | |
| Foothill Falls | Players need a Roller Mine to destroy a door blocking the Stim Upgrade, which sits at the Abandoned Shack close to Skoova Stev. | |
| Viscid Bog | After the Lucrehulk mission, players can use the zipline from the swamp to reach an area blocked by three rocks that Cal must Force Lift. Past here is a special boss fight against the Mire Terror Mogu, with a Stim Upgrade as a reward for victory. | |
| Observatory Understructure | Defeating Urgost, Fist of Rayvis, in the main story unlocks more of this area, where the Stim Upgrade can be found using a grapple point from the opposite path from the boss fight. | |
| Jedha | Crypt of Uhrma | A massive puzzle blocks players in the Crypt of Uhrma, which hosts a boss fight that rewards a Stim Upgrade when completed. |
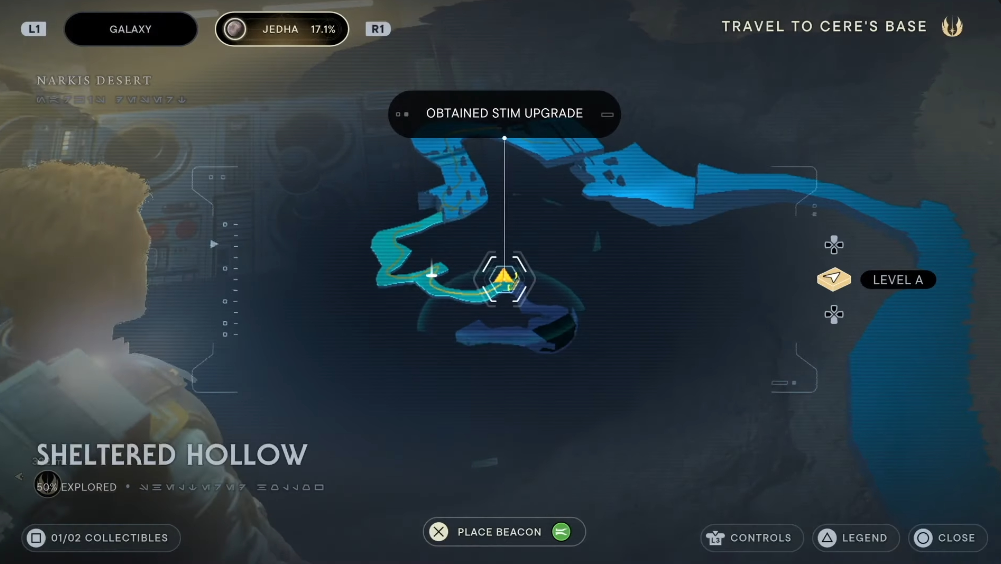
| Sheltered Hollow | In the tunnels with Merrin after the sandstorm. | |
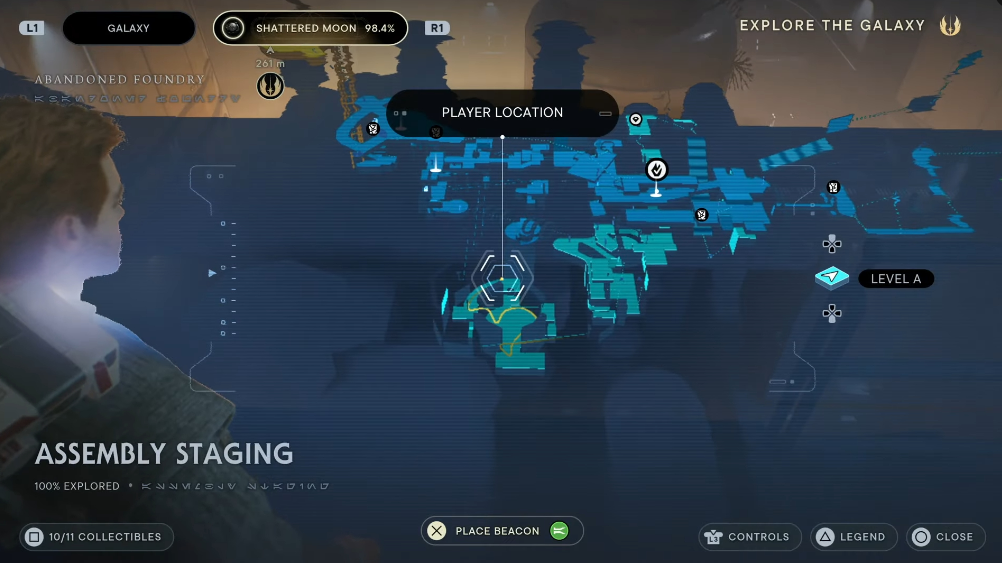
| Shattered Moon | Automated Forge | Across multiple ziplines from the right of the Meditation Point that leads to a central platform within the Automated Forge. This remains the final Max Stim Upgrade location throughout all of Star Wars Jedi: Survivor. |
How to Get More Stims in Star Wars Jedi: Survivor
Stims stored in BD-1 can be used to restore health during battle or exploration, and these effects last until the player meditates again. On the flip side, foes will respawn, so it’s important to have plenty of healing potions on hand unless you’ve mastered combat.
There are only two Stim charges available to participants at the beginning of the game. It’s crucial to conduct some adventuring and look for undiscovered territory in Star Wars Jedi: Survivor if you want to get more and make it easier to combat the stronger foes. This will lead you to locations with a unique chest or chests, and each one you open will refill BD-1 by one.
Locations of Stim Charges Upgrades
In Star Wars Jedi: Survivor, extra Stims can be earned in a variety of ways, including the following.

Coruscant
- Look locate the Security Droid guarding Undercity Meats in front of a red turbine near Coruscant’s Meditation Point. Win the match and get your hands on the prize.
Koboh
- Doma’s Shop: Buy the Mysterious Keycode from Doma for ten Priorite Shards. The improvement is behind a closed door next to her, and this will open it.
- From the Meditation Point, take the left fork up the steep road to reach the Basalt Rift. Defeat the Mogu and make your way up the vines to a rocky outcropping where you’ll locate the upgrade.
Jedha
- You can’t miss the container in Sheltered Hollow; it’s on the way out of the caves after a cutscene involving Merrin and Cal.
Shattered Moon
- From the Meditation Point, proceed straight to the Automated Forge via the ziplines. Keep going forward and you’ll reach a point where you can see a container floating above you. To reach this treasure, you must first ascend the opposite cliff and descend on a zipline.
Cal and the rest of the Mantis crew will be able to keep fighting the good fight against the Empire because to the early Stim enhancements they were able to acquire.
FAQs
How many extra stim canisters are in fallen order?
In Star Wars Jedi: Fallen Order, you begin with only two Stim Canisters to use between Save Points to restore health, but there are eight different Stim Canister upgrades spread throughout the campaign.
How many stims are available in Jedi Survivor?
It gives a more in-depth account of the steps required to reach the Stim on the Shattered Moon. Our walkthrough of all 10 Stim Locations in Jedi Survivor is now finished! If you manage to get your hands on all of them, BD-1 will have a total of 12 Stims in his possession.
Can you go back to Coruscant Jedi Survivor?
Star Wars Jedi: Survivor requires players to finish the Sanctuary Temple task on Jedha before they may head back to Coruscant. There are a few things to do between Coruscant and Jedha, the next planet you’ll visit.
Can you turn to the dark side in Jedi Survivor?
In Star Wars Jedi: Survivor’s penultimate chapter, players must turn to the dark side if they want any chance of defeating Bode. But when hunting him on Nova Garon, they could be unwilling to employ the Dark Force. Cal develops a skill in the Officer’s Quarters that allows him to accept his shadow side.

Vampire Crawlers Coin Farming Guide

Forza Horizon 6 Performance: Why 60 FPS Is Still the Console Standard

Yoshi and the Mysterious Book (2026) – Full Completion Guide, Rewards & Secret Ending

How to Get Free Pets in Adopt Me: A Guide for Players

Roblox Username Generator – Create a Cool & Unique Username in Seconds
How to Get Free Pets in Adopt Me: A Guide for Players

Grow a Garden Recipes in Roblox: Guide to Cook (Donuts, Sushi, Pie, Pizza & More!)
Roblox Username Generator – Create a Cool & Unique Username in Seconds
Yoshi and the Mysterious Book (2026) – Full Completion Guide, Rewards & Secret Ending


