Gaming
How to Get Shaders in Minecraft

For a period of time, Minecraft was the most talked-about video game in the world, and for many people, it was considered to be synonymous with the medium itself. As a result of the large number of individuals who have invested so much time in Minecraft — a game that is focused on creation and customization — it is not unexpected that some of them would want to put their own stamp on it by creating their own modifications.
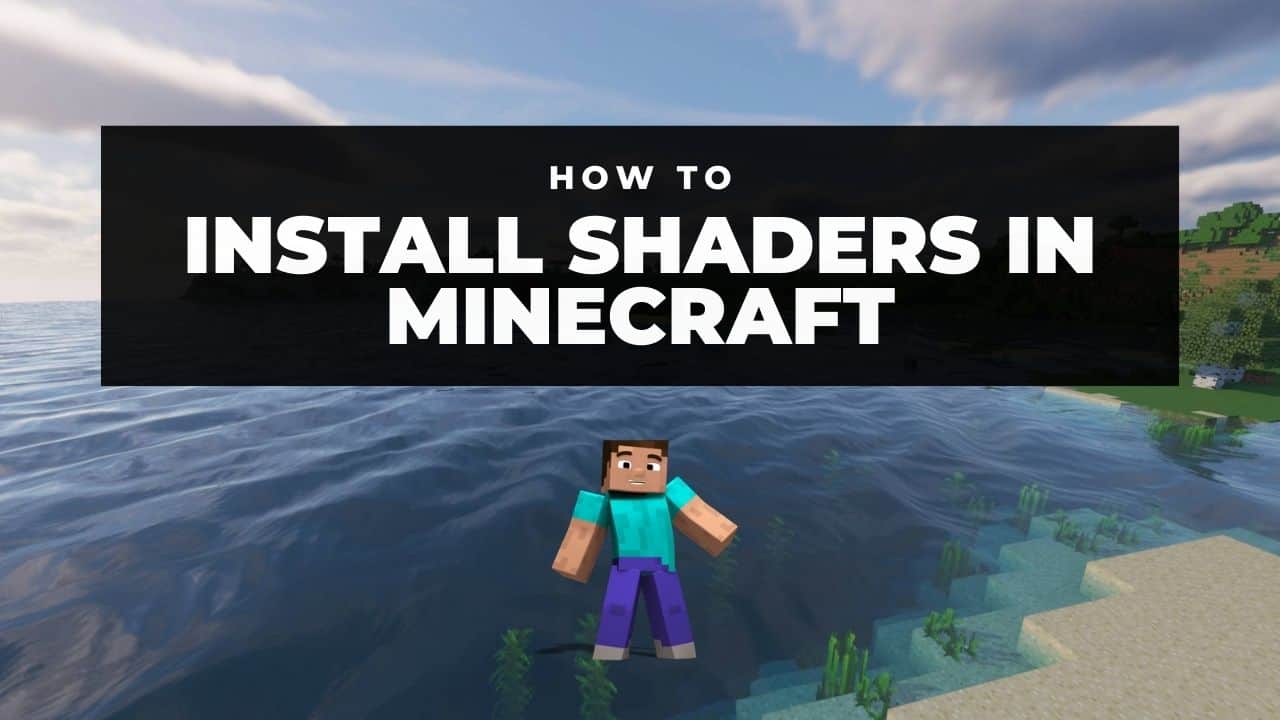
One of the most common types of Minecraft modifications is a form of visual enhancement known as a shader, which is used to enhance the game’s graphics. You can get a fair sense of what they accomplish by simply glancing at Minecraft running with a shader enabled, although the majority of them are meant to make the game’s water and lighting appear more realistic and dramatic, as opposed to other graphics modifications that change individual textures.
Of course, not all shaders are created equal, which is why we’ve selected some of our favourites to get you started. Because shaders have a completely different aesthetic from the rest of the game, you may find some of them to be unappealing at first, but they’re all guaranteed to make Minecraft appear like something other than a familiar collection of blocks.
Read Also: How to Make an Iron Golem in Minecraft
How to Install Minecraft shaders
As with any Minecraft mod, you’ll need to perform some preliminary work to ensure that everything is ready before you begin adding shaders. Most Minecraft modifications may be installed using a mod manager called Forge, however shaders and texture packs will require the use of a programme called Optifine, which can be found on the Optifine website. On its alone, Optifine makes certain useful improvements to Minecraft, such as boosting the game’s frame rate, but it is also required in order for shaders to function properly. Optifine can be used with or without Forge depending on your preferences.
Listed below is information you should be aware of prior to installing Minecraft shaders:
Step 1: To get started with Optifine, go to the company’s official website and download the most recent version.
Step 2: Launch the installer, which will add a new version of Minecraft to the Minecraft Launcher and complete the installation process.
Step 3: Launch the latest version of Optifine Minecraft, and you’ll be able to play the game with any shaders that you’ve loaded on your computer.
Step 4: Installing shaders is straightforward and may be accomplished by:
- It is possible to download a shader from your favourite source.
- Dragging the installed file into the Shaderpacks folder in your Minecraft installation will complete the installation. Go to the Options section of your Optifine Minecraft installation and select Video Settings > Shaders > Shaders Folder from the drop-down menu.
- As soon as the shader has been installed, you are ready to go!
Video
FAQs
Do you need Optifine for shaders?
Shaders are not modifications; rather, they are a type of texture pack that may be installed on a computer. Because things are not supported by vanilla Minecraft, you must use Optifine to make them function. Go to this link and get the most recent version, after which you should install it (it will automatically install in the Minecraft data folder).
What is the super secret settings in Minecraft?
Super Secret Settings was a setting that was added with the 1.7.2 release and has been tested extensively since then. On the options screen, there is a button titled “Super Secret Settings.” Clicking on this icon will reveal further information. This button will allow you to switch between different shader effects when you click on it.


