Guide
How To Fix Blurry Photos & Pictures
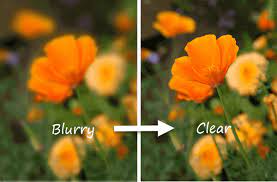
Over the past few decades, advances in camera technology have significantly enhanced the quality of our photographs. Although they are not necessarily fuzzy or distorted, they may be depending on the lighting, movement, and other variables. Fortunately, there are a variety of techniques for improving your less-than-perfect photographs.
You will learn how to correct blurry images by utilizing a variety of software packages in this post.
Read Also: How to Combine Photos on iPhone
How to Fix Blurry Photos
Nowadays, we need to be able to shoot and edit images on the go and from any location. In this part, we’ll go through the various mobile devices.
How to Fix Blurry Photos on Mobile Devices
You may use third-party software to repair fuzzy photographs on your tablet or smartphone, regardless of whether you’re using a computer or a mobile device. And, what’s even better, you can use these applications on both Android and iOS devices, which makes them much more convenient.
1. Snapseed
Snapseed is a straightforward and widely used picture editing tool that can be found in both the Google Play Store and the Apple App Store. Following are some instructions on how to use it to sharpen your photos:
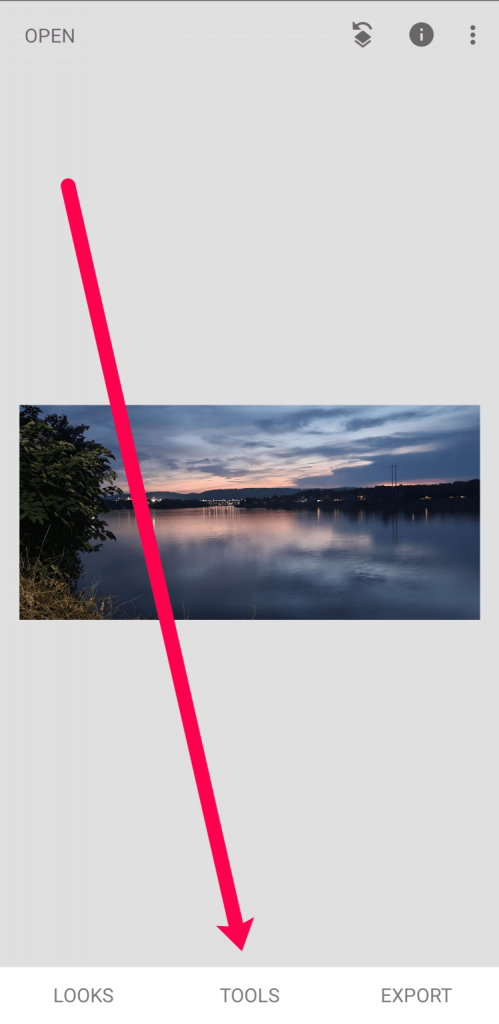
1. To modify your fuzzy photo, use Snapseed and press the ‘+’ button.
2. At the bottom of the page, click on the word Tools.
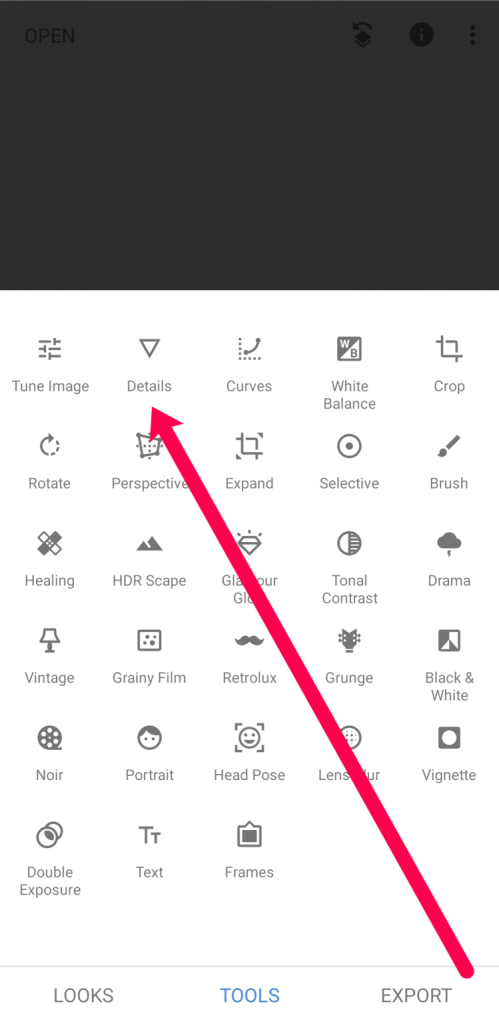
3. In the editing menu, select Details from the drop-down list.
4. Select the choices option, which can be found at the bottom centre of the page.
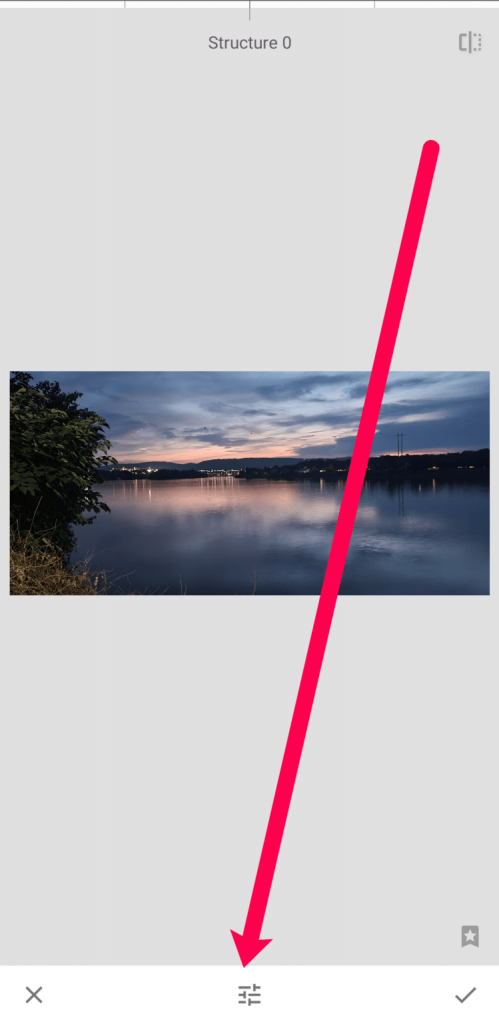
5. Select Sharpen from the drop-down menu and modify your photo using the slider.
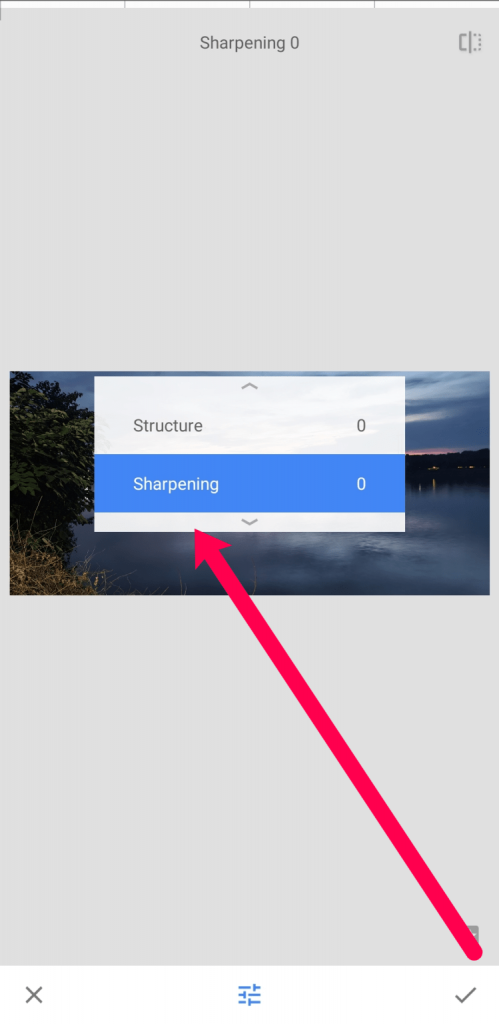
You may check your work by tapping on the checkmark in the lower right-hand corner after you’re completed. After that, you may download your photo to your smartphone without having to worry about watermarks.
2. Adobe Lightroom
For free and on the road, you may use Adobe Lightroom to restore fuzzy photographs, which is another excellent programme to have on hand. As an added bonus, this software is also accessible on the Google Play Store and the Apple App Store. Follow these steps to correct that fuzzy photo:
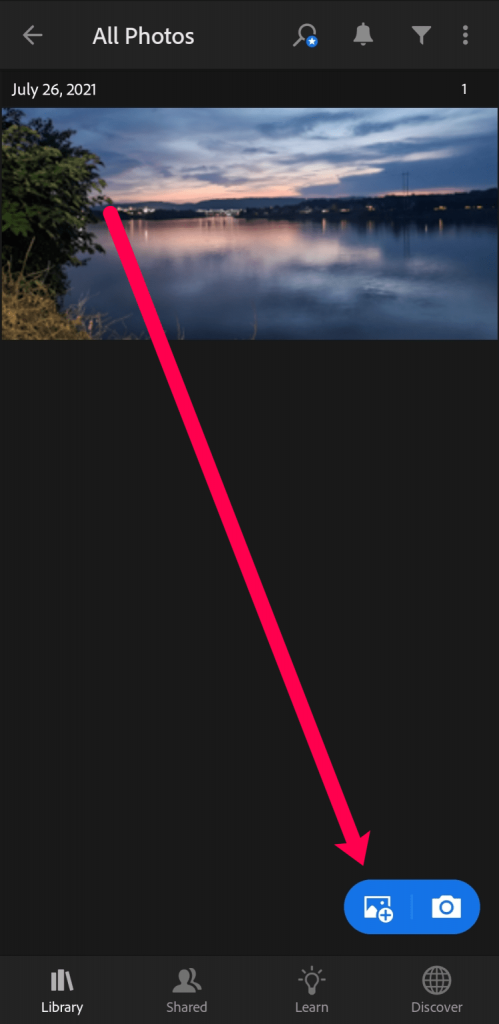
1. Open Adobe Lightroom on your mobile device and select the photo icon with a plus sign (+) from the drop-down menu. Upload your shaky photo to this page. Then click on it to bring up the editor.
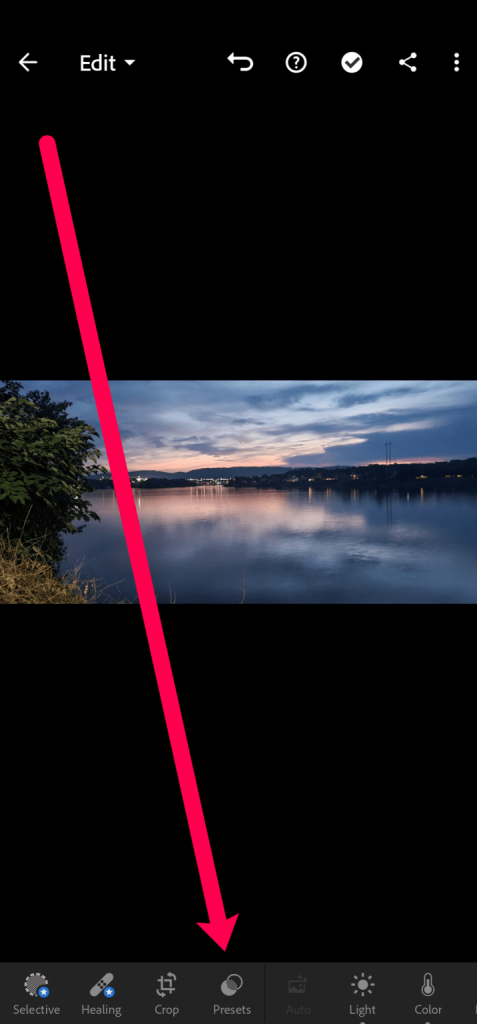
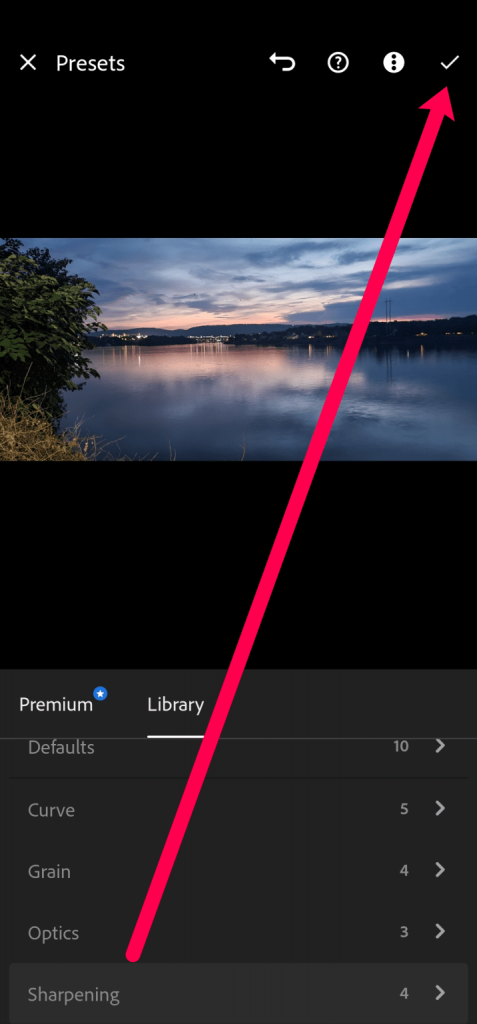
2. Presets may be found at the bottom of the screen.
3. Select Sharpening from the drop-down menu.
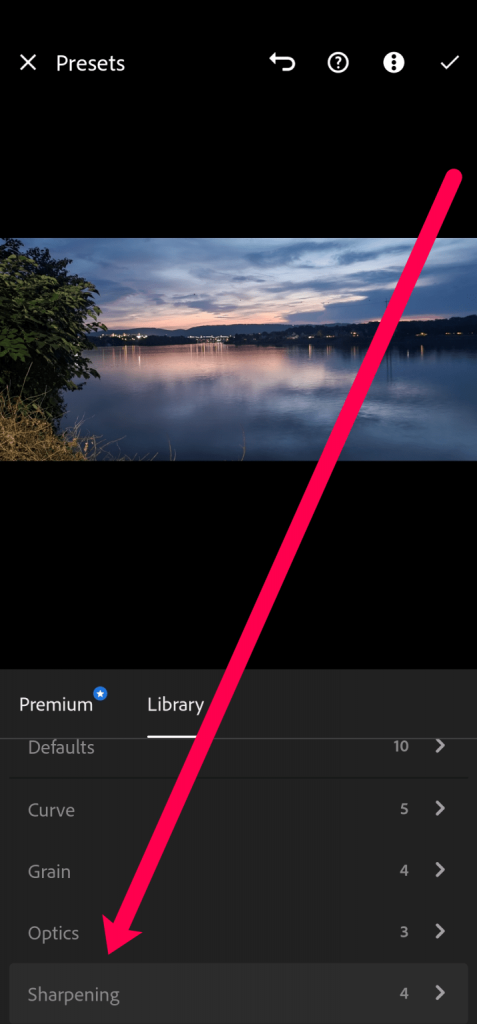
4. Select the appropriate amount of sharpening for your photo based on how fuzzy it is.

5. The checkmark in the top right-hand corner signifies that the changes you’ve made have been saved.
Both of these programmes are simple to use, are completely free, and are really useful for correcting blurry photographs.
Video
FAQs
Why are my images not sharp?
If the subject of your photograph is out of focus, but anything closer to the camera or farther away is perfectly in focus and crisp, the problem is most likely due to a focus problem with the camera. In most cases, utilizing a shutter speed that is too slow while shooting handheld results in a hazy image with no crisp parts of the image.
Why do my photos look hazy?
When taking a blurry shot, the most common cause is wrong shutter speed setting on the camera. The quicker the shutter speed, the less likely it is that your camera will shake throughout the shot. This is especially true while shooting with a handheld camera. No one will be able to handhold a camera steadily enough at lower shutter rates, and this includes professionals.

Vampire Crawlers Coin Farming Guide

Forza Horizon 6 Performance: Why 60 FPS Is Still the Console Standard

Yoshi and the Mysterious Book (2026) – Full Completion Guide, Rewards & Secret Ending

How to Get Free Pets in Adopt Me: A Guide for Players

Roblox Username Generator – Create a Cool & Unique Username in Seconds
How to Get Free Pets in Adopt Me: A Guide for Players
Yoshi and the Mysterious Book (2026) – Full Completion Guide, Rewards & Secret Ending
Forza Horizon 6 Performance: Why 60 FPS Is Still the Console Standard


