Guide
How to Install and Use Photoshop Gradients

Whatever your experience with Adobe Photoshop, gradients are one of the things that I struggle with on a regular basis. I can never seem to get the correct combination of colours, and the piece never quite flows the way I want it to. Fortunately, there is a solution: I can purchase them instead. This, however, raises another issue that has to be addressed. So, how do you go about installing a gradient in Photoshop? And, once it’s been installed, how does one go about using it? As it turns out, the procedure is really straightforward. Why should you be concerned when there is absolutely nothing to be afraid of? Allow me to take you through the entire process. Believe me when I say that it will be simple. For the sake of completeness, I’m working on a Mac running macOS 10.13.1 (High Sierra) and Adobe Photoshop CC 2018 for this project.
Read Also: How to Insert an Image in Photoshop
Step 1: Get a gradient
You have to start somewhere, and if you follow my advice, the best place to start would be right here at Creative Market. Gradients are covered in depth in this section, and they’re available at a number of pricing points as well. For a variety of reasons, I opted to purchase Sky Gradients. Natural-looking sky are difficult for me to duplicate, and some of these appear to be metallic in appearance, which is another another challenge for me. As a result, it checked off a number of boxes on my to-do list, which is always satisfying. After making the purchase, the software was downloaded to my computer’s desktop as a zip file. I was ready to begin as soon as the file had been unzipped.
Step 2: Install the gradient (Option 1)
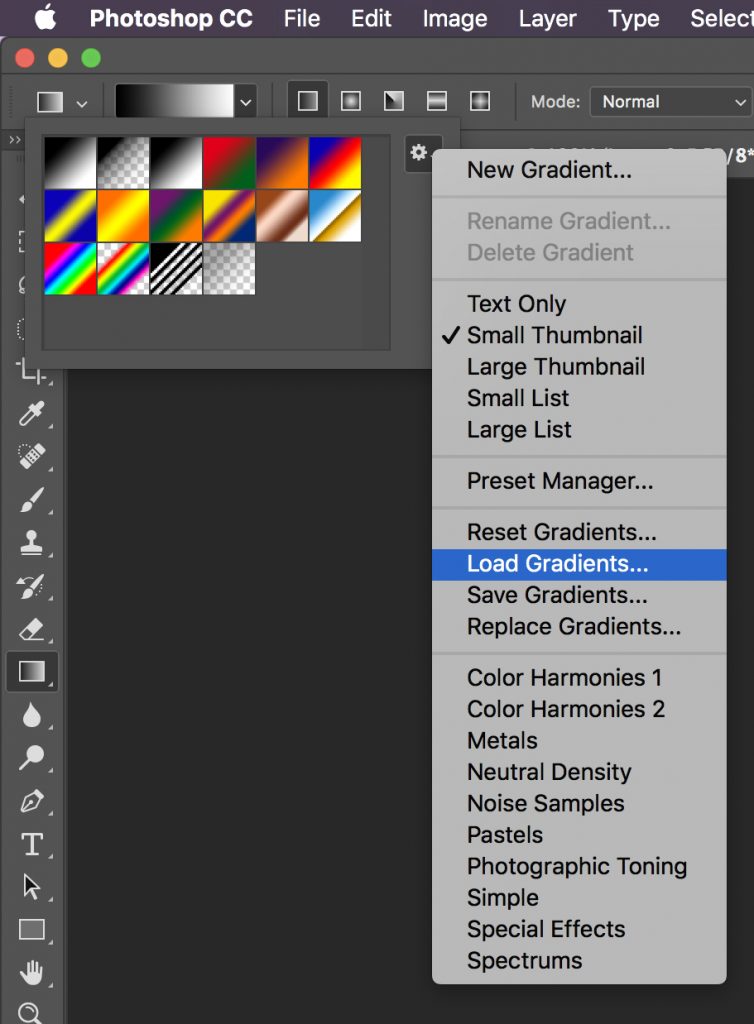
A.GRD file will be created for you, and if your icons are enabled, you will see the word GRADIENT written across the top of the file while you work with it. Open Photoshop and select the Gradients panel from the Window menu. A gear is located in the top right-hand corner. Then select “Load Gradients” from the drop-down menu. To install the gradient, simply navigate to the package that contains the gradient and click “Install.”
Step 2: Install the gradient (Option 2)
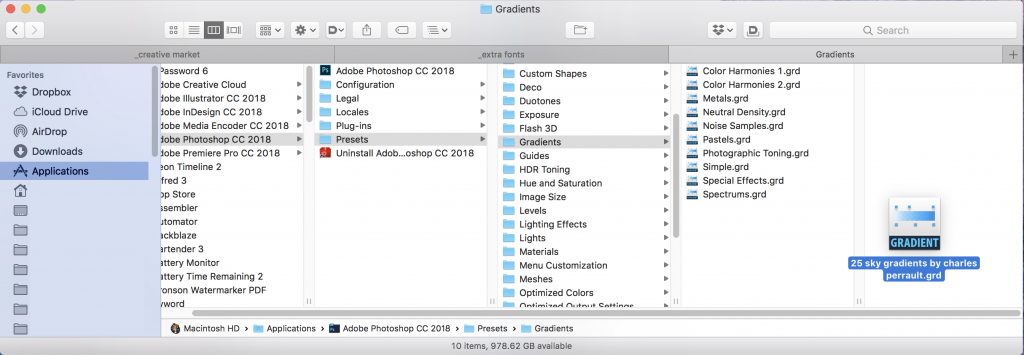
When working on a Mac, navigate to Applications > Adobe Photoshop CC 2018 > Presets > Gradients and drag your gradients file into the window that appears. You’re done in a jiffy, literally.

How to Use Gradients
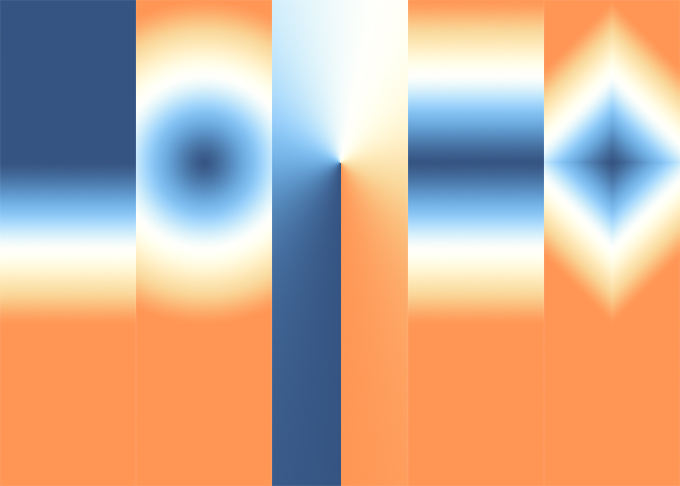
Now that you’ve installed the gradients, it’s time to put them to use in your design. To test things out, I produced a typical Photoshop document that was 7X5 inches and divided it into five separate columns using guides, one for each type of gradient. I then saved the document as a PDF and printed it out. To create a gradient, you utilize the Gradient tool to draw a line (as the name implies). The length of time it takes for the gradient to play itself out is determined by the distance between the two lines. In order to maintain consistency, I used guides to construct three vertical rows, which provided me two areas to use for my gradients as a halting and finishing point, respectively. Then I drew a line along the centre of each of my five columns to mark the centre. In other words, the results you see here are what occurs when you pull the exact same gradient line in the exact same place, using the exact same gradient swatch, but swapping up the sort of gradient swatch you use. The following is a close-up of the guides:
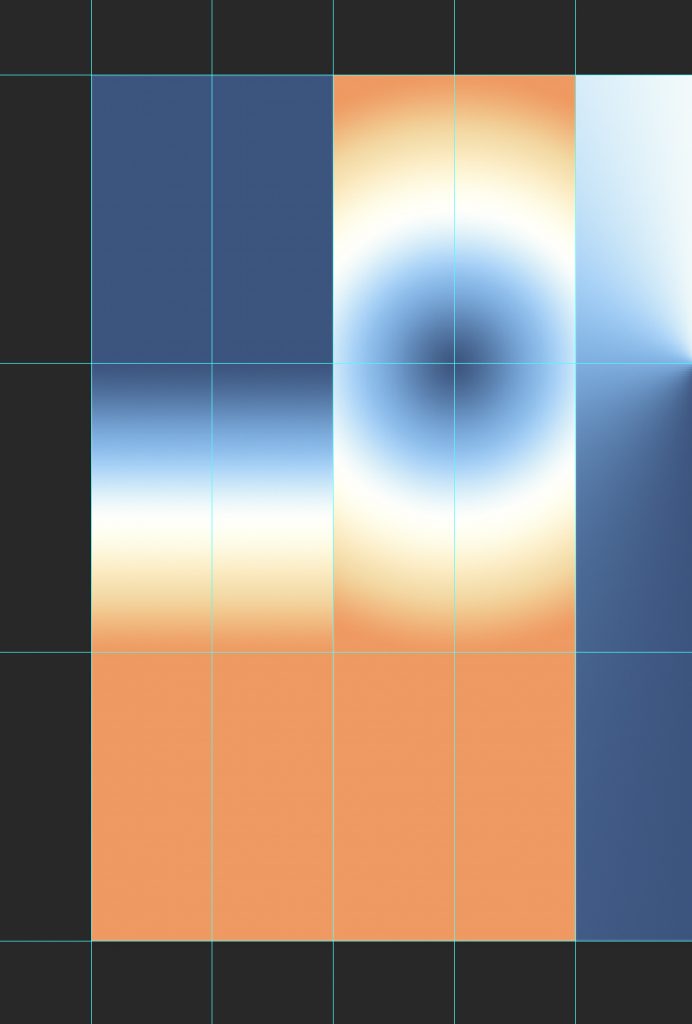
Is it possible that I’ve lost you yet? There’s nothing to worry about. Just have a look at the vibrant hues.
Video

Vampire Crawlers Coin Farming Guide

Forza Horizon 6 Performance: Why 60 FPS Is Still the Console Standard

Yoshi and the Mysterious Book (2026) – Full Completion Guide, Rewards & Secret Ending

How to Get Free Pets in Adopt Me: A Guide for Players

Roblox Username Generator – Create a Cool & Unique Username in Seconds
How to Get Free Pets in Adopt Me: A Guide for Players
Yoshi and the Mysterious Book (2026) – Full Completion Guide, Rewards & Secret Ending
Vampire Crawlers Coin Farming Guide


