Fortnite
How to Record Fortnite on Nintendo Switch
If you’re playing Fortnite on the Nintendo Switch and hitting some terrible shots on the battlefield, you might be wondering how you can clip your Fortnite highlights and look at them at a later time. Luckily, there are a few different ways you can accomplish this. Now that we’ve gotten that out of the way, what follows is a walkthrough for recording your gameplay in Fortnite using a Nintendo Switch.
Read Also: How to Turn on Your Vizio TV With the Nintendo Switch
How to Record Fortnite on Nintendo Switch
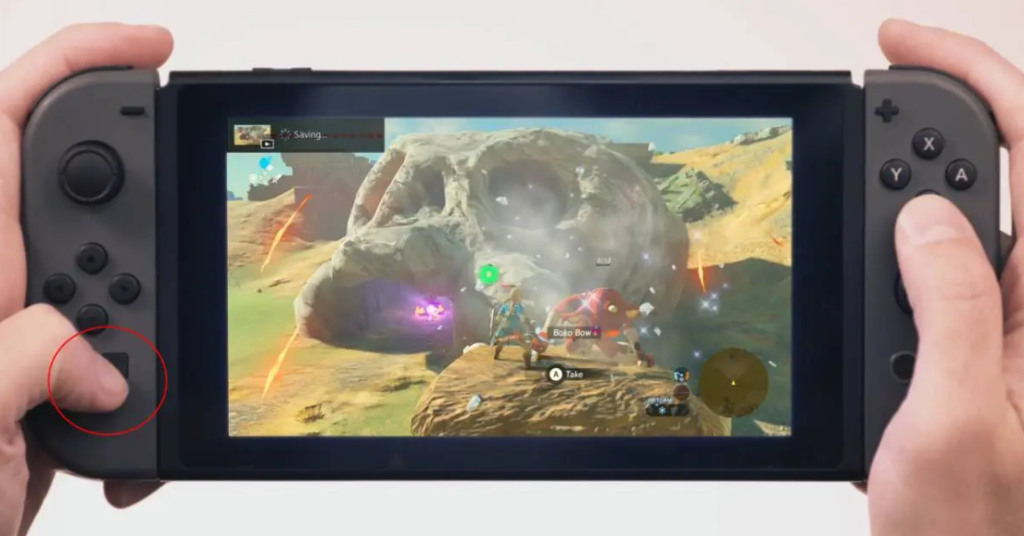
Both the standard Nintendo Switch and the Switch Lite include a capture button located on the left side of the device, in case you were unaware of this fact already. The capture button is indicated by a square button that is black in colour and is located directly below the navigation keys.
The following is a rundown of the procedures to follow in order to record your gaming on Switch:
1. Start up Fortnite on your Switch and have some fun with it. Launching the game is the first thing you need to do in order to start recording gameplay on Switch for Fortnite. After that, go into the match and wait until you want to record the final few moments until you start recording them.
2. While holding down the capture button, press the button. Simply press and maintain your finger on the “capture” button whenever you want to record a certain moment. As was indicated previously, it is represented by a square button that is black and is located directly below the navigation keys. If you follow those steps, you will be able to save the final thirty seconds of the game.
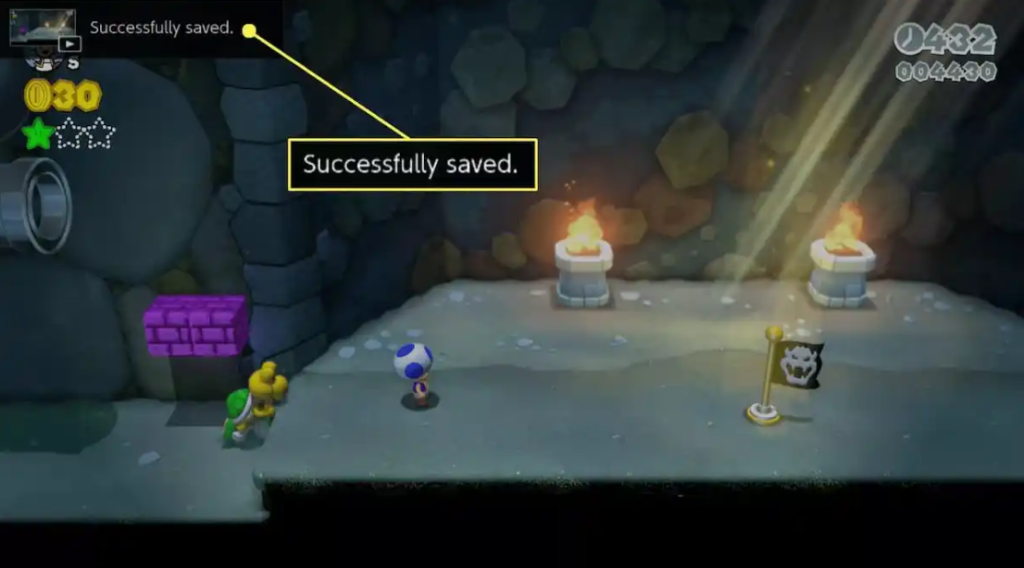
3. Hold off until you see the message that the file was saved successfully. After you have pushed the capture button, you will see a saving icon that is spinning in the upper left corner of the screen. This will be followed by a message that says “Successfully saved” in the same location on the screen. This notice verifies that the video clip was successfully downloaded to the device where it was being used.
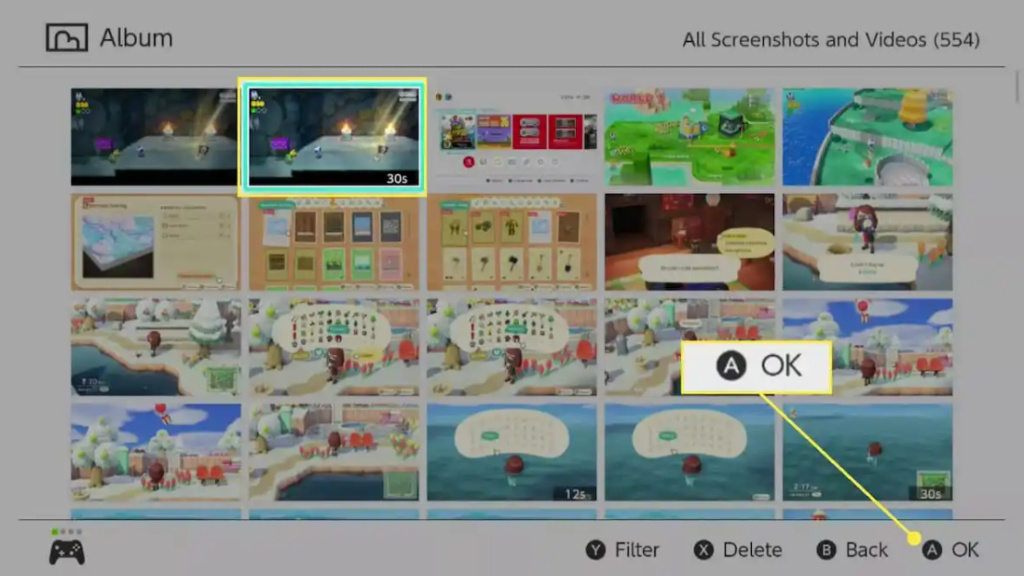
4. Select Album from the menu that appears when you first turn on the Switch. Once you have recorded your most memorable Fortnite moment, you may retrieve it at any time by going to the Album part of the game. On the home screen of the Switch, the Album choice is located at the bottom of the screen.

5. Use the d-pad to select a video clip, and then hit the A button to play it. Finally, use the d-pad to navigate the list of videos that you have taken, and when you find one you want to watch, press the A button. Your Nintendo Switch should begin playing the video without any delay at this point.
If you paid close attention to the second step, you will have observed that the Switch system only permits you to record a maximum of thirty seconds of gaming footage. To get started, you will need a capture card as well as a desktop or laptop computer if you want to be able to record the entire Fortnite encounter and simultaneously stream it on the internet. Everything you needed to know about recording Fortnite games on a Nintendo Switch console has been covered in this guide.
How exactly does one go about recording their Nintendo Switch screen?
The built-in video recorder of the Nintendo Switch is functionally equivalent on both the standard Nintendo Switch and the Switch Lite. You have the ability to record up to 30 seconds of gameplay, but it will not work if you are not currently playing a game. To record lengthier videos, you need to use an external video capture equipment. This approach is incompatible with the Switch Lite since it cannot output video over HDMI. The original Switch is required for it to work.

Vampire Crawlers Coin Farming Guide

Forza Horizon 6 Performance: Why 60 FPS Is Still the Console Standard

Yoshi and the Mysterious Book (2026) – Full Completion Guide, Rewards & Secret Ending

How to Get Free Pets in Adopt Me: A Guide for Players

Roblox Username Generator – Create a Cool & Unique Username in Seconds
How to Get Free Pets in Adopt Me: A Guide for Players
Yoshi and the Mysterious Book (2026) – Full Completion Guide, Rewards & Secret Ending
Forza Horizon 6 Performance: Why 60 FPS Is Still the Console Standard


