Guide
How to Reset My MacBook Air – The Easy Way
Resetting your MacBook Air can help you fix common issues and maintain your computer. performed by a professional technician, resetting your MacBook Air can fix problems like battery life loss, crashes, freezes, and more. You’ll be able to restore all of your data, including personal files and photos, without having to go through the hassle of buying a new computer.
This article explains how to reset your MacBook Air to factory settings if you’re selling it or experiencing irrecoverable performance issues.
Read Also : How to Fix Macbook Pro Speakers Crackling – Get them Working Again
Create A Backup
Before you start, make a backup of your MacBook Air, especially if you want to reuse it or transfer your files and documents to a new Mac.
Time Machine, a preinstalled Apple programme that backs up your stuff, including music, images, and applications, to an external drive, is a popular method of backup. Here’s how to use Time Machine to make a backup:
1.Connect your Mac to an external storage device.
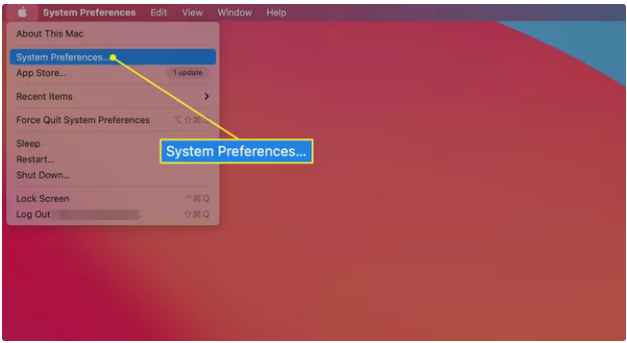
2.In the upper-left corner of the screen, click the Apple icon.
3.Select System Preferences from the drop-down menu.
4.Select Time Machine from the drop-down menu.
5.Select a backup disc by clicking on it.
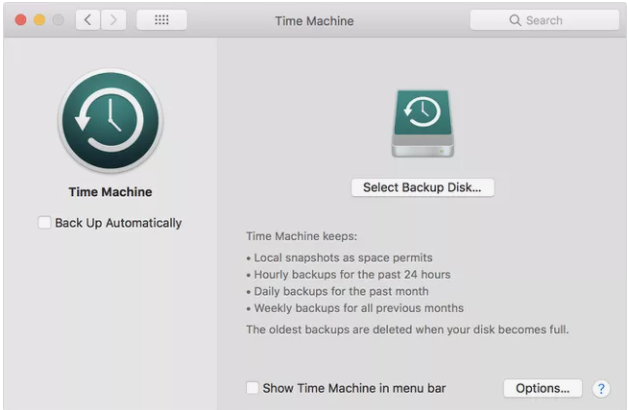
6.Click Encrypt backups and Use Disk after selecting your external device.
7.If the ON button in the left column of the Time Machine window isn’t already selected, click it.
Time Machine begins a backup of your MacBook Air once you choose Use Disk or ON. You may restore this backup later, once your MacBook Air has been restored to factory settings, by connecting your external hard disc to the Mac and following the on-screen instructions.
Sign Out of Your iService
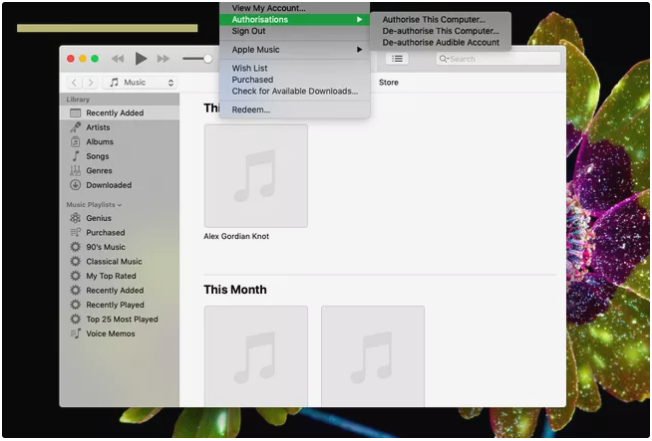
There’s one small but important thing you should do if you’re resetting your MacBook Air for the purposes of selling or giving it away. This involves signing out of the Apple services you’re signed in to on your Macbook, such as iTunes, iCloud and iMessage.
How to Log Off from iCloud
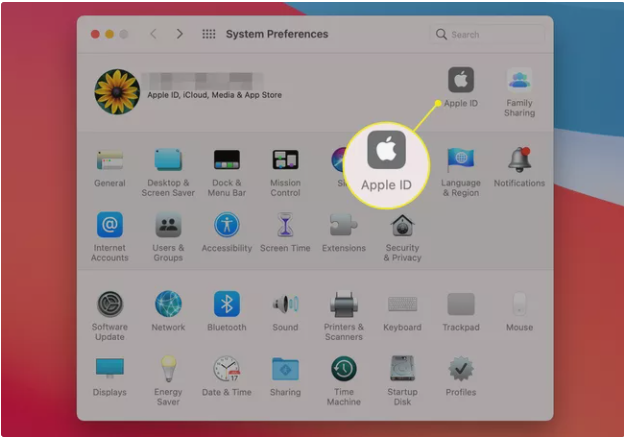
1.In the upper-left corner of the MacBook Air’s screen, click the Apple symbol.
2.Select System Preferences from the drop-down menu.
3.Click Apple ID in macOS Catalina (10.15) and later. (In earlier versions, click iCloud instead.)
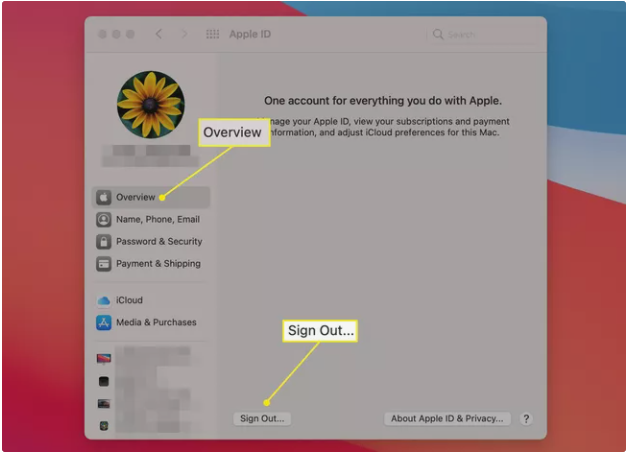
4.Click Overview and Sign Out in macOS Catalina (10.15) and later. (In earlier versions of macOS, select Sign Out.)
Reset the device to factory defaults
Your MacBook Air must be connected to the internet in order to restore factory settings. You must first put your Mac into Recovery Mode. To do so, press and hold Command+R when restarting or turning on your MacBook Air, holding both keys until the Apple logo appears.
The Utilities window appears when the Apple logo appears and the computer has completed booting up. You may delete your hard disc and reset your computer from here. Here’s how it’s done:
1.Select Disk Utility from the list of options.
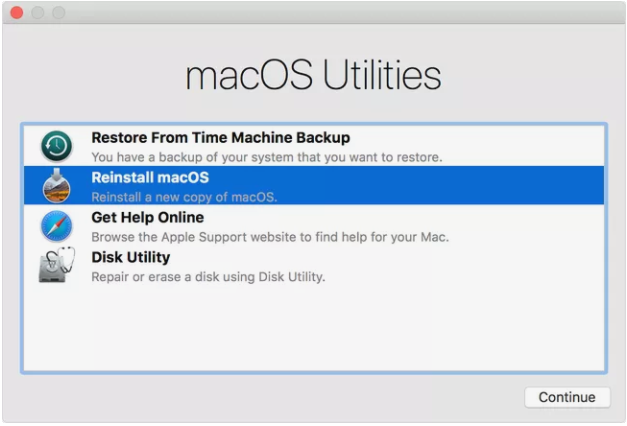
2.Continue by pressing the Enter key.
3.Select View > Show All Devices from the drop-down menu.
4.Erase your hard disc by selecting it and clicking Erase.
5.On macOS High Sierra or later, select the APFS option in the Format box. Choose the Mac OS Extended (Journaled) option if you’re using macOS Sierra or earlier.
6.Erase is selected.
Video For Better Understanding

Vampire Crawlers Coin Farming Guide

Forza Horizon 6 Performance: Why 60 FPS Is Still the Console Standard

Yoshi and the Mysterious Book (2026) – Full Completion Guide, Rewards & Secret Ending

How to Get Free Pets in Adopt Me: A Guide for Players

Roblox Username Generator – Create a Cool & Unique Username in Seconds
How to Get Free Pets in Adopt Me: A Guide for Players
Yoshi and the Mysterious Book (2026) – Full Completion Guide, Rewards & Secret Ending
Vampire Crawlers Coin Farming Guide


