Guide
How to Rotate an Image in Photoshop
You can rotate or flip a picture in Photoshop by picking an option from the “Image Rotation” submenu by clicking the “Image” menu. The software’s Transform tool may also be used to rotate specific layers (rather than a whole picture). Once you learn how to use the tools, rotating and flipping photos and layers is a cinch. We’ll walk you through it.
Read Also: How to Convert Photos From HEIC to JPG?
How to Rotate an Image in Photoshop
1. Rotating or Flipping an Entire Image
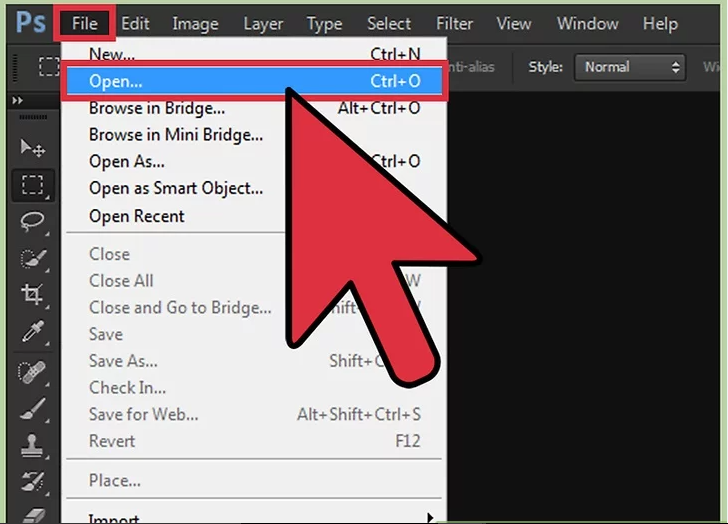
1. Photoshop should now be open, so that you can begin working with your image. Using “File” and “Open,” you may rotate or flip a whole image. Once you’ve selected the image you want to rotate, click “Open.”
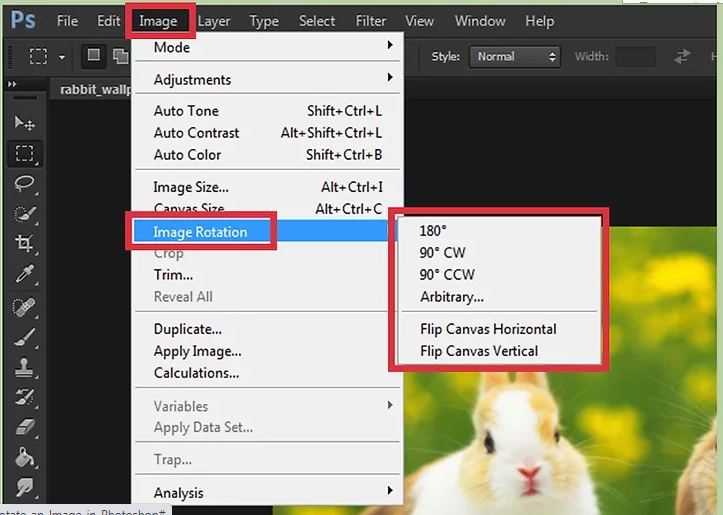
2. Rotate the camera. To see a variety of rotation choices, go to Image >> Image Rotation.
- When you choose “180 degrees,” you’re actually doing a half-circle rotation of the image.
- One-fourth of a full circle is rotated to the right (clockwise) 90 degrees CW.
- One-fourth of the way around a circle, “90 degrees CCW” rotates the picture to the left (counterclockwise).
- Allows you to set the angle at which the picture should be rotated. The degree of the angle, as well as the direction, may both be entered using the keyboard (clockwise or counter-clockwise).
- As though viewed through a mirror, “Flip Canvas Horizontal” flips the whole picture horizontally (horizontally).
- Using “Flip Canvas Vertical,” you may turn the entire picture on its side.
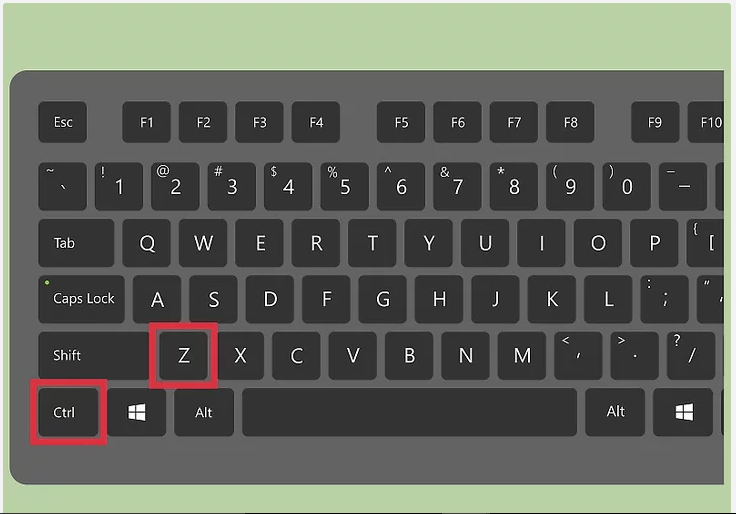
3. Reverse the modifications you’ve made. Press Ctrl+Z (Windows) or Command+Z (Mac) to undo your selection of the flip or rotate option.
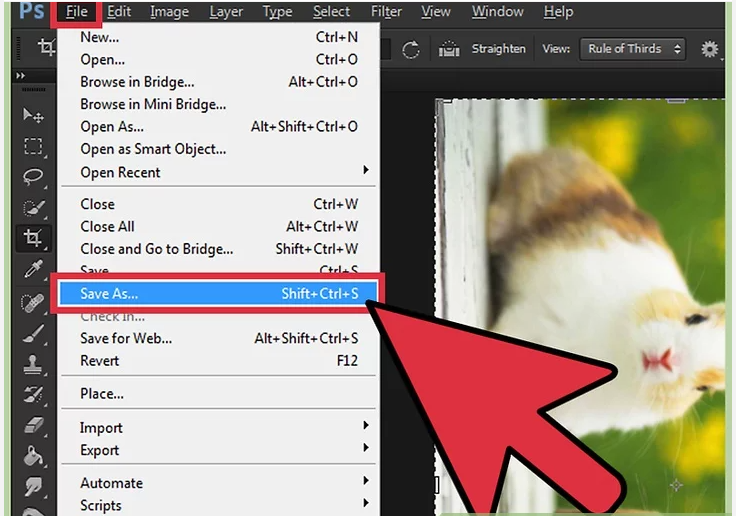
4. Take a screenshot. Select “Save As” from the File menu. Select a destination for your freshly rotated image and click Save.
2. Rotating or Flipping Layers

1. The Layers window will now be displayed. The Layers panel should be visible if you want to work with layers. Select “Layers” from the Window menu.
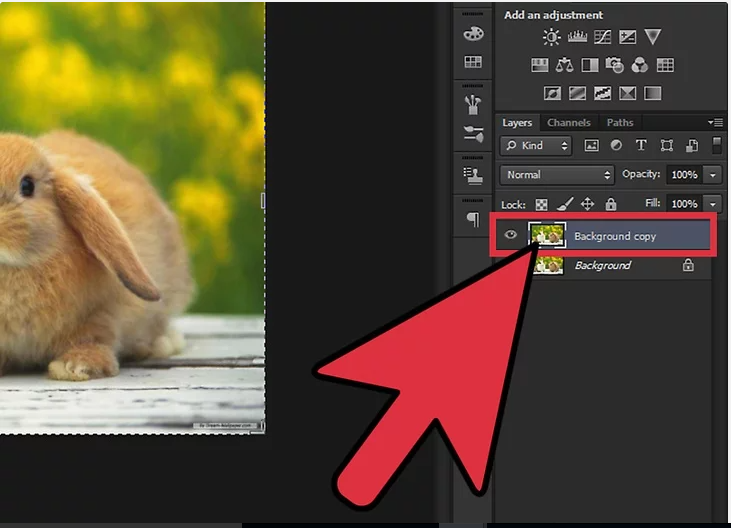
2. Rotate or flip a layer by clicking on it. A list of all the layers in the image, as well as thumbnails of what each layer includes, is displayed in the Layers panel. Just one click is all it takes to flip or rotate an individual layer.
- By holding down Ctrl (Win) or Command (Mac) while clicking each layer, you may pick many levels at once.
- If you want to conceal additional layers while working with the one(s) you’ve selected, click the eye (visibility icon) adjacent to the layer thumbnail. Later, you can restore visibility to it.
- To rotate or flip a layer that has a padlock icon next to its name, you must first unlock the layer. To proceed, you must first unlock the layer by clicking the padlock.
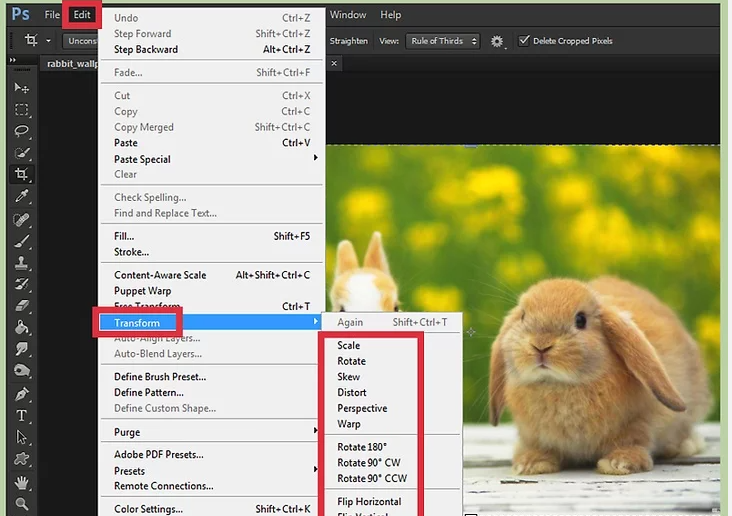
3. Choose a rotation and flipping option. Take a look at your alternatives by clicking the Edit menu and selecting “Transform”.
- To rotate the layer, select “Rotate” from the Layer menu and input a degree angle.
- Layers rotate 180 degrees when “Rotate 180 degrees” is used.
- Layers are rotated to the right by 90 degrees CW, or one-quarter of a circle.
- This command rotates the layers 90 degrees to the left, or one-quarter of the way around a complete circle.
- “Flip horizontal” flips the layer horizontally, as if it were a mirror image.
- “Flip vertical”: Flips the layer vertically.
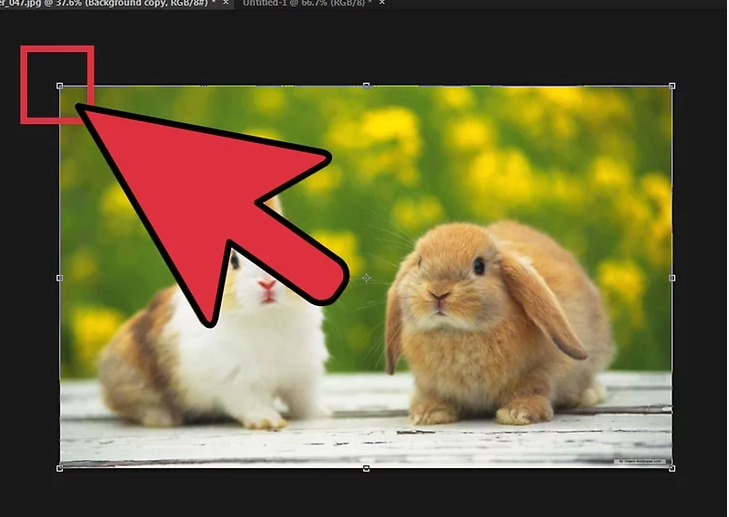
4. Try out the Free Transform feature. If you have a hard time perceiving angles and/or direction, you may benefit from having greater visual control over the rotation process.
- Draw a box around the layer you want to rotate by pressing Ctrl+T (Windows) or Command+T (Mac).
- Simply hold down the left mouse button until a “rotating arrow” (an arrow with two heads on either end) appears outside of the bounding box’s top right corner.
- You may rotate the image by clicking and dragging the mouse pointer up or down. If you don’t see the spinning arrow, don’t move the pointer. You might mistakenly modify the layer’s size or warp it.
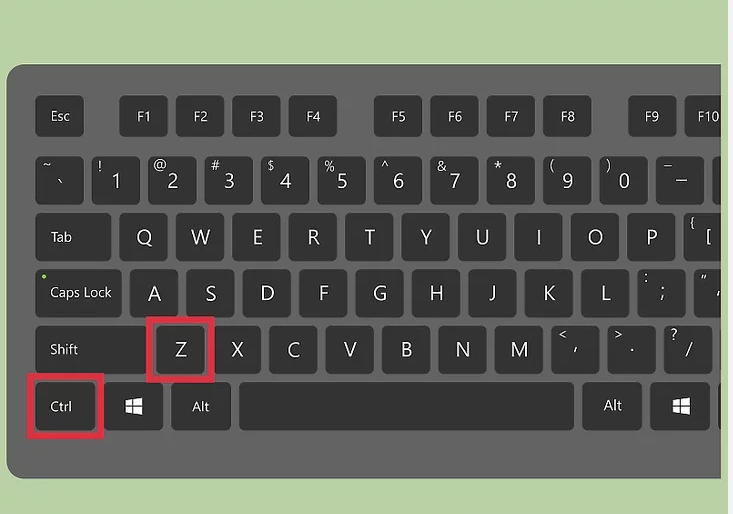
5. Delete whatever you don’t want. To reverse a mistake, use Ctrl+Z (Windows) or Command+Z (Mac).
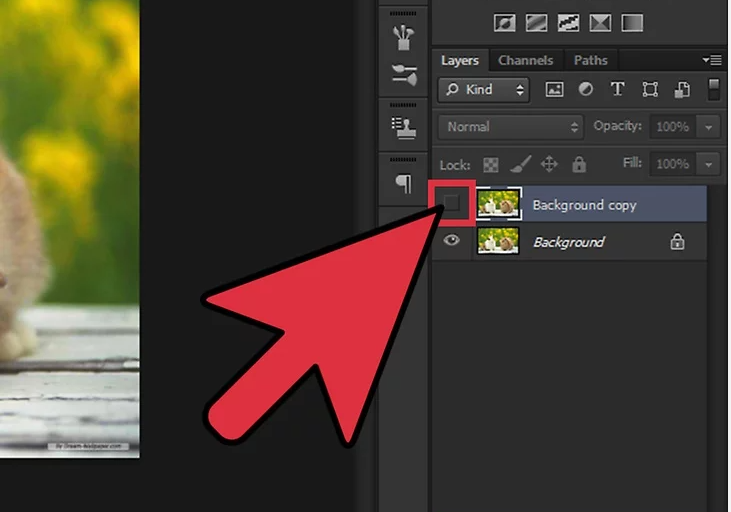
6. Show the layers that are hidden from view. Click the empty box to the left of the hidden layer’s thumbnail until the eye icon appears if you made another layer invisible while doing modifications.
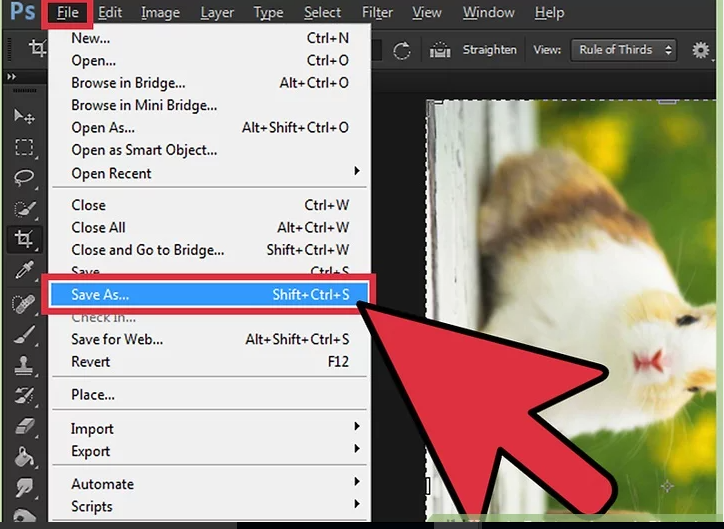
7. Make sure to save your work. Click “File,” then “Save As,” and specify a location to save your picture modifications.
Video
FAQS
How do I manually rotate a picture?
Take a shot at it!
Select a photo or form. The Shape Format or Picture Format ribbon will be shown as a result.
Select the Rotate option from the drop-down menu. Flip Horizontal is one of the list’s rotation instructions.
Enter the exact amount in the Rotation box by selecting More Rotation Options.
What tool is used to rotate pictures?
Rotate tool is used to rotate the position of a image

Vampire Crawlers Coin Farming Guide

Forza Horizon 6 Performance: Why 60 FPS Is Still the Console Standard

Yoshi and the Mysterious Book (2026) – Full Completion Guide, Rewards & Secret Ending

How to Get Free Pets in Adopt Me: A Guide for Players

Roblox Username Generator – Create a Cool & Unique Username in Seconds
How to Get Free Pets in Adopt Me: A Guide for Players
Yoshi and the Mysterious Book (2026) – Full Completion Guide, Rewards & Secret Ending
Forza Horizon 6 Performance: Why 60 FPS Is Still the Console Standard


