Gaming
How to Stream Gameplay From Your Nintendo Switch to Twitch
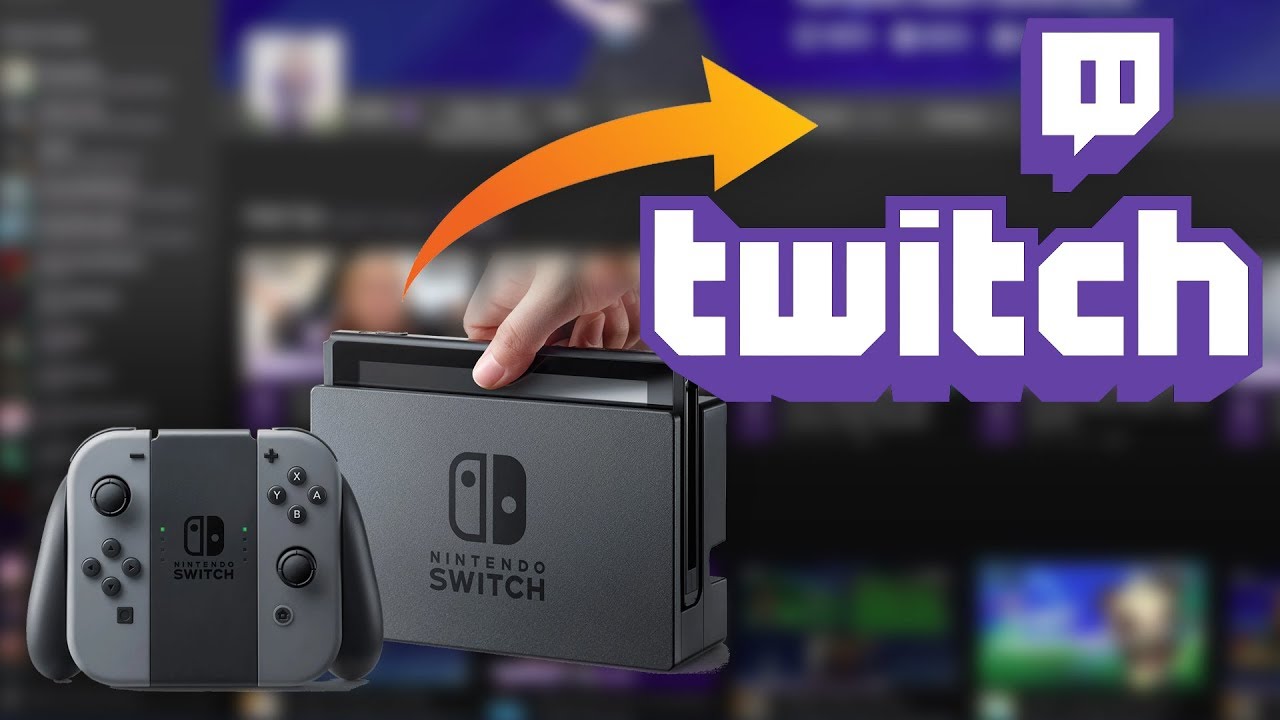
Sharing your Nintendo Switch games with your loved ones can be made easier by using the immensely popular website Twitch to broadcast live gameplay over the internet. This is a fun way to get everyone in on the action. And if you’re really fortunate, you might even win yourself a few supporters along the way. Those who play on a Nintendo Switch, however, are unable to connect their consoles directly to Twitch, in contrast to those who play on a PlayStation 4 or Xbox One. You will require a number of additional gear, such as a capture card and software, in order to stream content from your Nintendo Switch console.
It is important to keep in mind, however, that in order to stream, you will need to dock your Nintendo Switch. Because it is unable to connect to a dock, the Nintendo Switch Lite does not support streaming because of this limitation. The following is a list of things you will need to get started.
Read Also: How to Insert an SD Card into A Nintendo Switch
How to Stream from your Nintendo Switch to Twitch
The hardware and software you’ll need
You are going to require a competent computer in addition to your Nintendo Switch console (Mac or PC is fine, although PCs tend to be better for streaming). Twitch suggests that you utilize a personal computer that has at least 8 gigabytes of random access memory (RAM) and a processor that is at least an Intel Core i5-4670. Your graphics card doesn’t really make a difference, however a more recent model is always preferable.
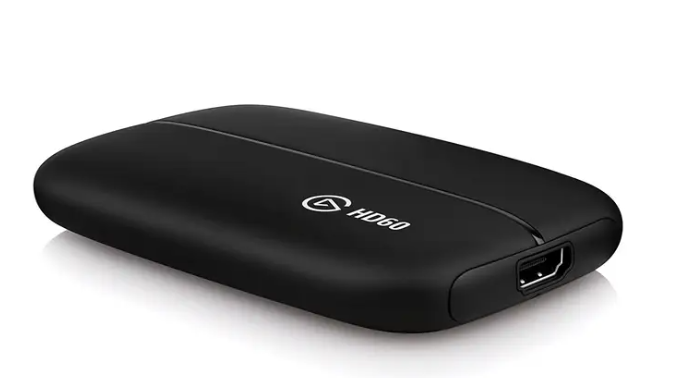
A video game capture device, such as an Elgato HD60 S capture card, will also be required for this task.
If you want to be visible on screen and provide commentary for your game, you are going to need a webcam and a microphone that are of a decent quality.
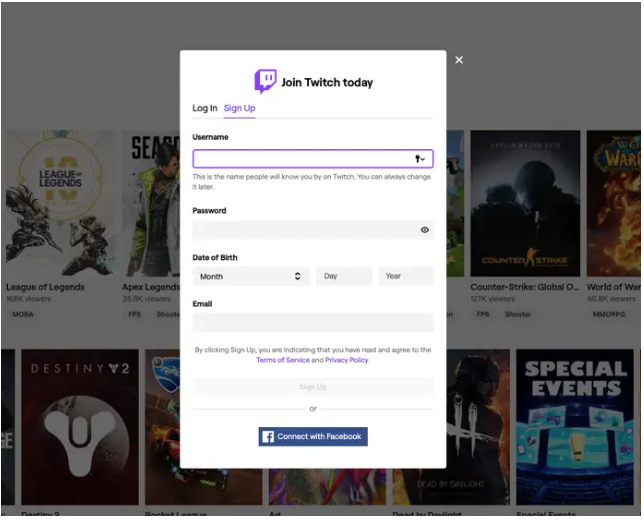
This software may connect your Switch to Twitch in order to provide a live gaming experience that is almost completely free of latency, and it is offered for free by Open Broadcaster Software, which is the company that makes OBS Studio. You can get the programme for your computer by going to OBSProject.com and downloading it there. Last but not least, if you do not already have a Twitch account, you will need to get one now.
Setting up the Switch to stream
1. While the Switch is still in its dock, detach the HDMI cable that connects it to your television and then insert that wire into the capture card.
2. Next, using the included USB cable, connect the capture card to your computer.
3. Using an additional HDMI cable, connect the output HDMI port of the capture card to the HDMI port on your television.
4. Next, start up OBS Studio on your personal computer and navigate to the Settings option within the app to connect it to your Twitch account (click “Streaming,” then “Service,” then select “Twitch”). You will have been issued a one-of-a-kind user number by OBS, which you will need to use for the remainder of the process.
5. Select “Add,” then “Video Capture Device,” and finally your card by using the context menu that appears when you right-click anywhere on the OBS software.
6. A window will pop up showcasing live gameplay from your Switch. It is possible to resize it and edit it in any way you see fit, which is beneficial if you want to display other graphics on your stream, such as a chatbox or a facecam.
7. When everything is ready, you may begin streaming by clicking the “Start Streaming” button in the lower-right corner. In just a few more moments, you’ll be streaming live on Twitch.
And just like that, you are all set to begin streaming the games on your Nintendo Switch. In the event that you decide to install a camera or microphone at a later time, you will be able to modify the settings accordingly.
Video

Vampire Crawlers Coin Farming Guide

Forza Horizon 6 Performance: Why 60 FPS Is Still the Console Standard

Yoshi and the Mysterious Book (2026) – Full Completion Guide, Rewards & Secret Ending

How to Get Free Pets in Adopt Me: A Guide for Players

Roblox Username Generator – Create a Cool & Unique Username in Seconds
How to Get Free Pets in Adopt Me: A Guide for Players

Grow a Garden Recipes in Roblox: Guide to Cook (Donuts, Sushi, Pie, Pizza & More!)
Roblox Username Generator – Create a Cool & Unique Username in Seconds
Vampire Crawlers Coin Farming Guide


